Workflow
In this post, we will explore the Workflow widget, which allows you with the simple configuration defined in XML, to create your own processes with lists and forms to edit attributive data and capture new geometries.
⚠️
You have two possibilities to add Workflows to your Dashboards. One is with
ActionSets and the other one described here with the built-in Workflow widget.Creating a Workflow widget
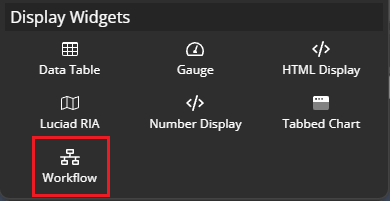
To begin, navigate to the widget menu and select Workflow from the list of Display Widgets.
Configuring your chart
Once you're in the day of the week configuration menu, set up your chart preferences.
- Customize the chart name by clicking on
My New Chartat the top of the modal.
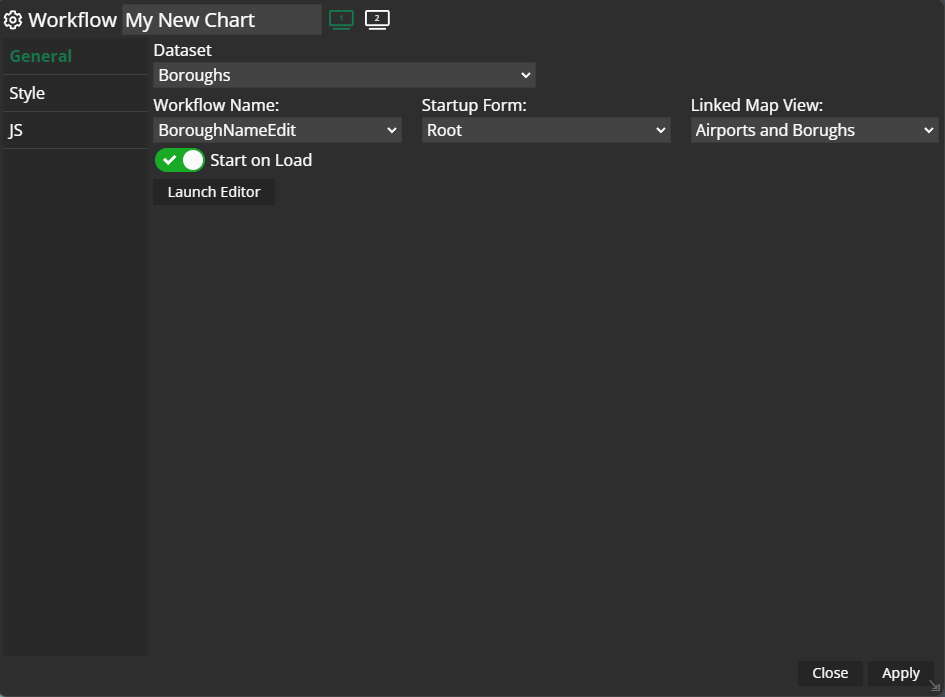
- Choose your
datasetand the specificWorkflowyou want to execute. - You can also decide on the
Startup Form:, which should be the first form or list to show - You have also to define the
Linked Map Viewin order to use the workflow properly in your dashboard. - With the slider
Start on Loadyou can define if the workflow should come up at the start of the dashboard application - There is a button called
Launch Editor, which allows to open up the Workflow Editor within the dashboard in order to change something in your workflow on short notice without leaving dashboard and open up the editor in M.App Enterprise Studio.
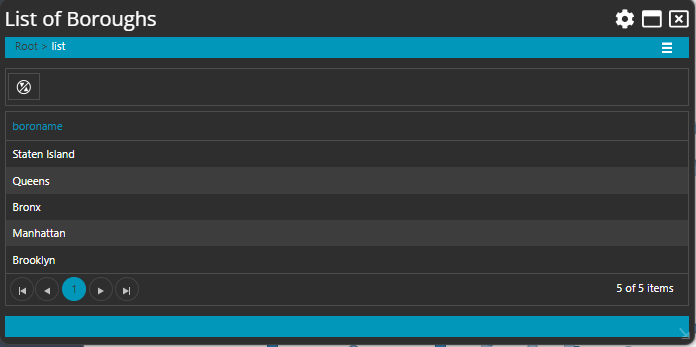
Example