Common settings
Where the widget settings live, and how to create, edit and delete a widget.
This post will give a general overview on basic widget settings, like where to find them and how to create, edit and delete them. Some common configuration settings will also be illustrated.
Creating a new widget
To begin, navigate to New Widget in the menu on the bottom.

By clicking on the icon, you will get the selection of all widgets to choose from.
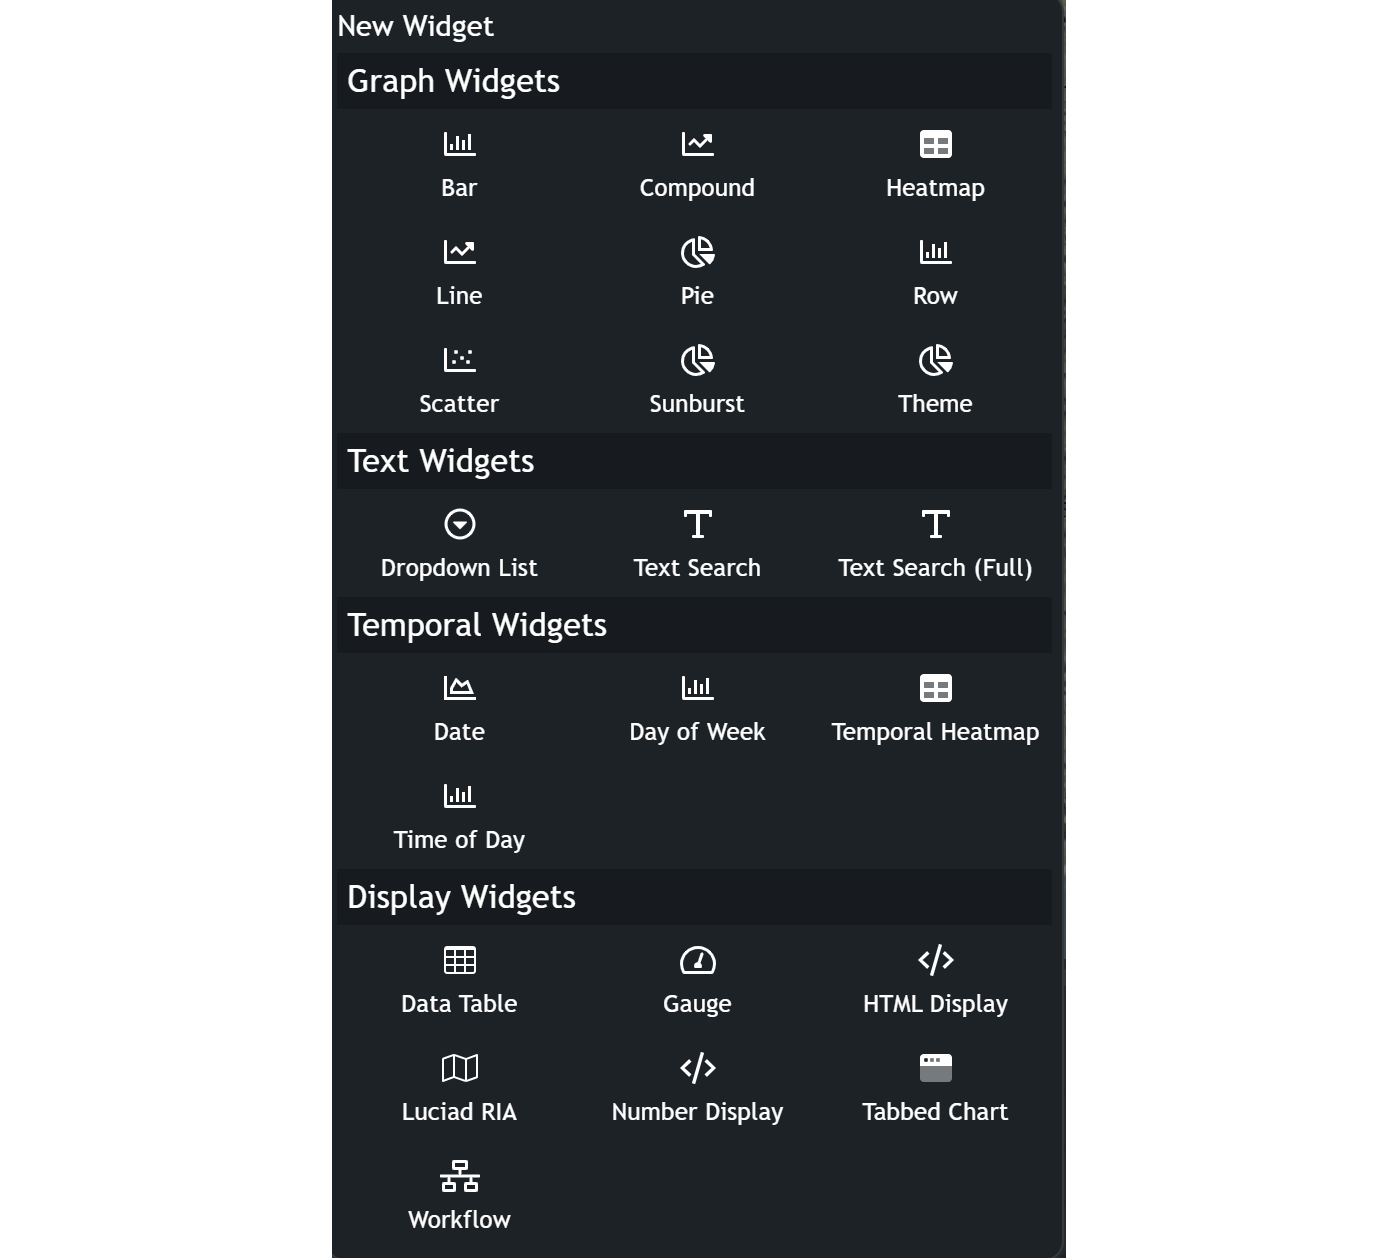
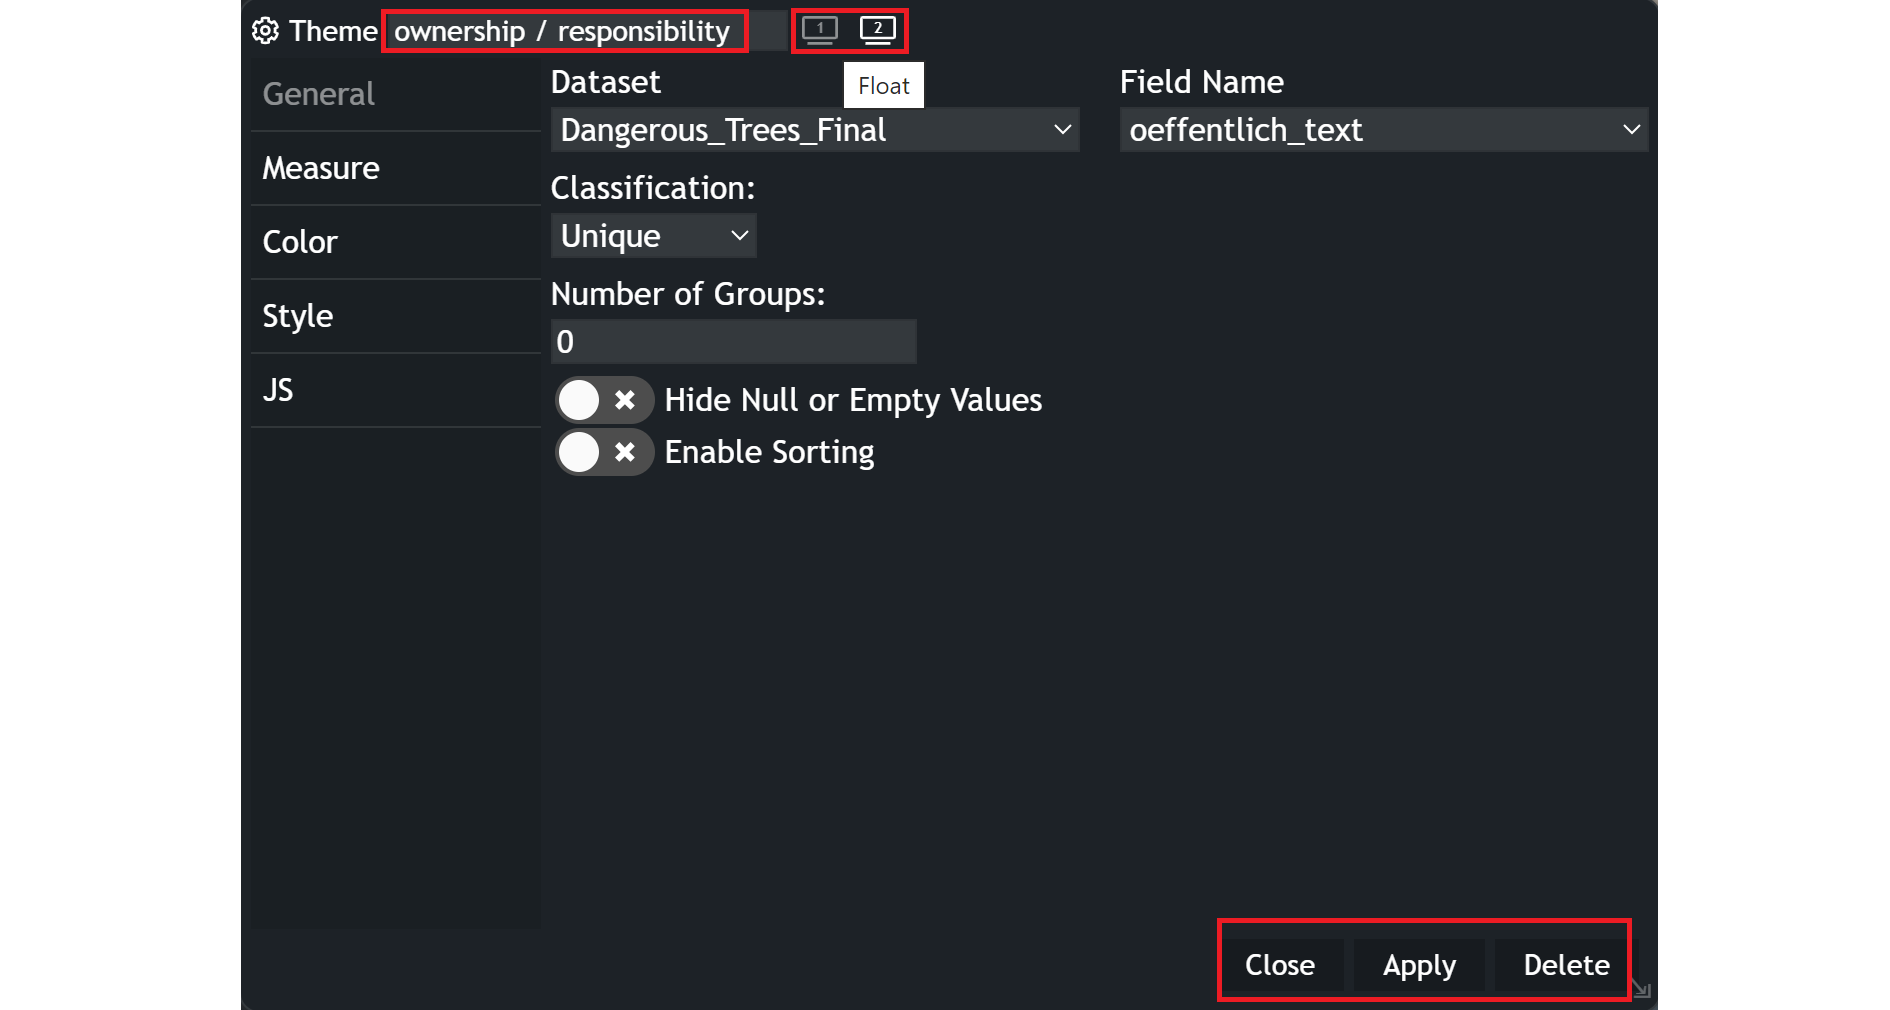
There are some common settings for all widgets:
- The
nameof your widget is customizable in the field on the top left. Whatever you type in it, will be shown as the widget title. - Next to the name field are two monitor icons, that allow for different positioning options of widgets. By default
floatis selected, where your widget will be fit directly in the Dashboard window. The other possibility is to open a newwindowfor a widget. - Any widget will be created after clicking on
Applyin the widget window. Thereafter it can be closed, withClose, or deleted withDelete.

Editing a widget
Editing a widget can be done in two different ways.
Either you navigate to the menu bar and click on the Widget Configuration icon.

It will suggest you a list of all your widgets and gives you two options for each.
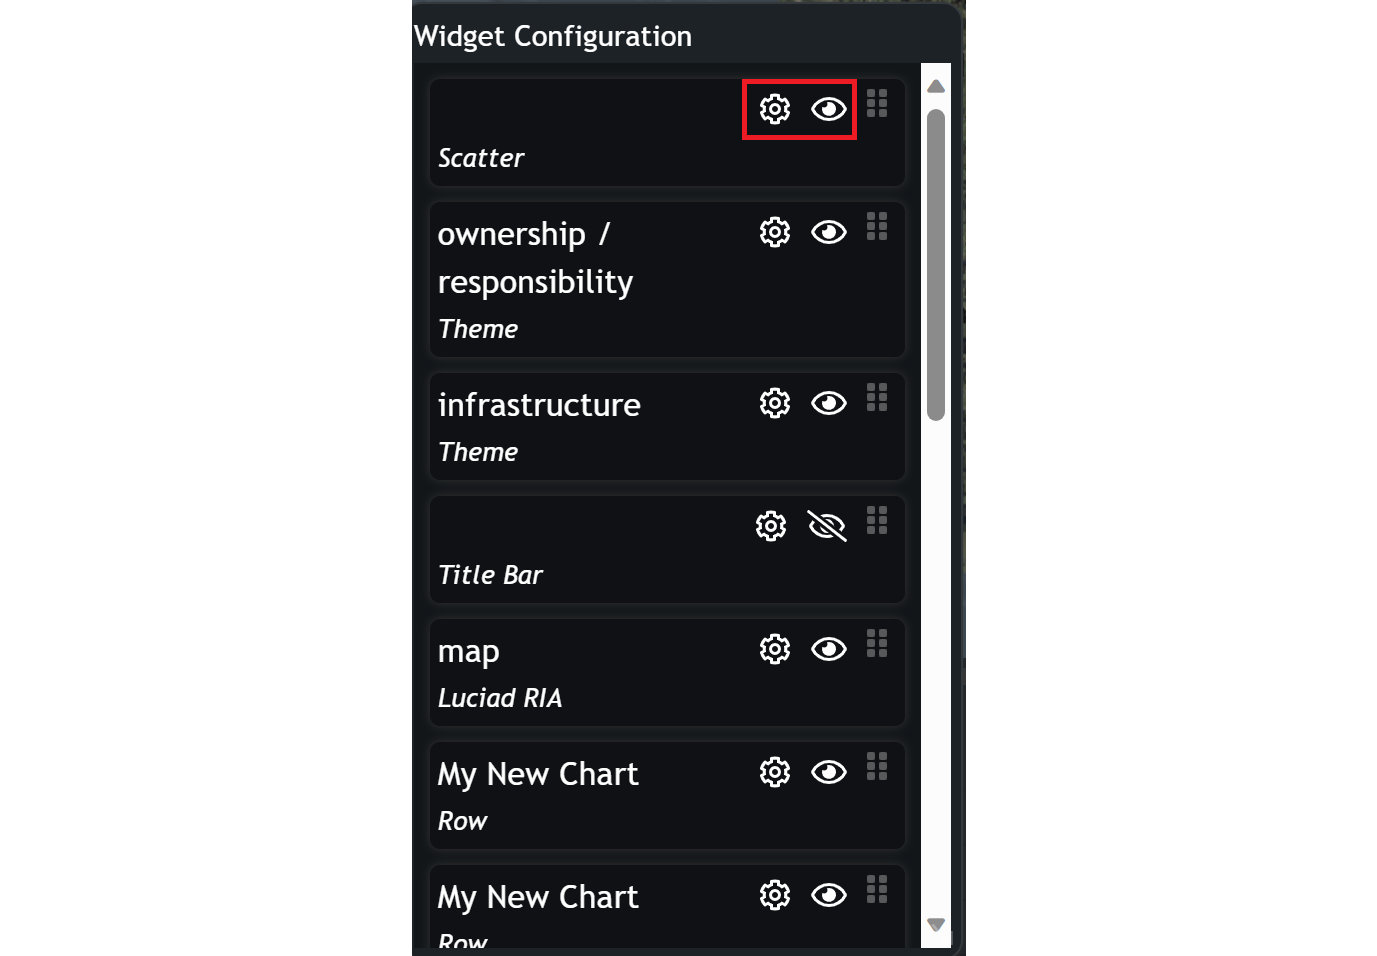
Clicking on the wheel icon will get you back to editing a widget. The eye icon enables you to set your widget invisible/visible.
Another way to get back to the widget configuration of an existing widget, is to click on the wheel icon in the top right corner of any widget.
User settings
Once your widgets are created, applied and saved, a user accessing the Dashboard has some options on how to get information from certain widgets.
Filtering segments
Applicable for: Bar, Compound, Heatmap, Pie, Row, Sunburst, Theme, Dayo of Week, Time of Day, Temporal Heatmap
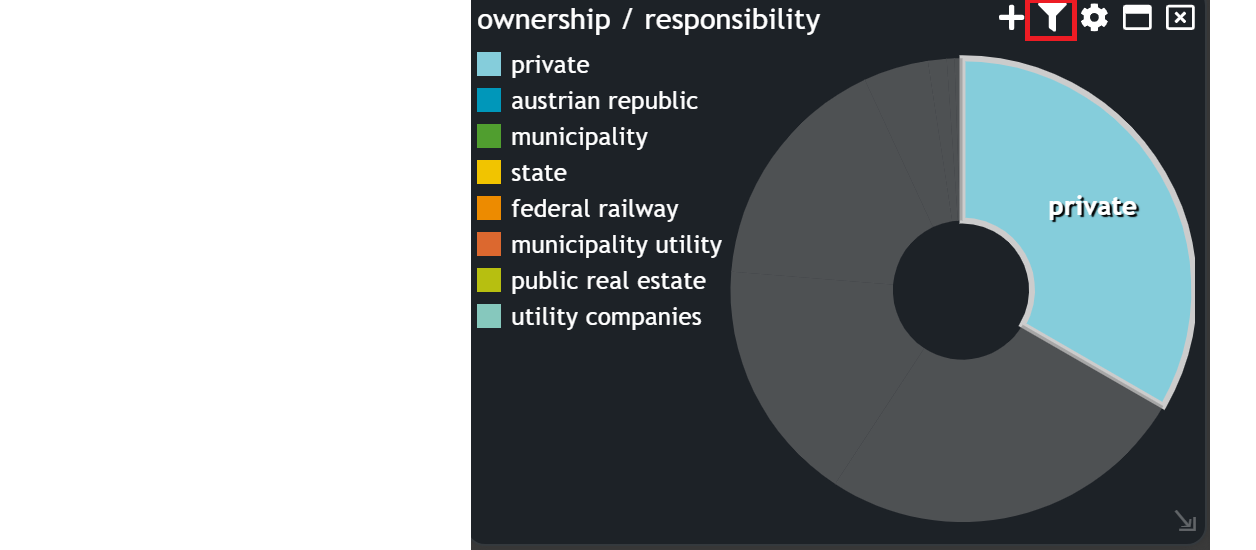
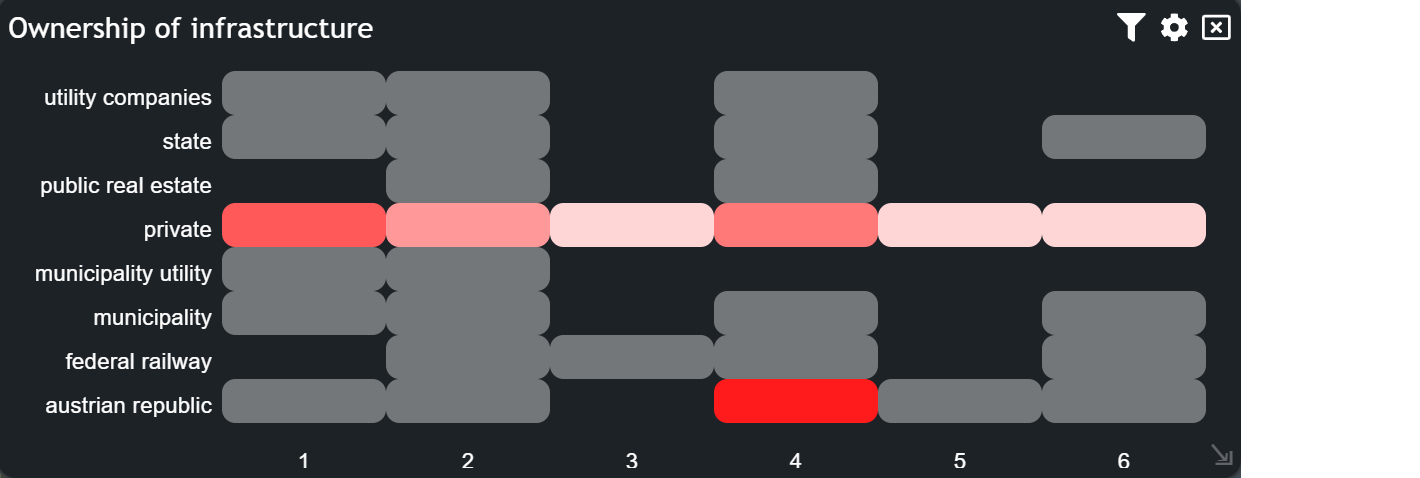
Many graph widgets offer the possibility to be filtered. Just by clicking on a part of a widget, like the slice of a pie chart or a field in the matrix of a heatmap chart, this part of the data is selected. This triggers a filter for all other charts connected by the same dataset and it will grey out the other fields of the chart itself. It is possible to select/filter as many parts of your widget as you desire. To remove the filter, just click on the selected part of the chart or use the icon in the top right corner that looks like a cone, to reset all filters.
Filtering with range
Applicable for: Scatter, Line, Compound, Date
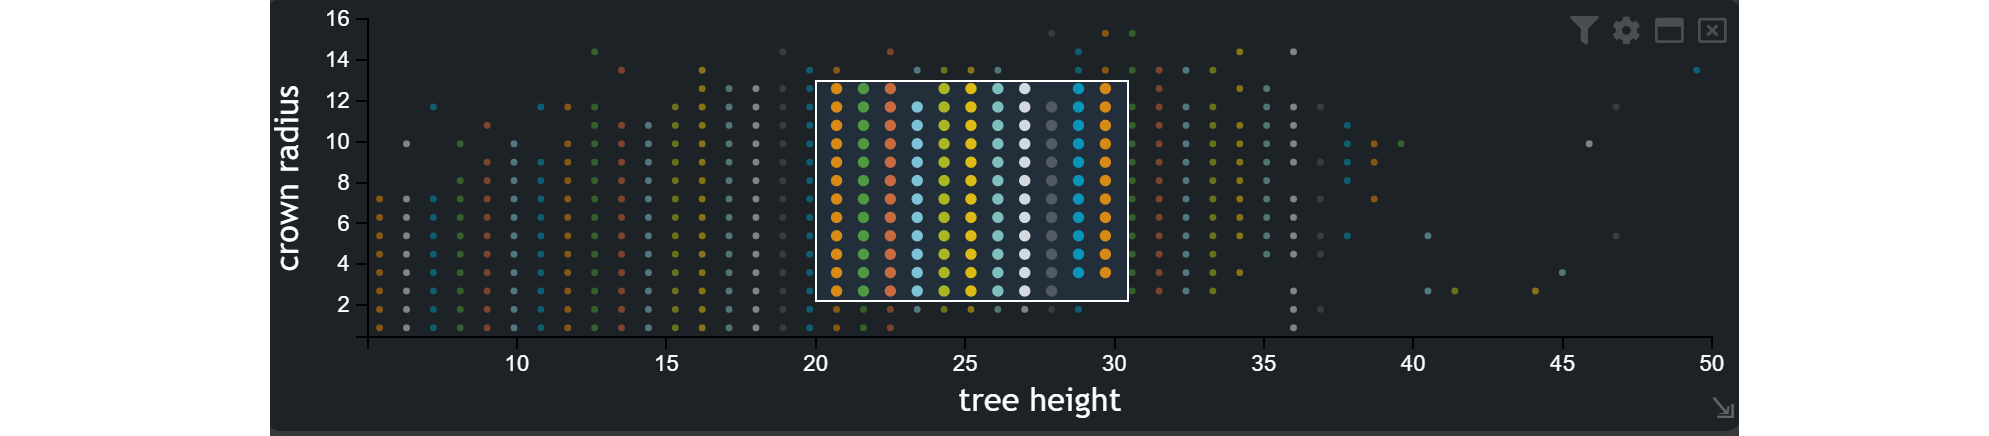
Click and drag the mouse cursor on the chart to define a selected range. This range filter will filter the map to display only the features falling within the chosen range.
Click and drag on the date range handles to adjust the range accordingly.
When a range filter is active, you'll see a reset option displayed on the chart. Click this option to stop filtering the features on the map and return to the original view.
Tooltip information
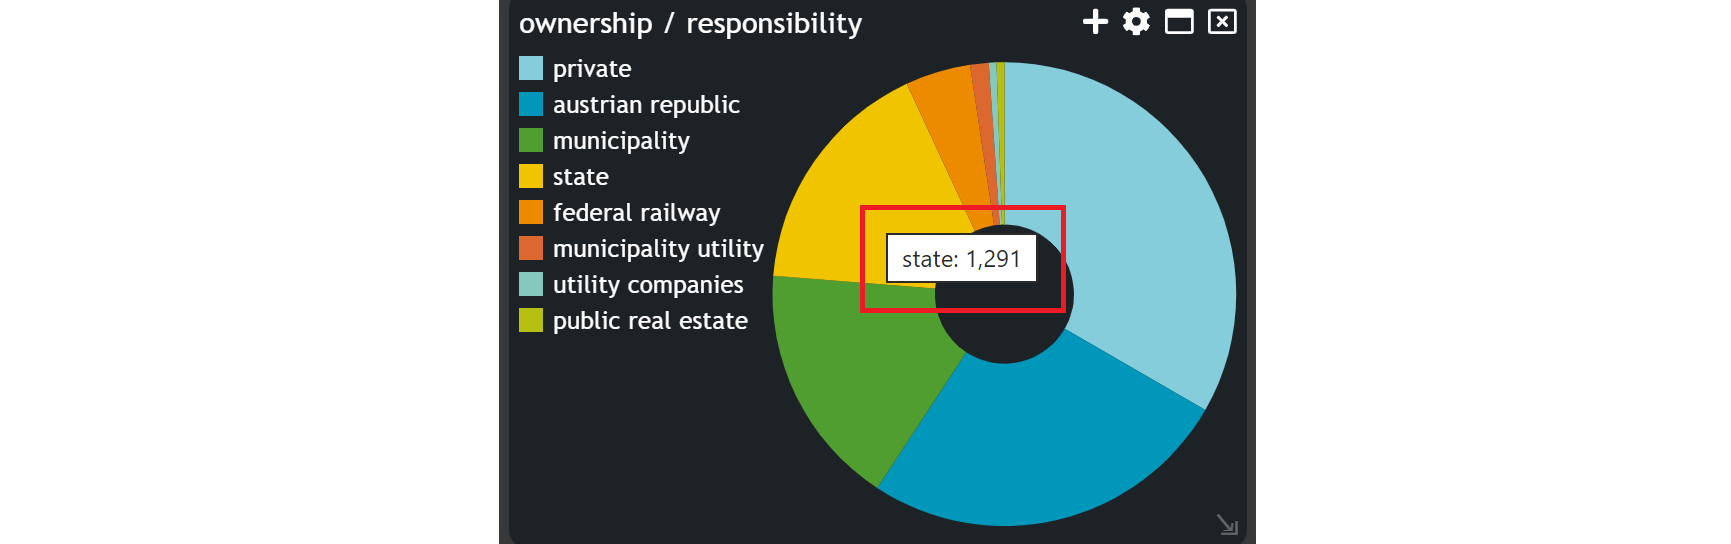
Many graph and date widgets allow you to hover your cursor over it, to get tooltip information. The tooltip displays the name of the attribute and the count of features associated with that segment of the widget.