Dataset configuration in Dashboard
The Dataset Configuration section empowers you to fine-tune your data settings, but also import data from different sources.
The dataset configuration is located in the navigation menu below.

Editing an existing Dataset
To edit an existing dataset, locate the Click to Edit Data Source icon positioned in the top-right corner of the data box. Click on it to access the editing options, which are explained further below in the configuration options.

Or click on the Preview Data icon next to it, to see the first entry of the dataset.
Add a functional attribute
The icon on the very right, Add a new Functional Attribute, enables you to create a new attribute in your dataset. By clicking it, the functional attribute editor will open:

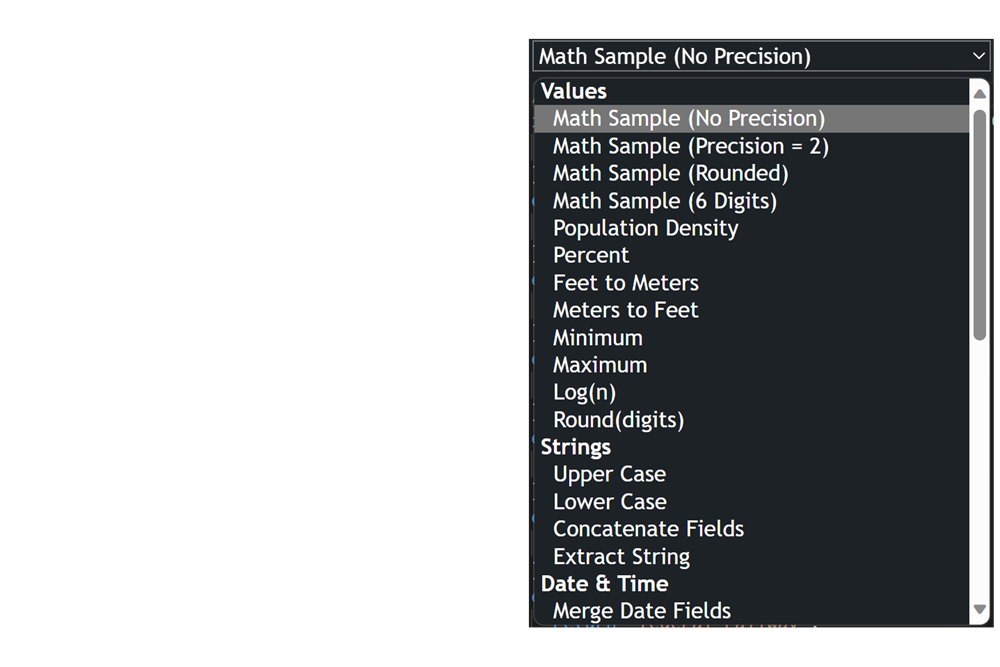
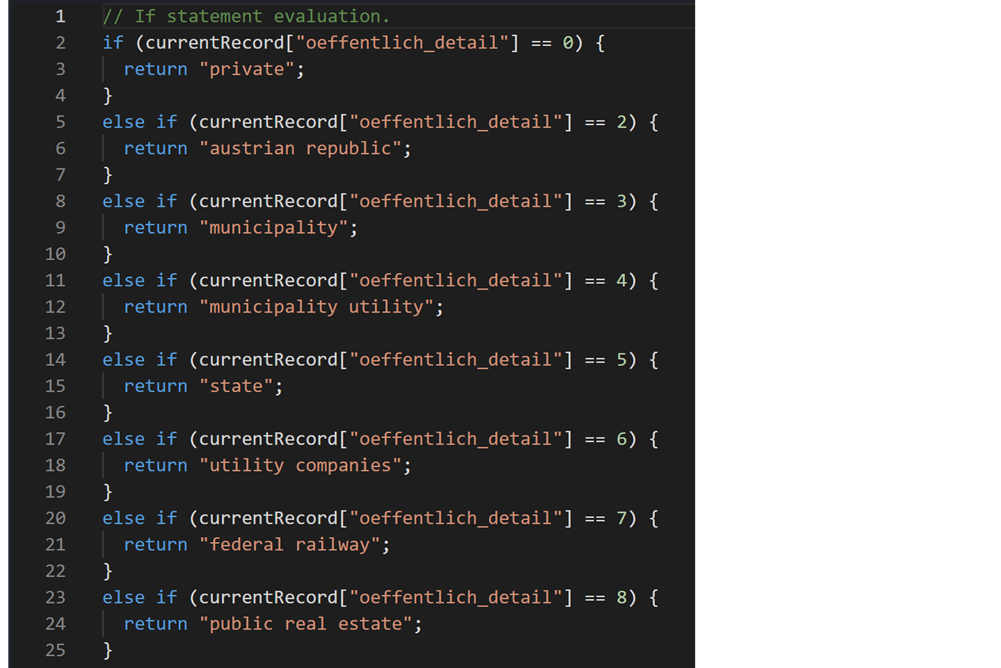
You can choose whatever should be placed in the attribute field by defining the return statement. The examples dropdown offers a number of code snippets to specify your attribute. Have a look at the example below, where a new attribute with String values is created from an existing attribute with numeric values.
Adding a new Dataset
To introduce a new dataset, find the Add Dataset icon in the bottom-left corner of the screen. Click on it to initiate the dataset addition process.

The icon with the flipped 8, Enable N Level Deep Linking, is used to link all datasets by a filter. By default, the Analyzer performs a 1-level link on datasets.
For example, when you have three datasets: Dataset A <-> Dataset B <-> Dataset C
If you filter Dataset A, Dataset B will be updated to reflect the filter of Dataset A in contrast to Dataset C, which will remain unfiltered.
Data import options
The dataset configuration options encompass a variety of data sources. These options include:
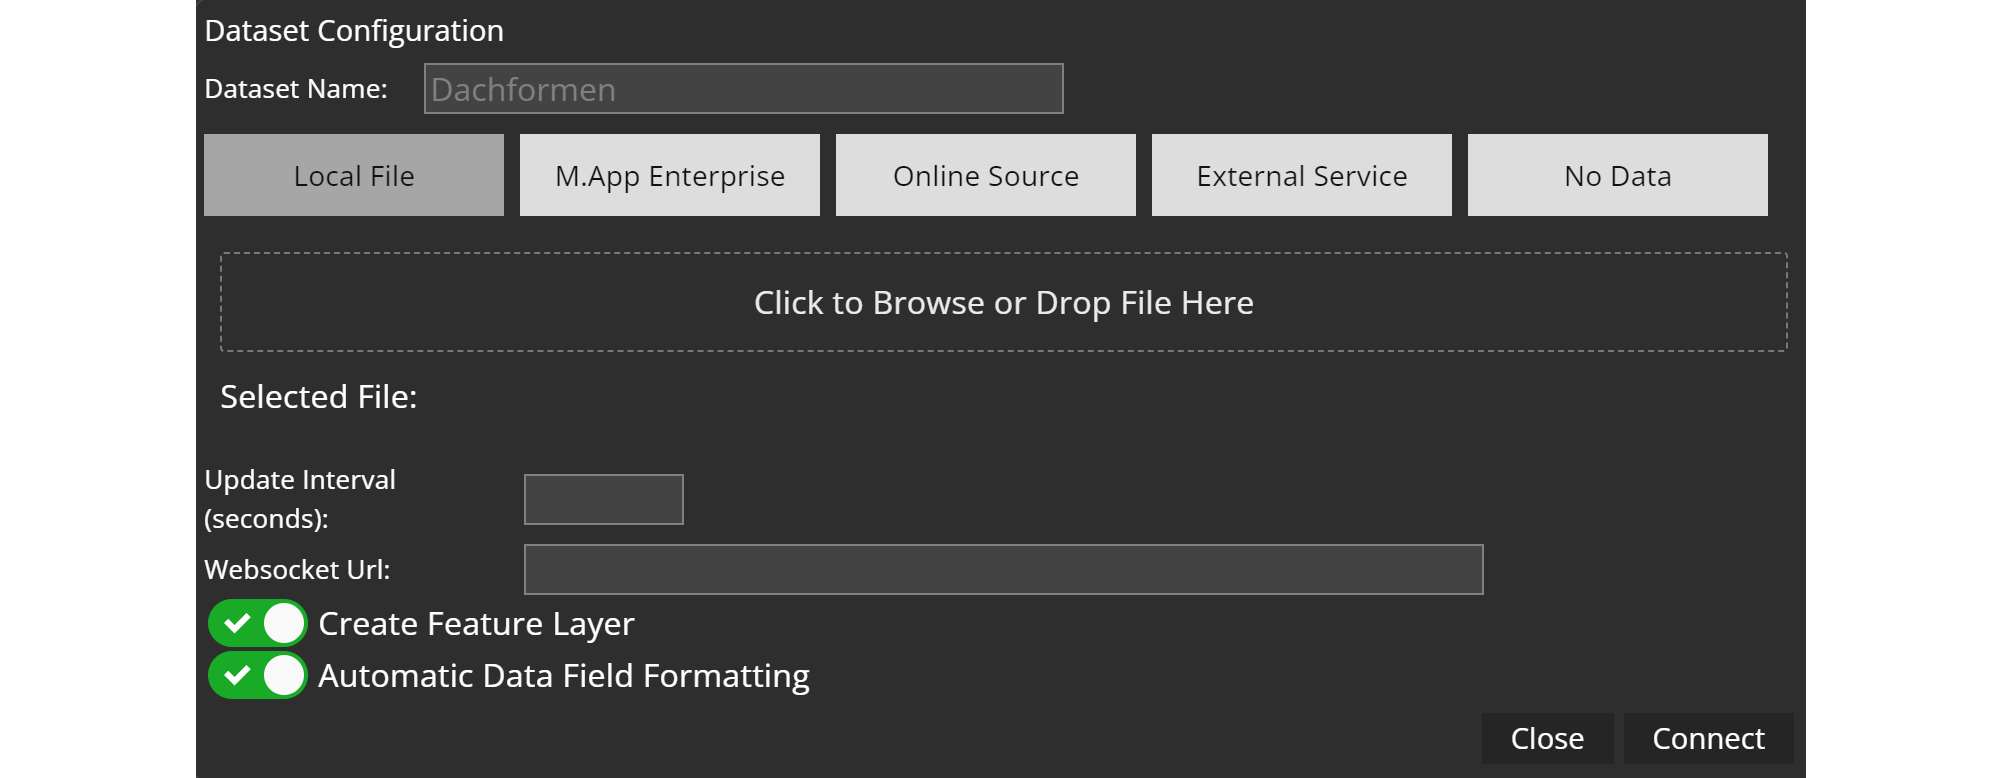
Local File: You can include data from a local file of any format. Browse or drop a file from your drive and add it.
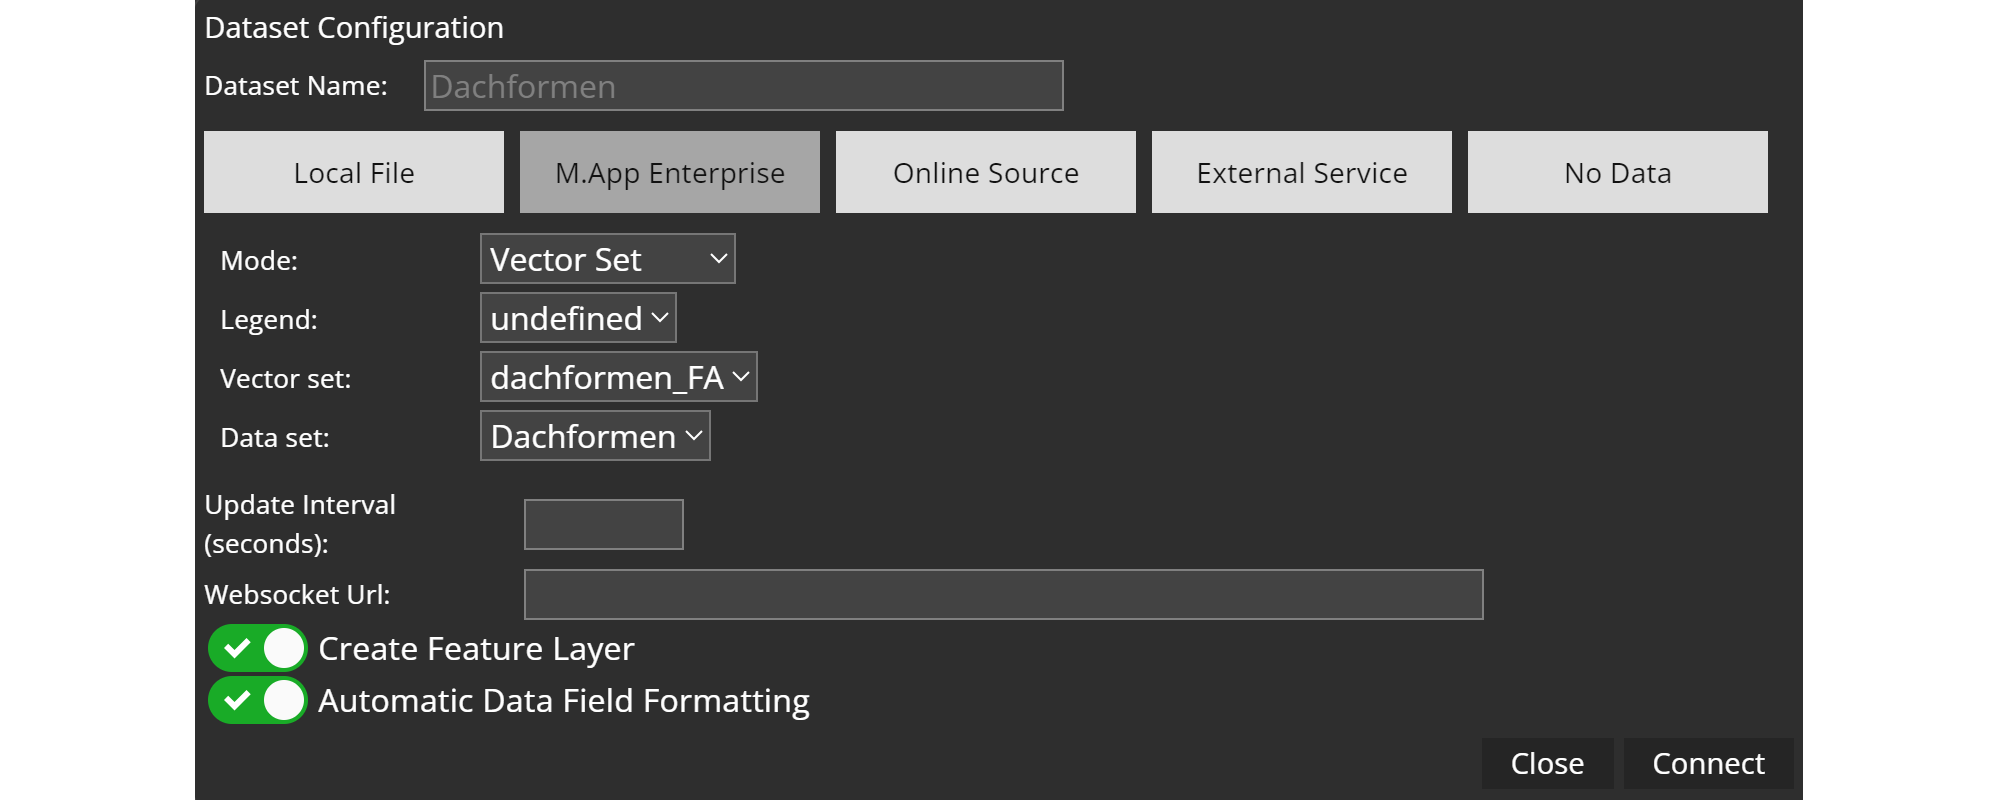
M.App Enterprise: Select from among vector, live, cached, and attribute data previously incorporated into M.App Studio.
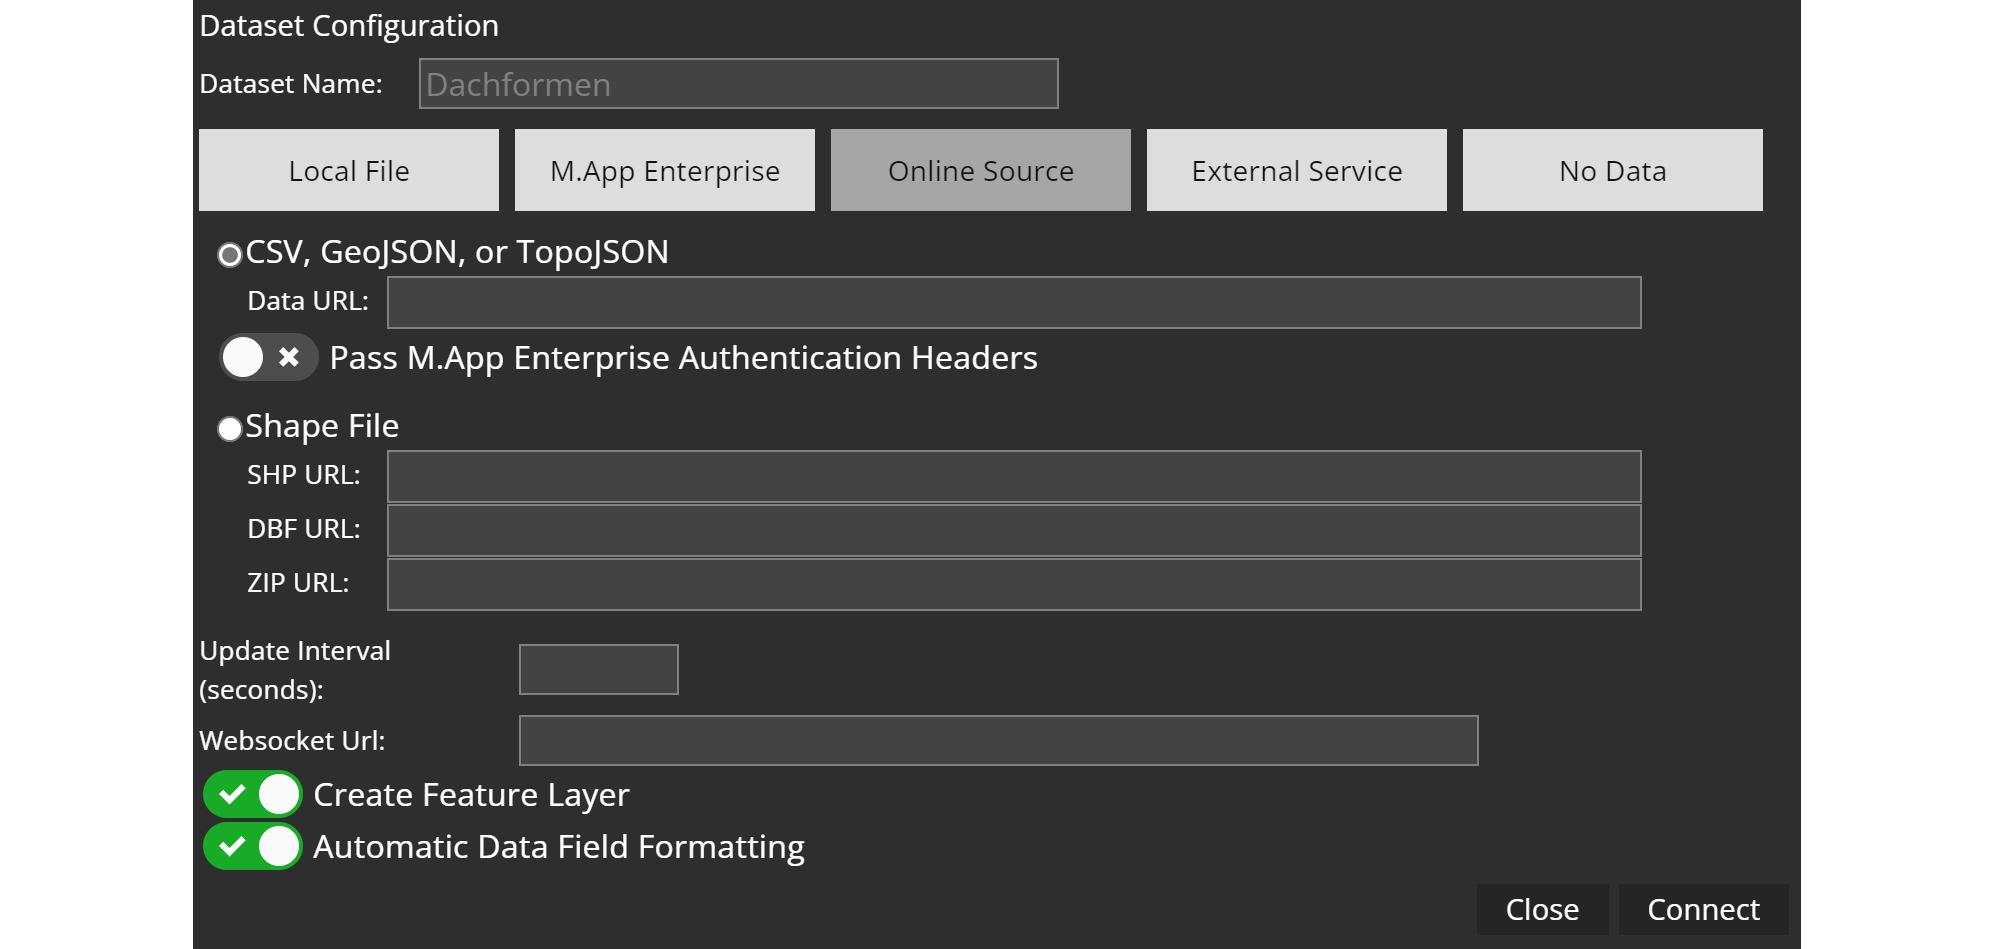
Online Source: Incorporate data from online sources in one of these data types: CSV, GeoJSON, TopoJSON or Shape file format (SHP, DBF, ZIP).
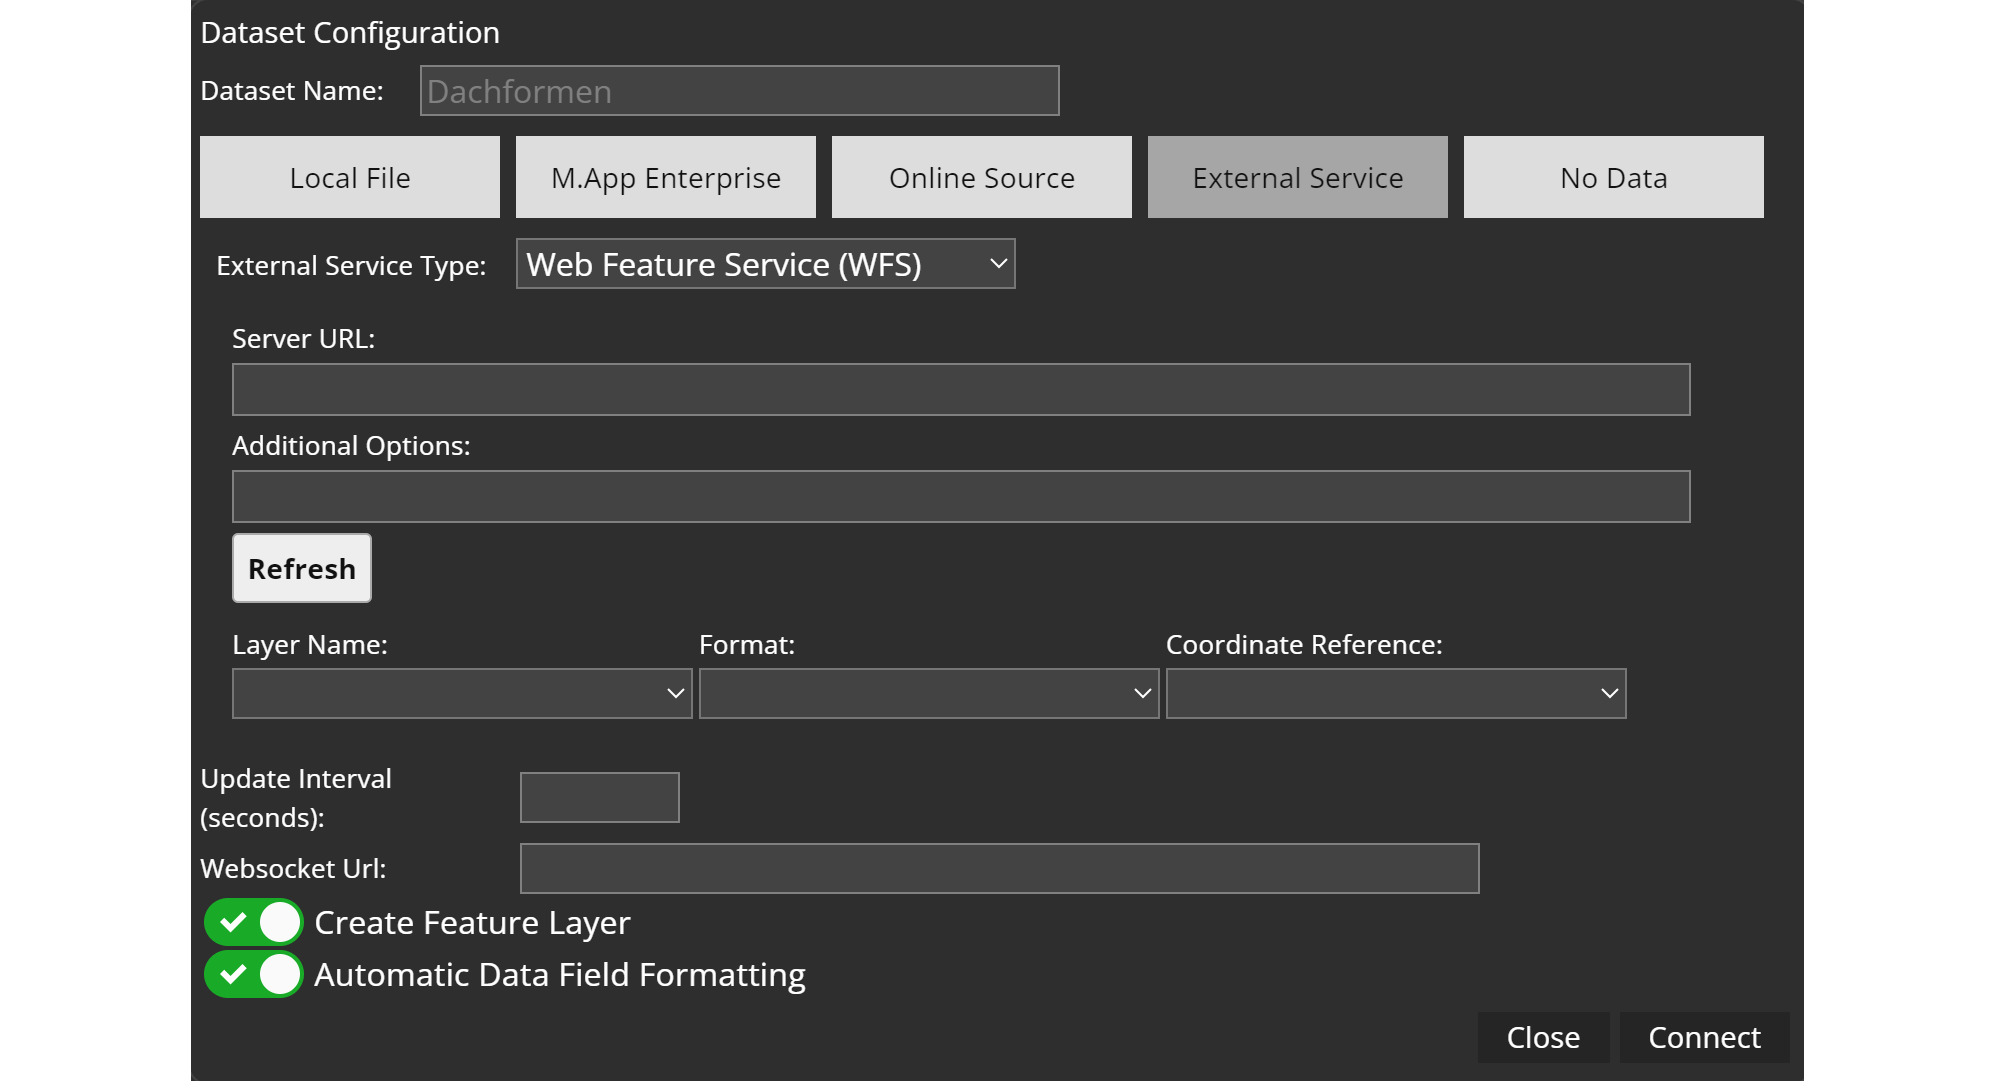
External Service: Select from WFS or ESRI Map/Feature Service types to integrate external services.
No Data: An option for cases where no data source is needed.
Common settings
For each of these configuration options (except "No Data"), you can tailor your settings by:
Time Interval: Define the time interval in seconds for data updates.WebSocket URL: A Websocket Url can be used for live data to ensure their regular update.Feature Layer: Create a feature layer for further customization.Data Field Formatting: Automatically format your data field to ensure it aligns with your requirements
Final steps
Once you've added or edited the desired data and customized the settings, follow these steps to complete the process:
- Click
Connectto establish a connection with your data source. - Verify that the desired changes are visible and functioning as intended.
- Finally, click
Applyto save your configuration.
Join datasets
Within the dataset configuration it is also possible to join related datasets in order to incorporate additional attributes.
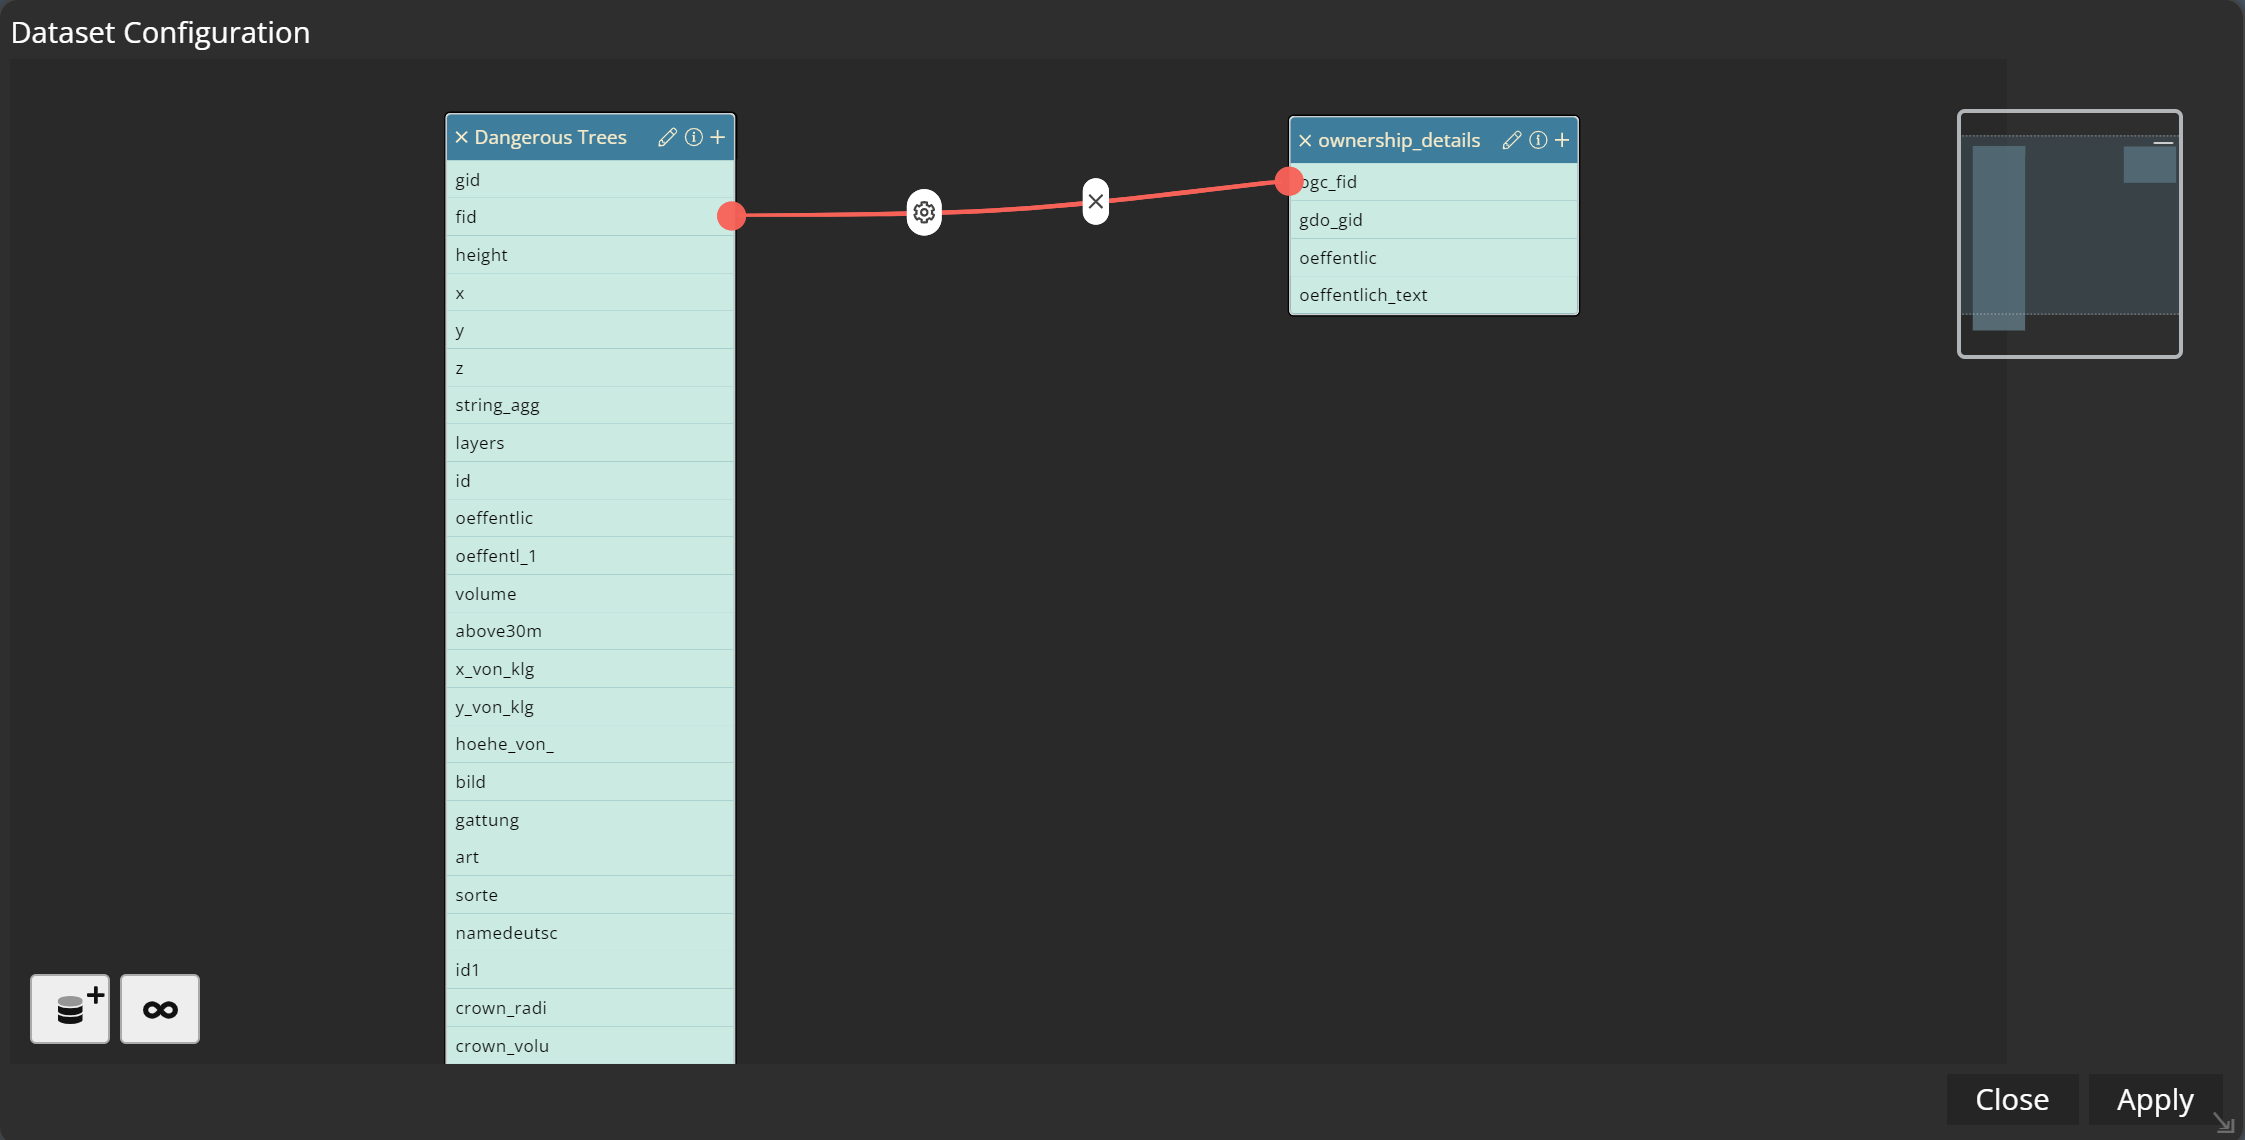
To join two datasets, just connect the common attributes by clicking on one dataset's attribute and dragging it to the according field of the other dataset. A red line will show the linkage.
Now you can make use of the additional attributes when you use a tooltip or some widgets.