Lesson 6: Using 3D data in M.App Enterprise
This tutorial targets a stepwise approach of importing OGC-3DTiles into an App. It describes all the essential steps in Luciad Fusion and M.App Enterprise Studio.
Preliminaries
To being able to add your 3D geometries to M.App Enterprise, they must meet certain criteria, such as the data format of OGC-3DTiles.
You haven't converted your obj files yet?
 Marina Lanxinger
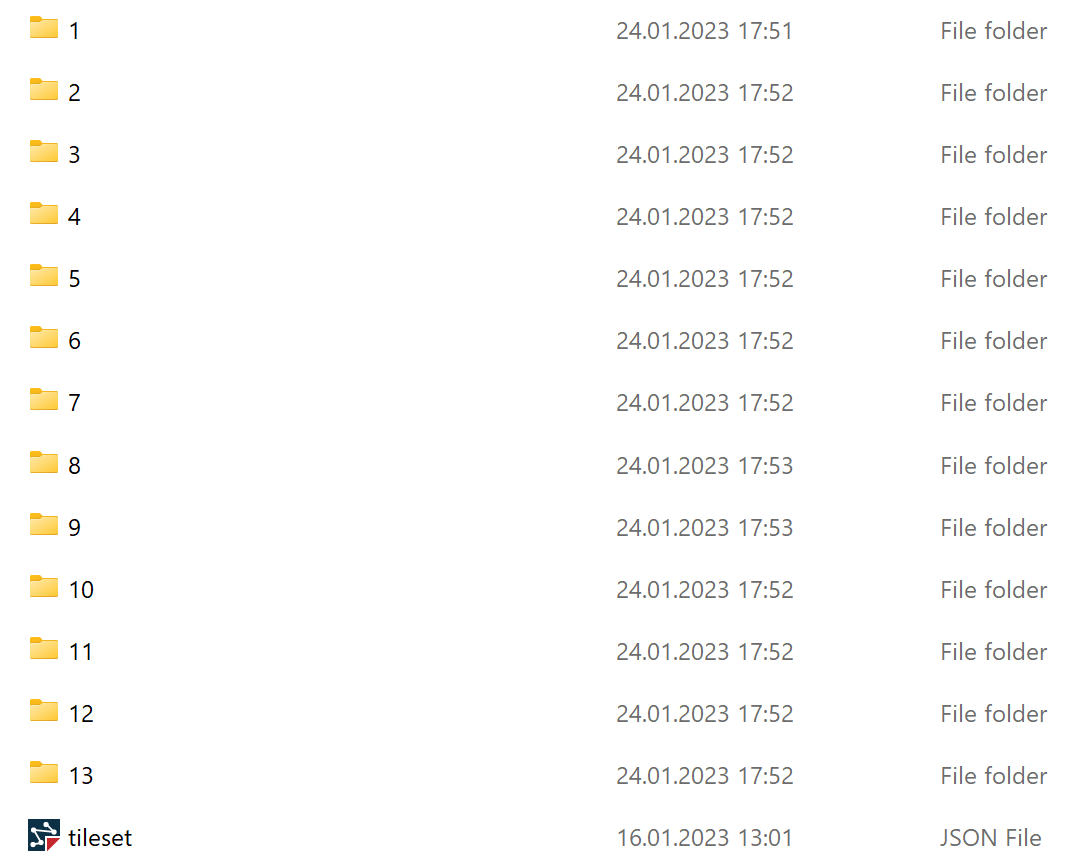
In case you have applied this step already, you will have a folder with a similar tiling content like this:
Luciad Fusion settings
In order to enable the inclusion of OGC-3DTiles in any M.App Enterprise App, it is necessary to have Luciad Fusion installed (Luciad Fusion Installation) and running. The software allows to generate Geoservices for publishing geospatial data in Applications, such as M.App Enterprise.
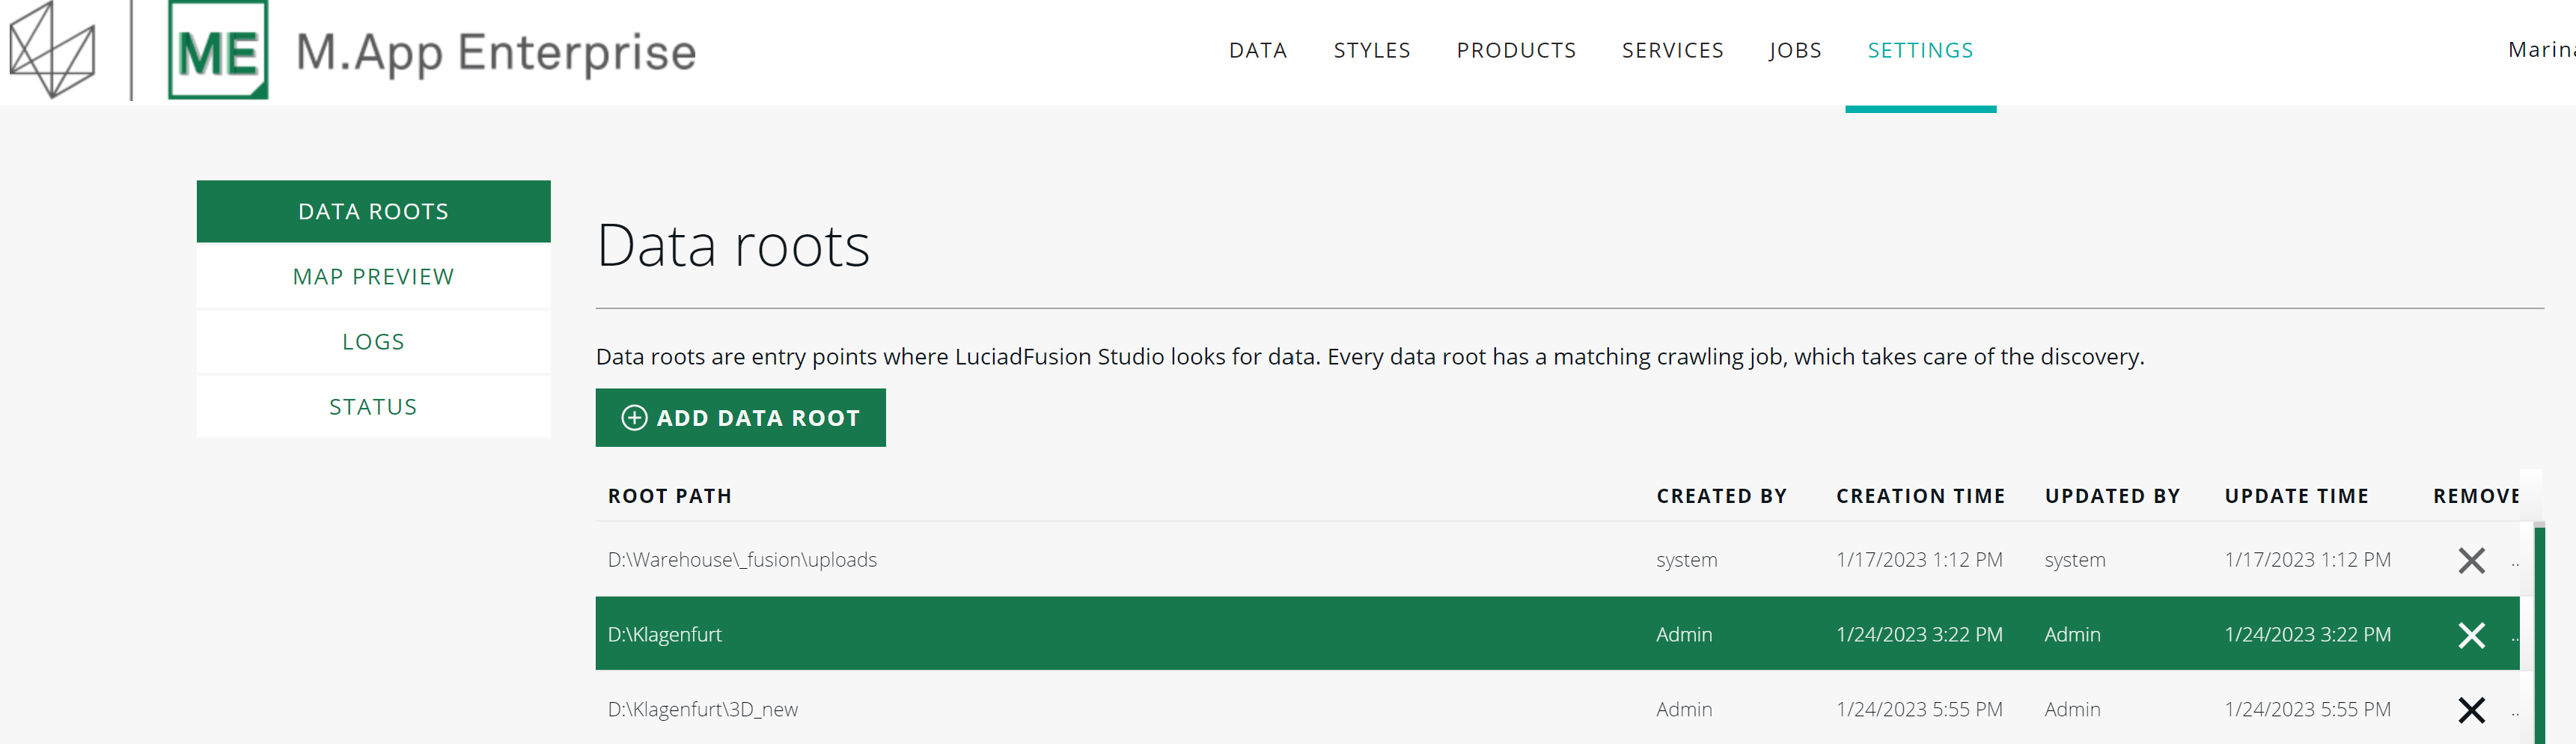
Set data root
First, set a data root to show Luciad Fusion where your data is. LuciadFusion Studio then adds the location to the data roots list. The paths in this list should be relative to the server.
Settings -> Add data root
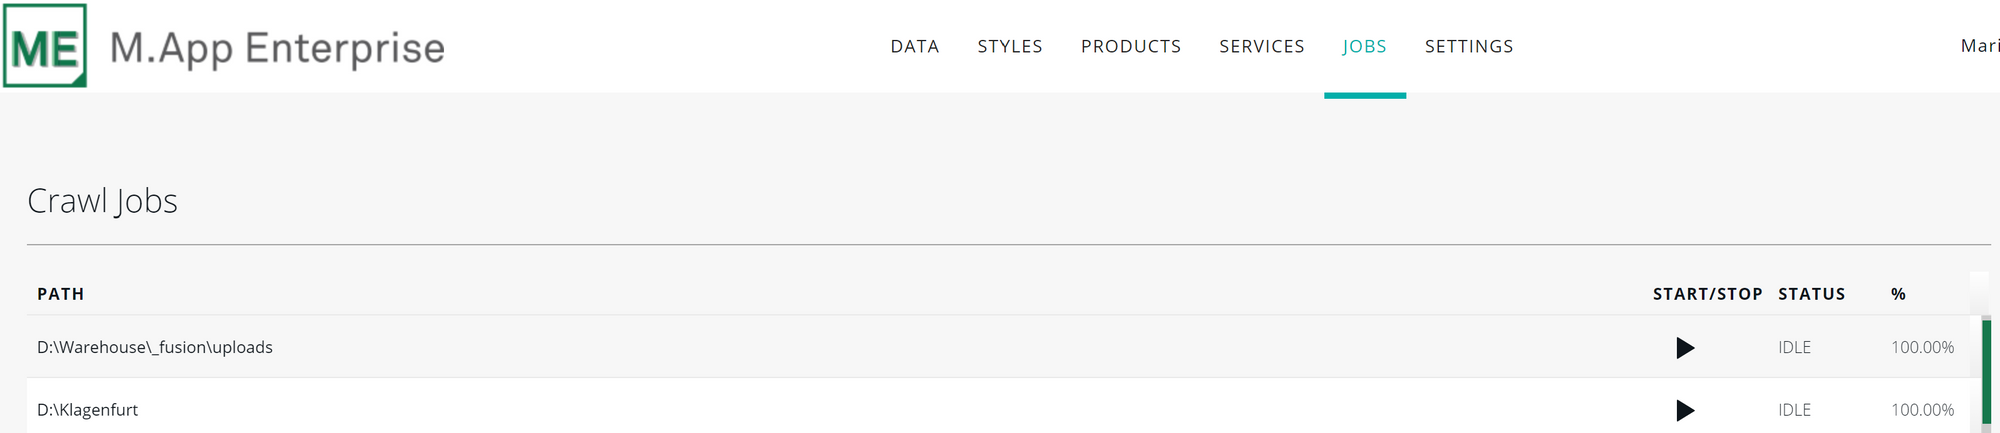
The desired data is crawled from the specified location automatically when the data root is added. This step can take a few minutes dependent on the data volume. On the jobs page you can track the progress in the "%"-column.
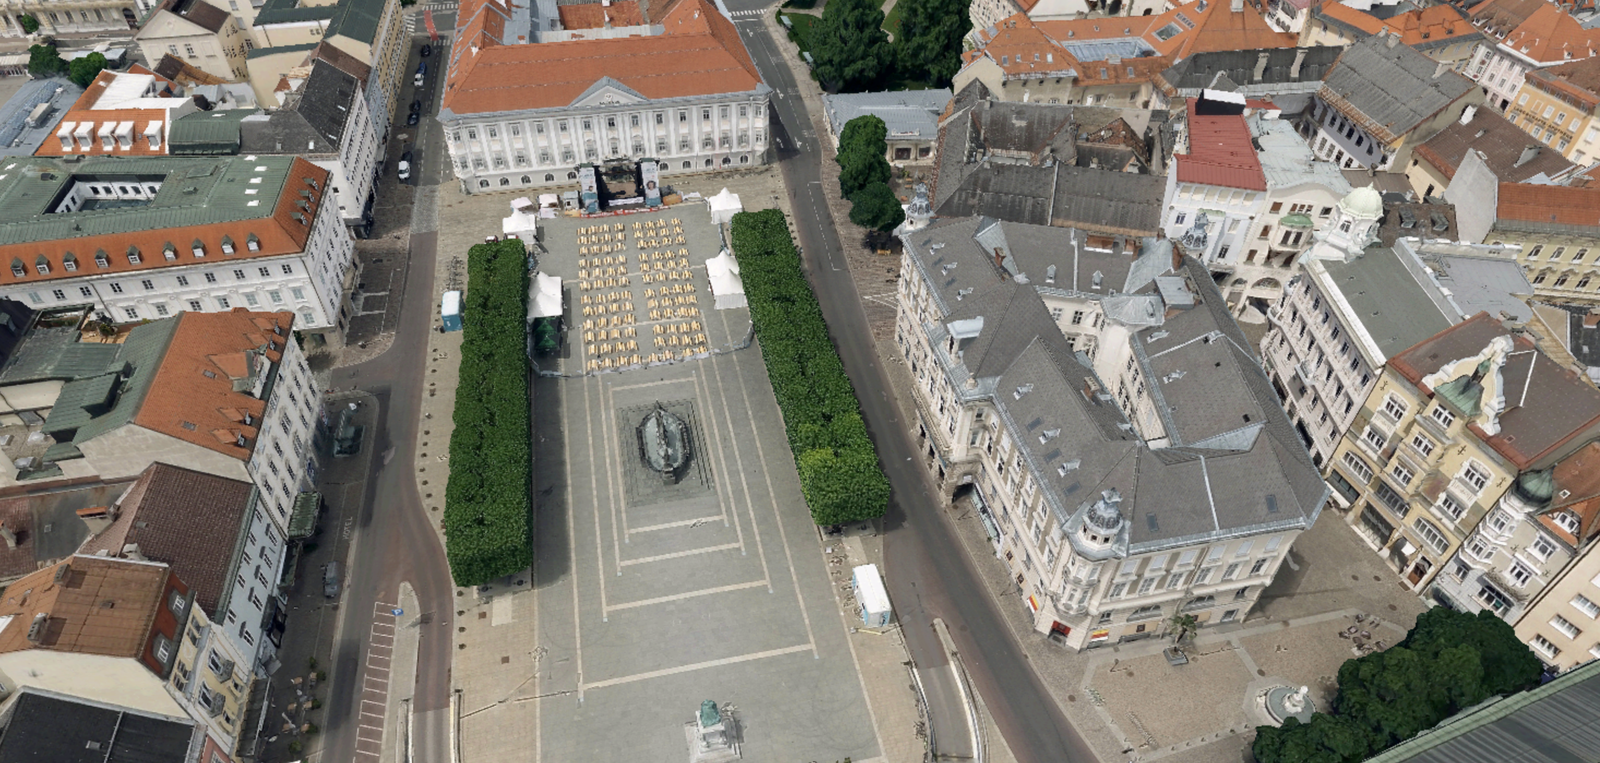
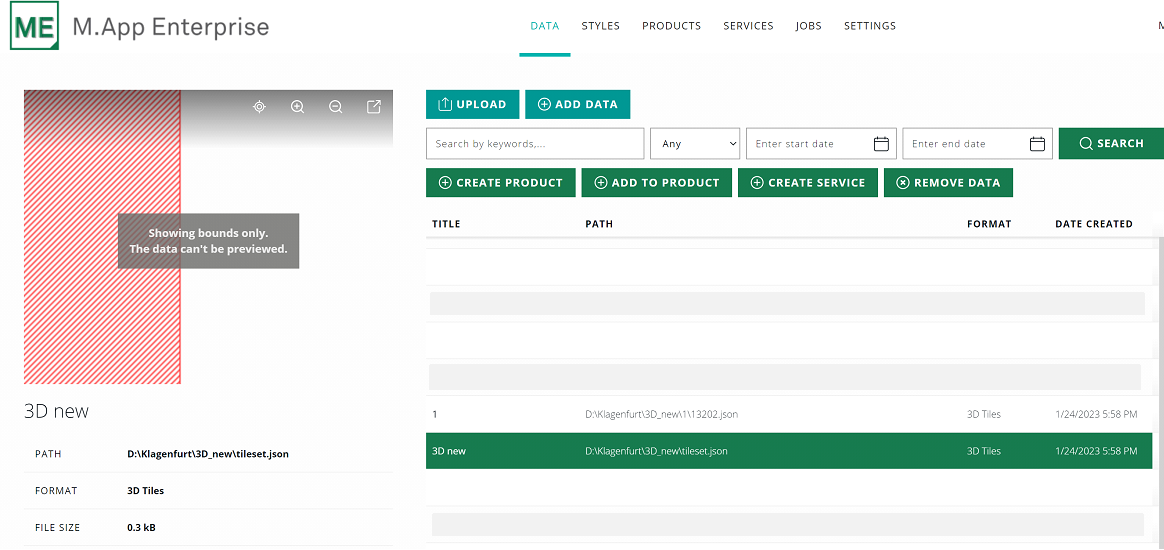
On the data page you can observe all the imported data. Let's assume you have added 3D Tiles which are stored in the folder "3D_new", you would see the appendant JSON file with metadata tile information.
Create a Service
Now, that the data is crawled from the desired folder location, you can already create a service. In case of 3D tiles, you mark the corresponding JSON file and click on "Create Service".
Data -> Create Service
The following window will be opened up:
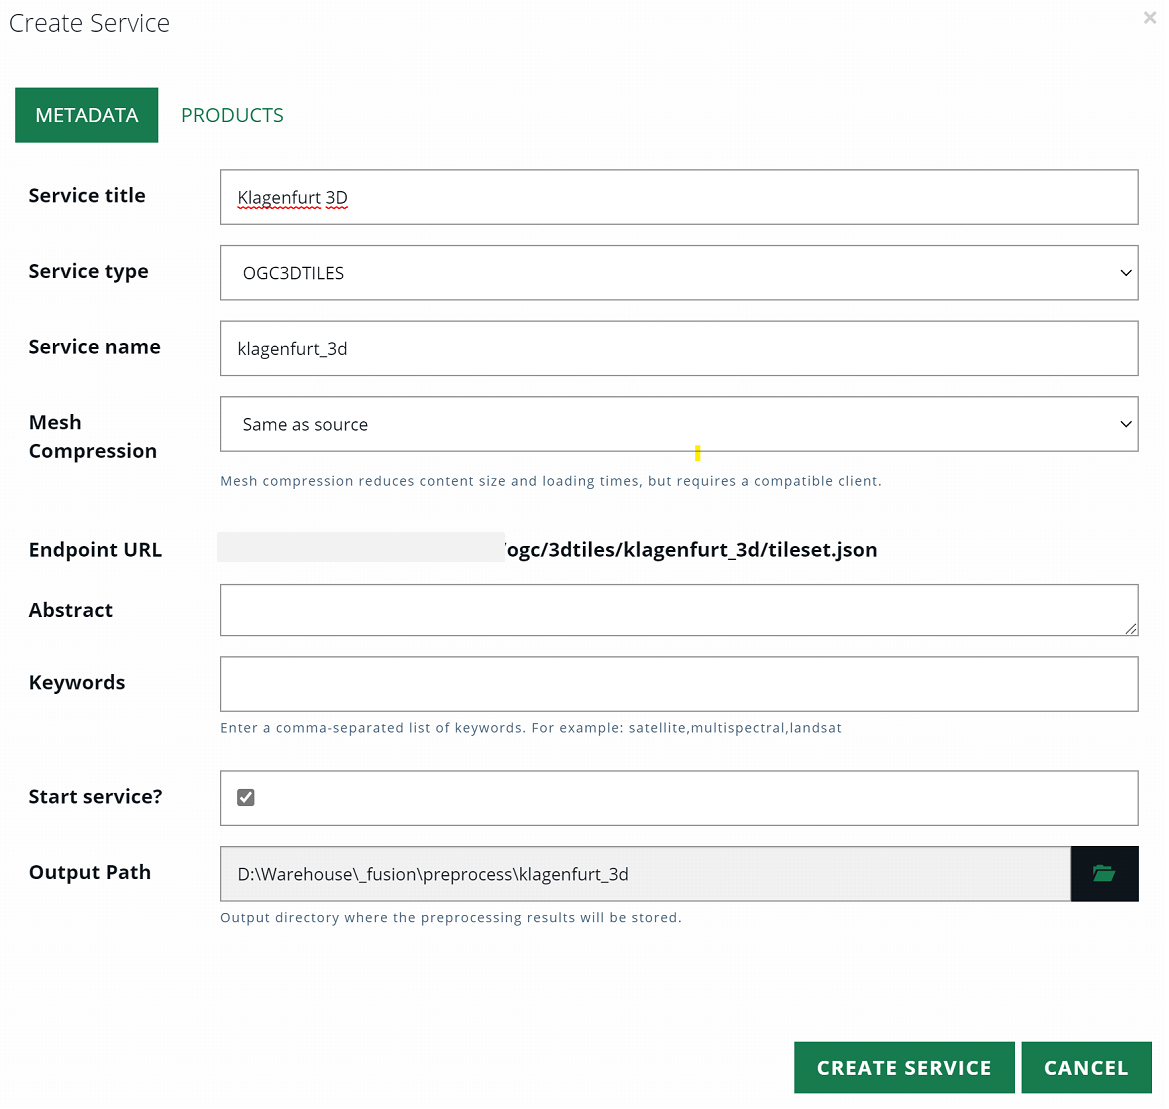
Here you can specify the service title and the service type. The latter one, in case of 3D tiles, has to be be "OGC3DTILES. Finally, create the service!
Service title -> Service type -> Create Service
Studio settings
To get the desired 3DTile Service now into your Application, you will have to add it in M.App Enterprise Studio via "Content".
Content -> 3D Data -> New -> OGC3DTiles
Select the needed Service, for instance "klagenfurt_mesh" and save it.
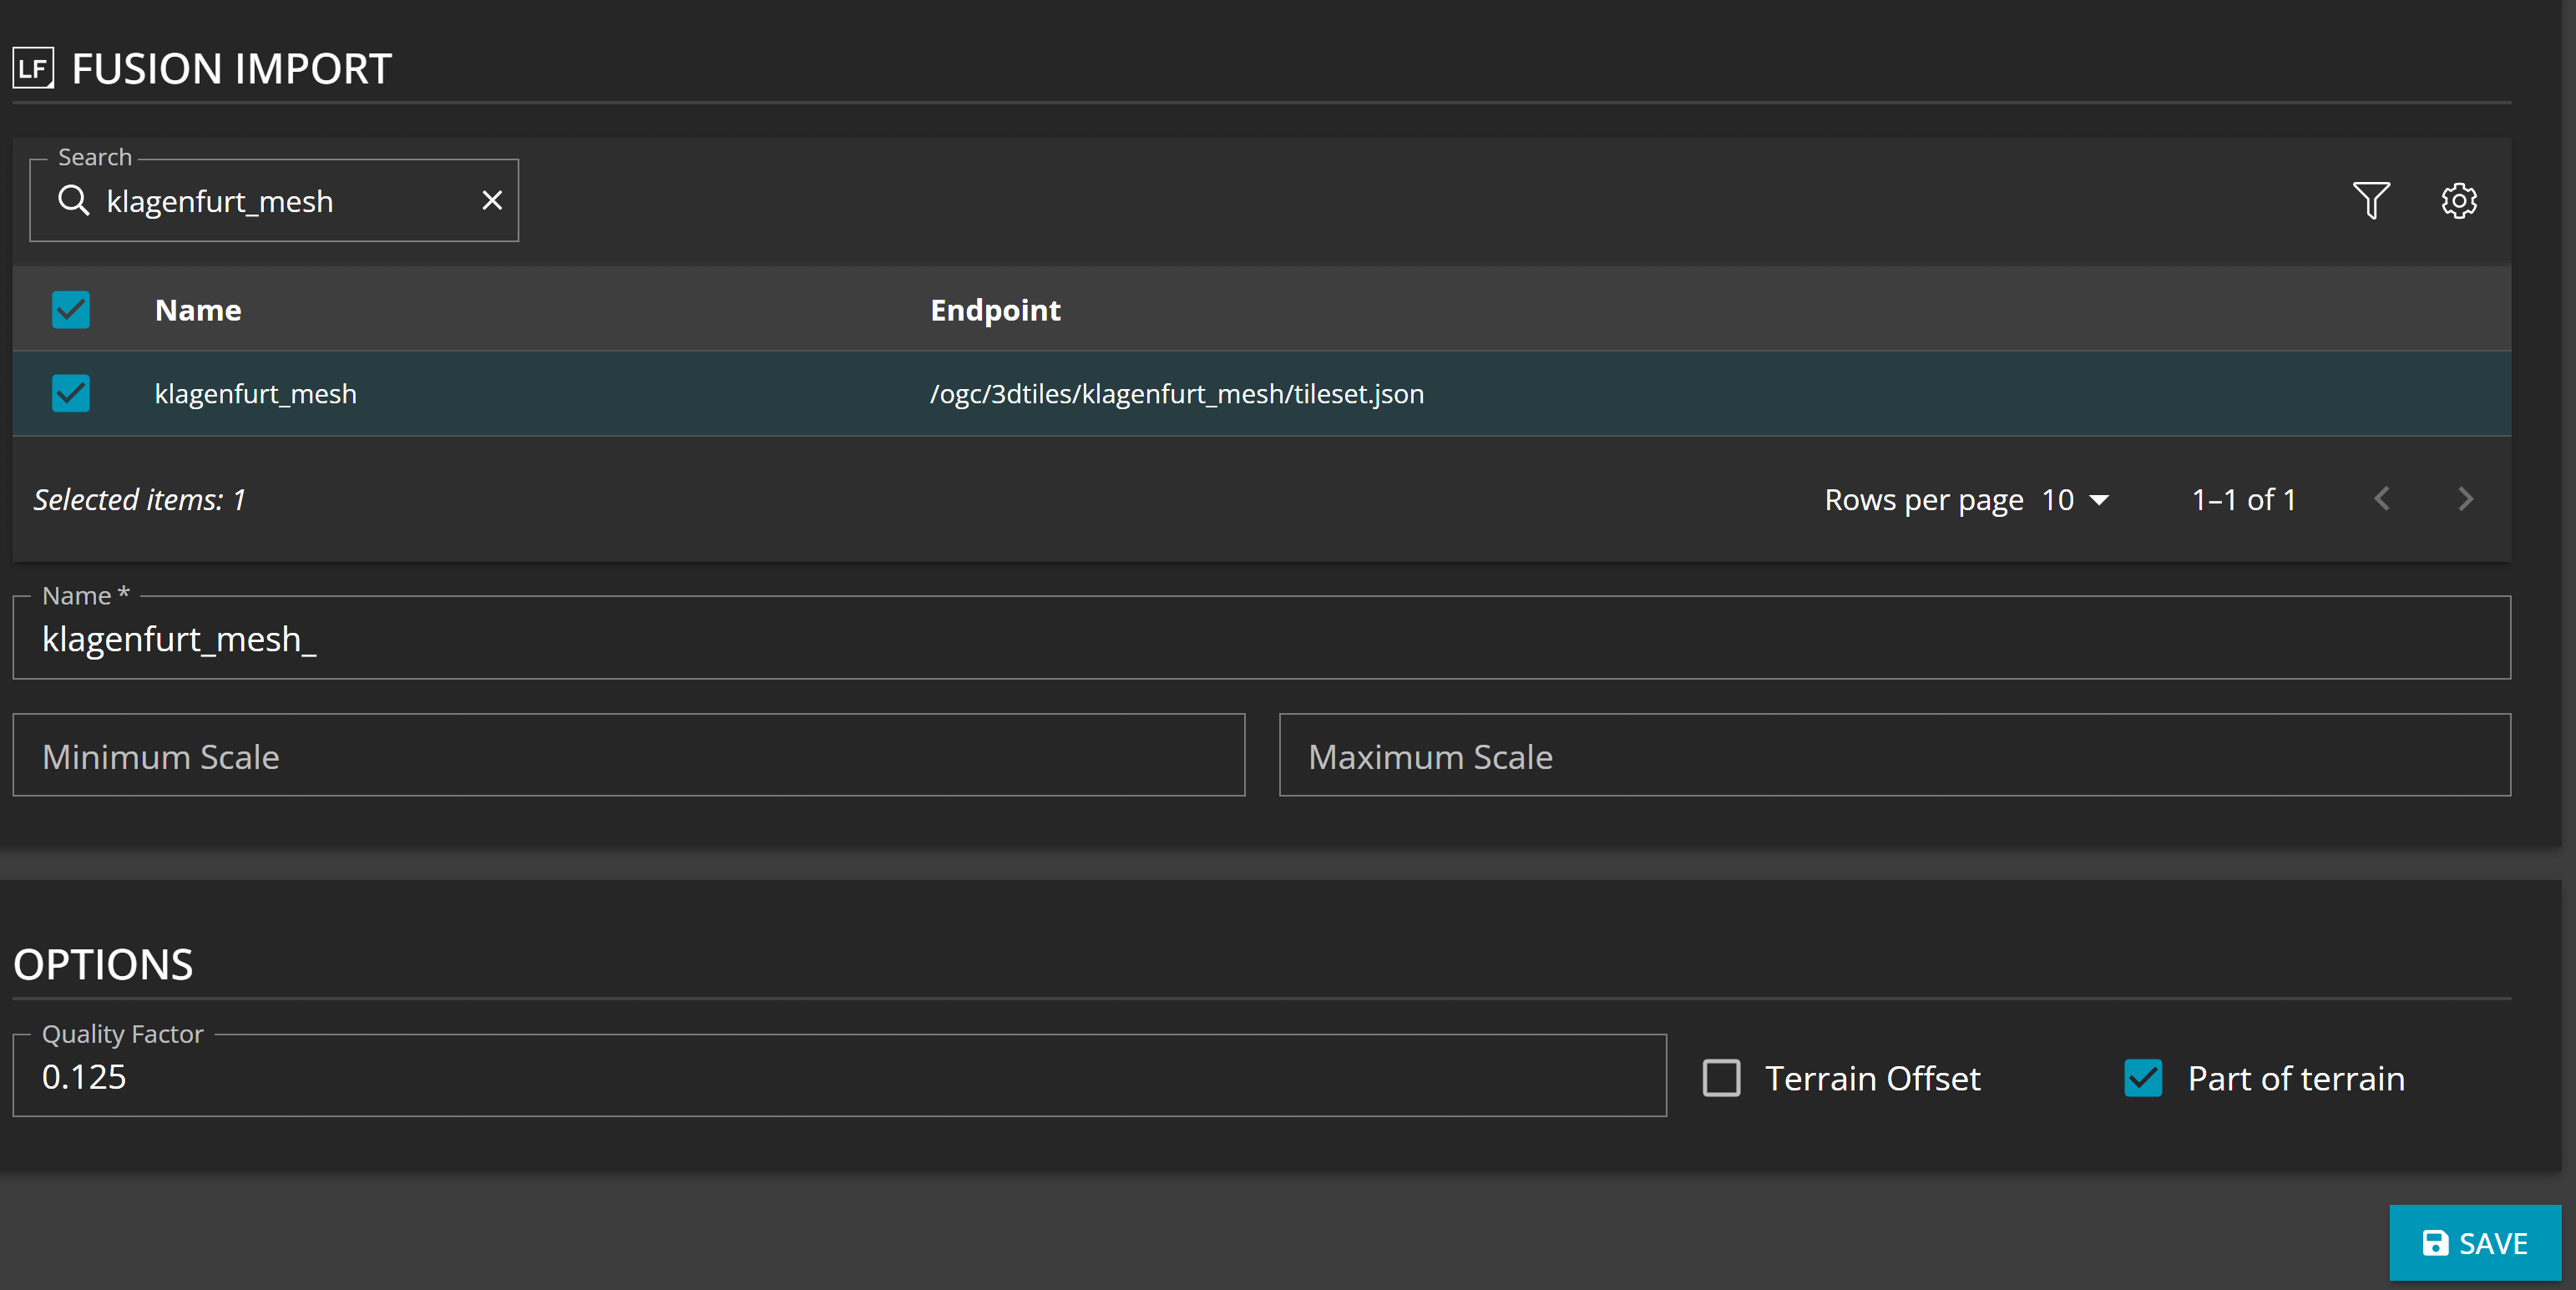
Now, you can add it to your legend and build your Application.