Lesson 8: Creating a Desktop App

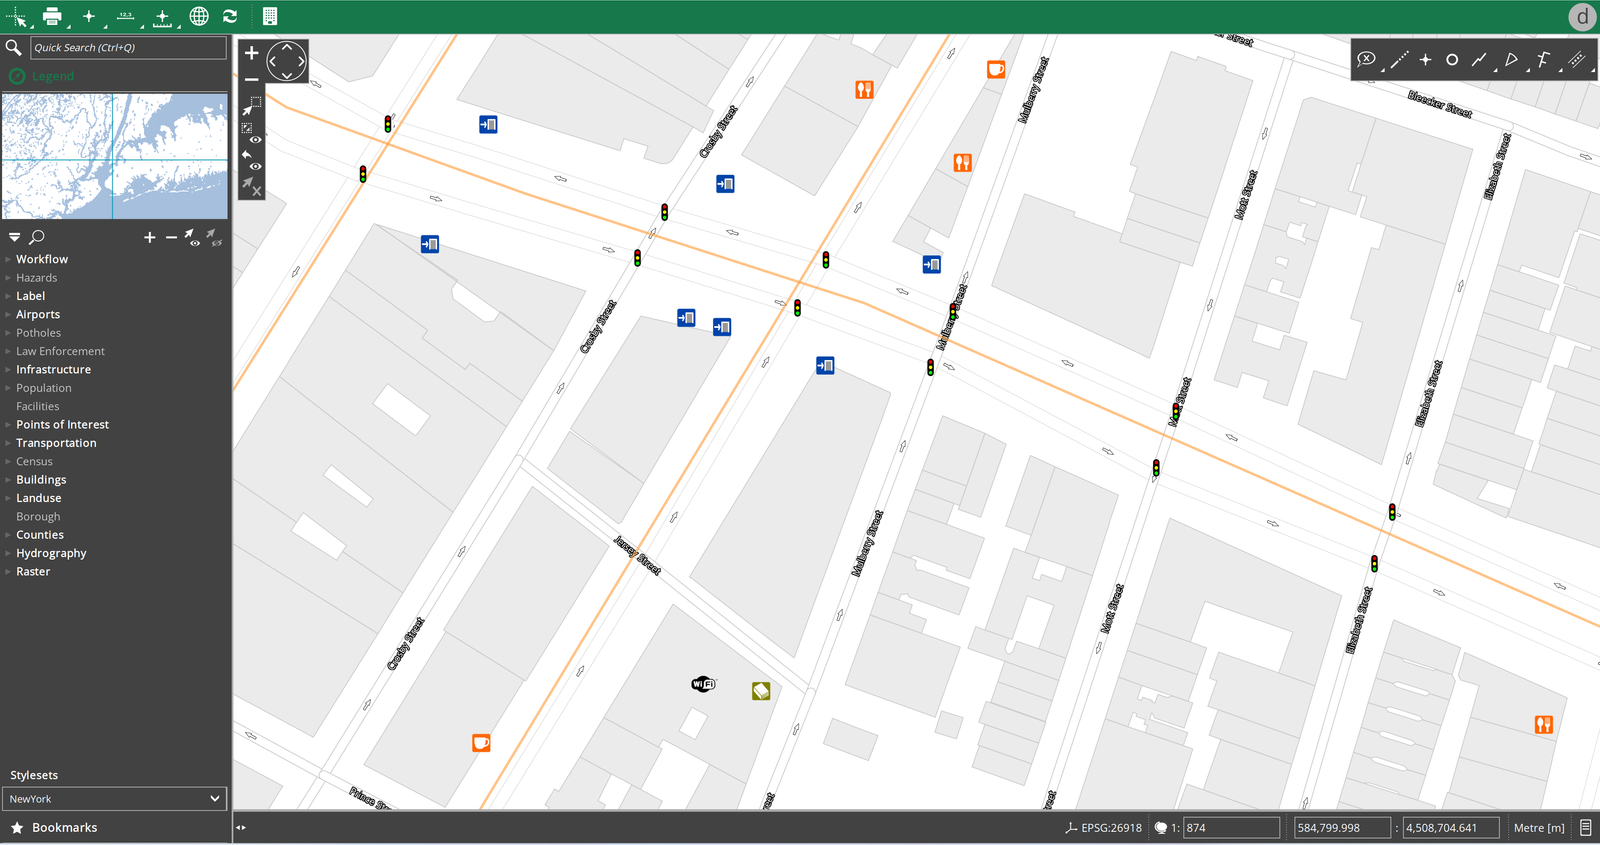
This tutorial will outline the required steps to set up a Desktop App with just the basic elements.
Required steps
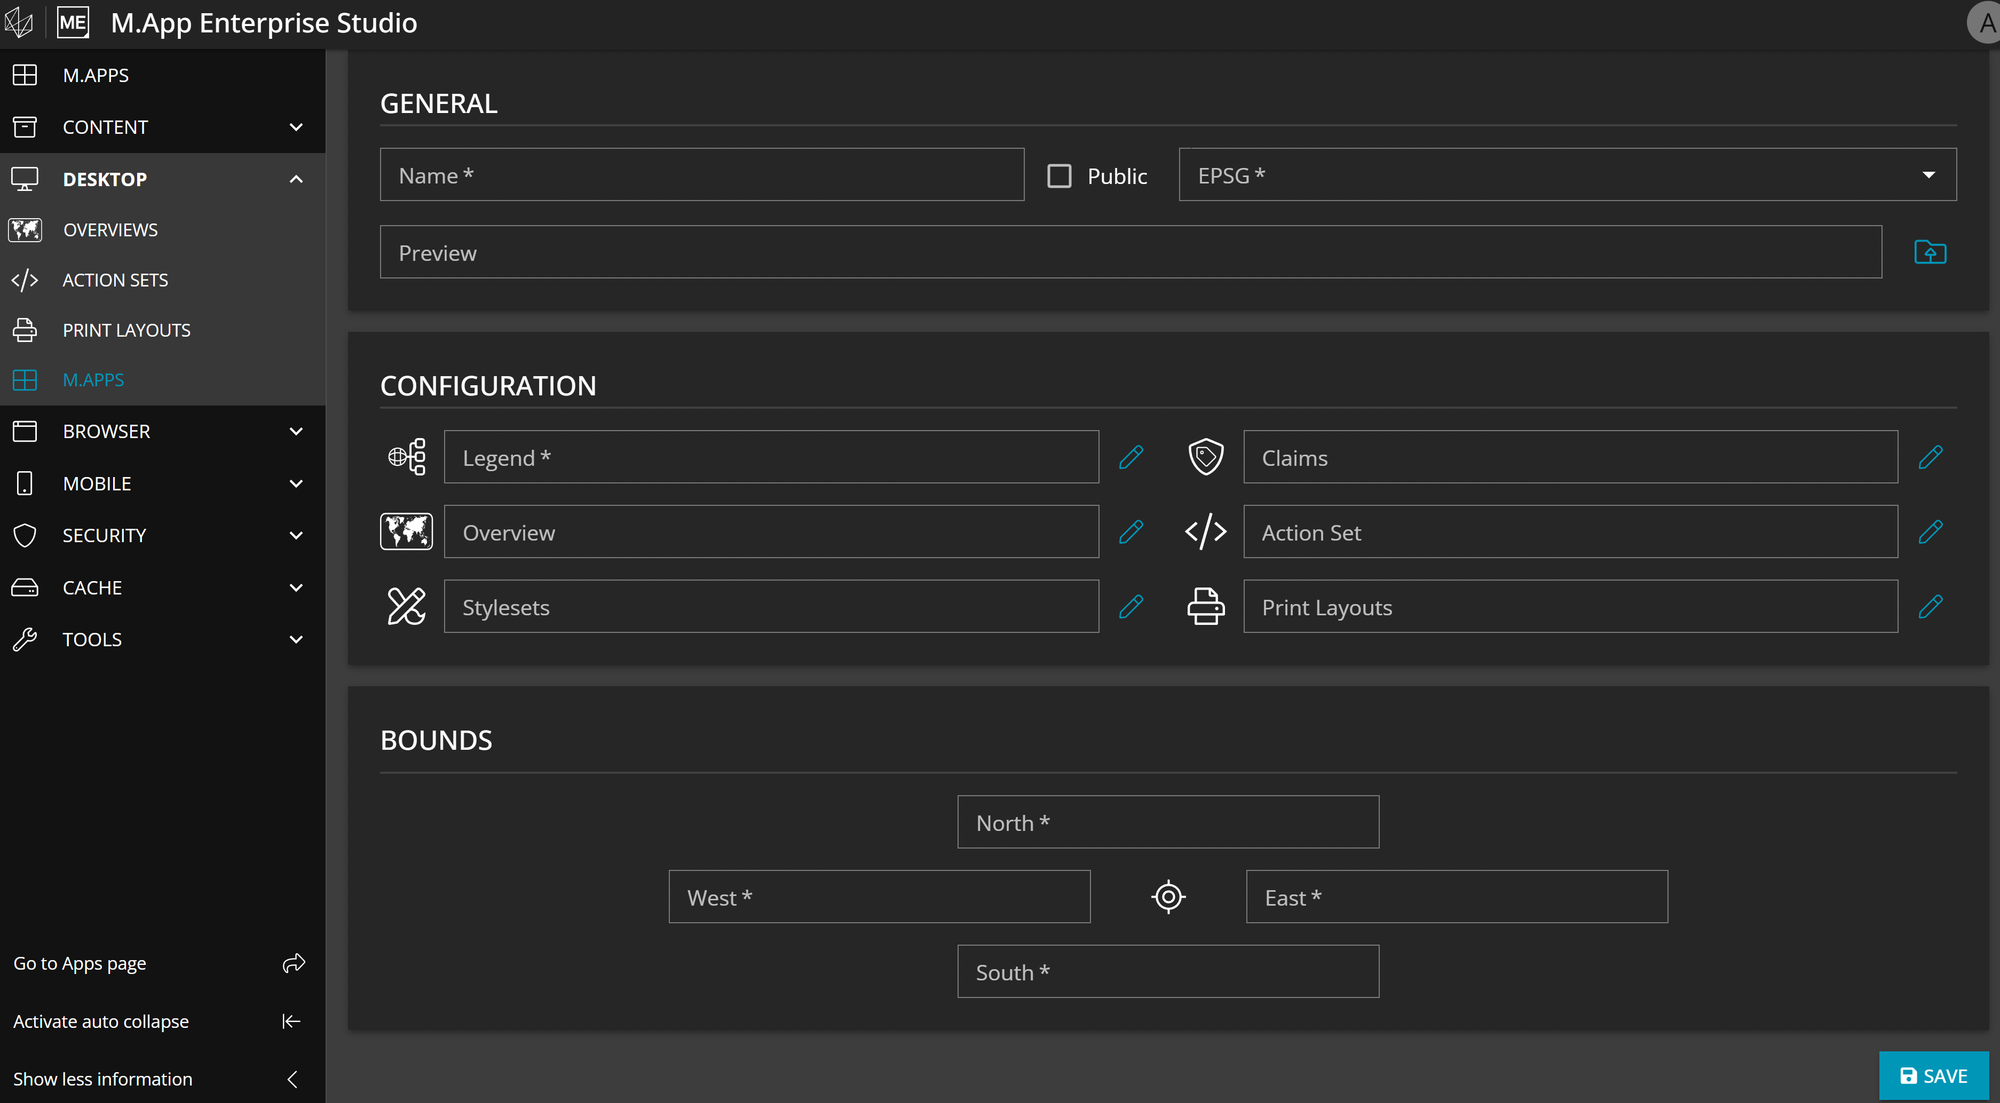
A legend with all the datasets you want to be displayed in your Desktop App is an absolute must to build your Desktop App (or any App). It determines which data will be inlcuded in the mapview. The table below shows the requirements and some optional elements.
| Must-haves | Optional |
|---|---|
| Name | Styleset |
| EPSG code | Overview |
| Legend | Action Set |
| Claim | |
| Print Layout |
Configuring a Desktop App
You can create a new Desktop Application in Desktop → M.Apps → New.

Three parameters need to be specified:
1.Name: Capital letters, umlauts, special characters and spacing are allowed
2. EPSG code: which map projections should be used
3. Preview Allows you to upload a cover picture, which helps you to find apps easier on the apps page.
Click on Save and voila, your Desktop App is ready to be explored!
In M.App Enterprise Studio there is a button called Go to Apps page, which directs you to the Apps page. It can be found in the left side panel of the Studio.
