Lesson 5: Create a Style Set
In this post you get an overview how to define the styles for your vector data. The detailed post is linked at the end
First and only prerequisite to make use of the Style Editor of M.App Enterprise and subsequently changing the visual representation of the data is to have vector layers, which you want to show in the application.
You can create new a new Style Set, when you click Content → StyleSets → New. Then the Style Editor of M.App Enterprise open up on the right hand side.
To get a feeling of using the Style Editor here are two things explained. First how to handle Filter and Scale and secondly we pick the Polygon symbolizer and explain with a few screenshots, what parameter does what.
Filter and Scale
The Filter part in the Style Editor allows you to visualize the vector data based on an attribute in the database table. It is a simple WHERE clause from an SQL statement, which enables you to differentiate between styles.
In this example we are using a POI layer in New York and style them based on their
type
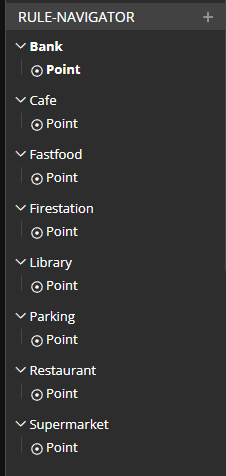
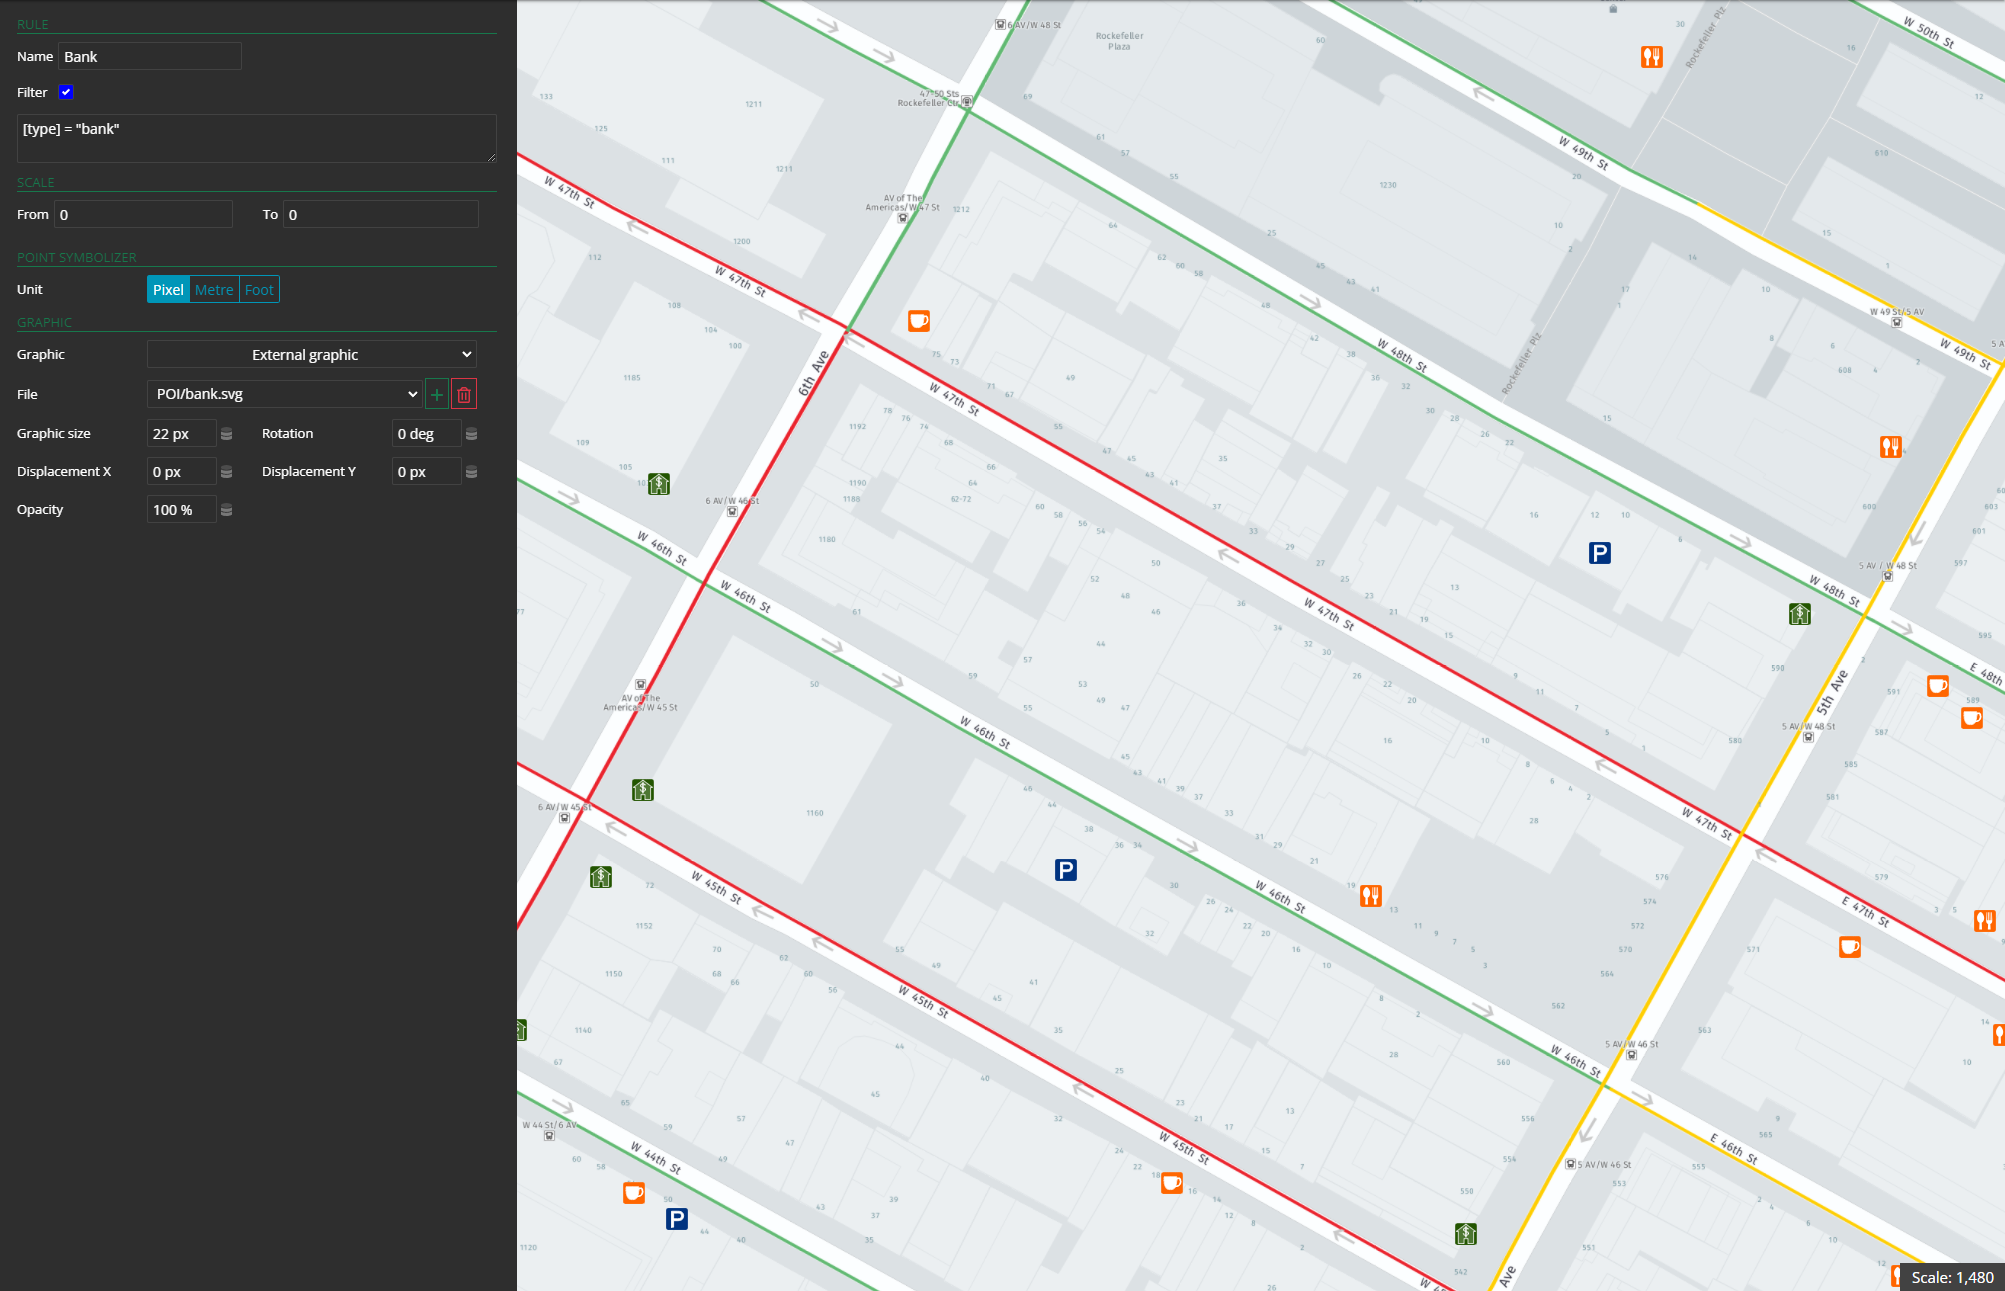
Left: Thematic entries based on the attribute in the database - Right: Definition of the filter and the corresponding map
With the scale indication you can limit the visibility for each rule based on scale.
Polygon Symbolizer
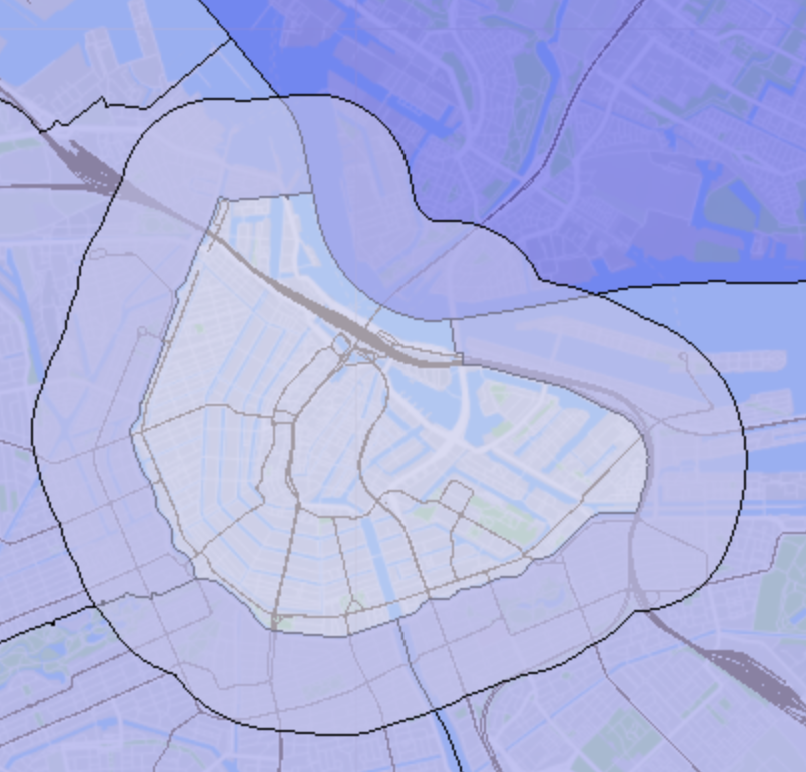
The polygon symbolizer offers the option to choose a unit and apply the displacement of a geometry or to display a buffer around it.

Stroke and Fill
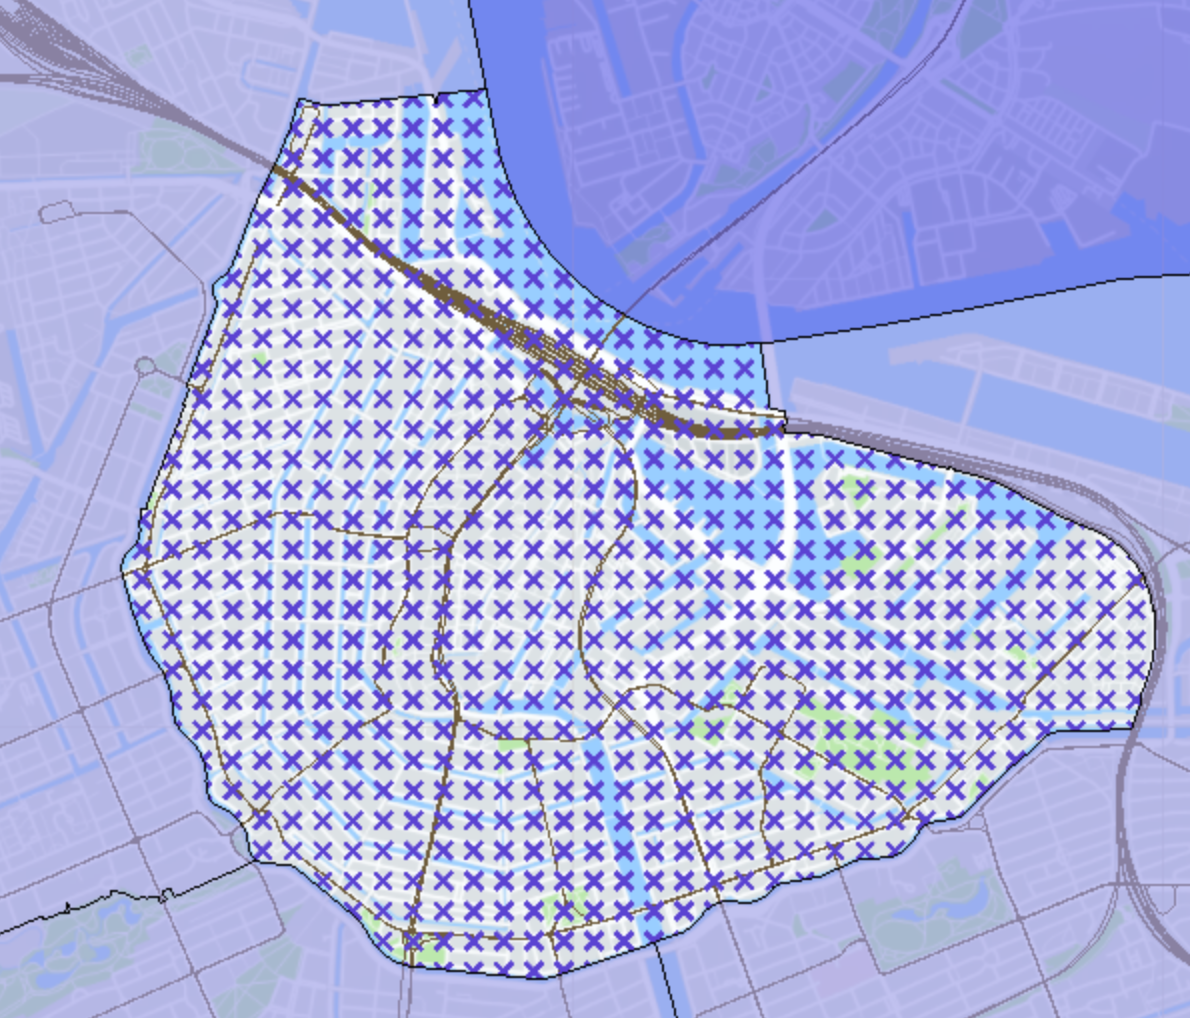
There are several options for the stroke and fill styling. Besides a simple fill or simple stroke, any pattern can be chosen and used through an external graphic.