Action Sets
Action sets are used to specify the type and location of any workflow within an app. It enables certain settings for your workflows basically.
In order to use a workflow in an application you have to integrate it first. This can be done either for desktop or browser apps.
Browser Action Sets
Within the Content menu bar, select Browser, pick Action sets and click on New to create a new action set.
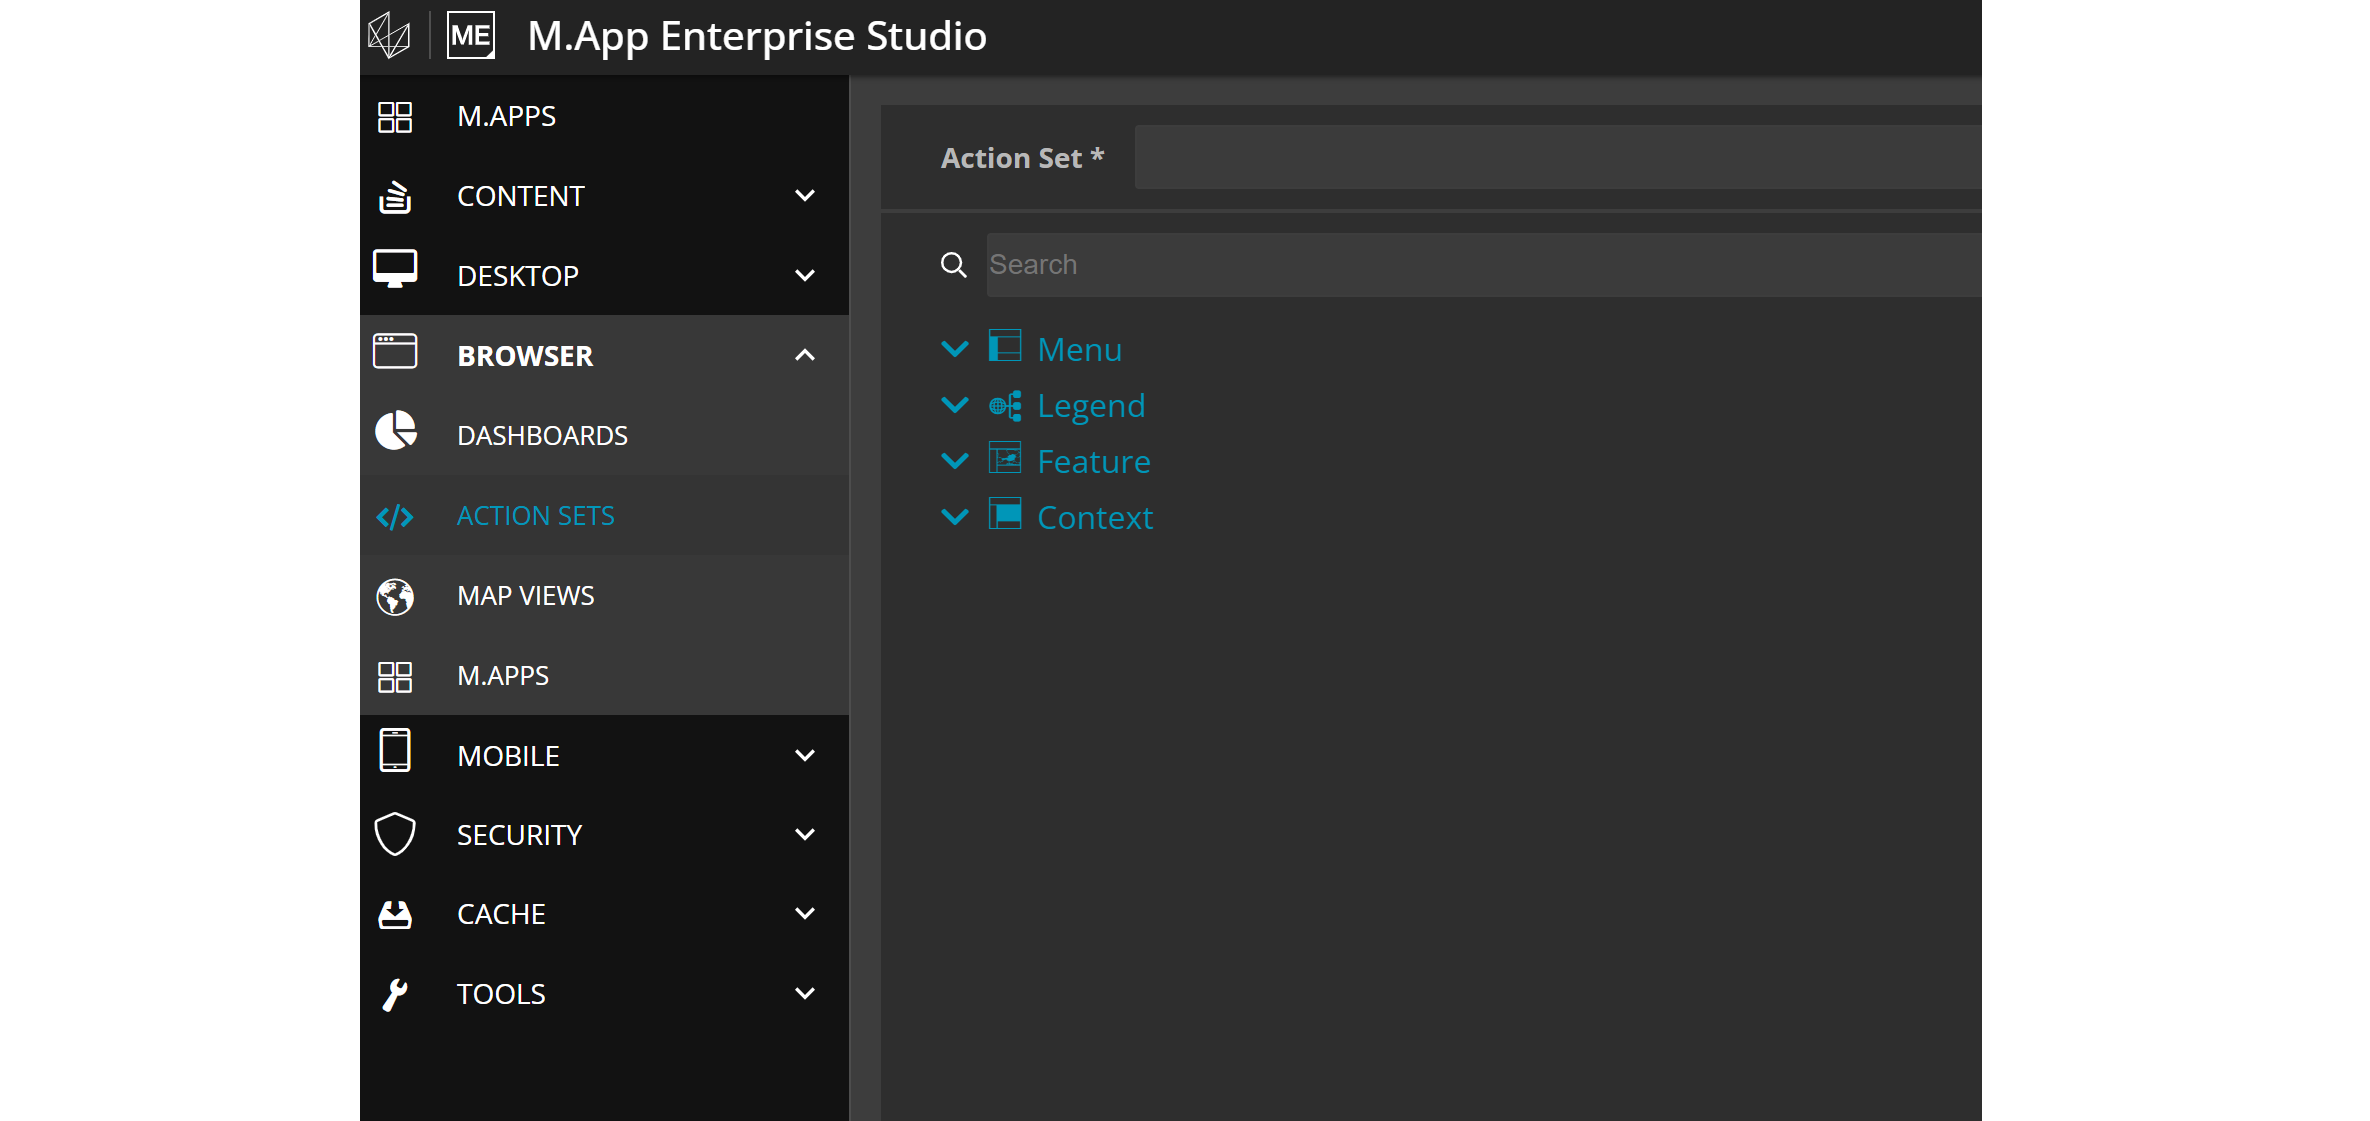
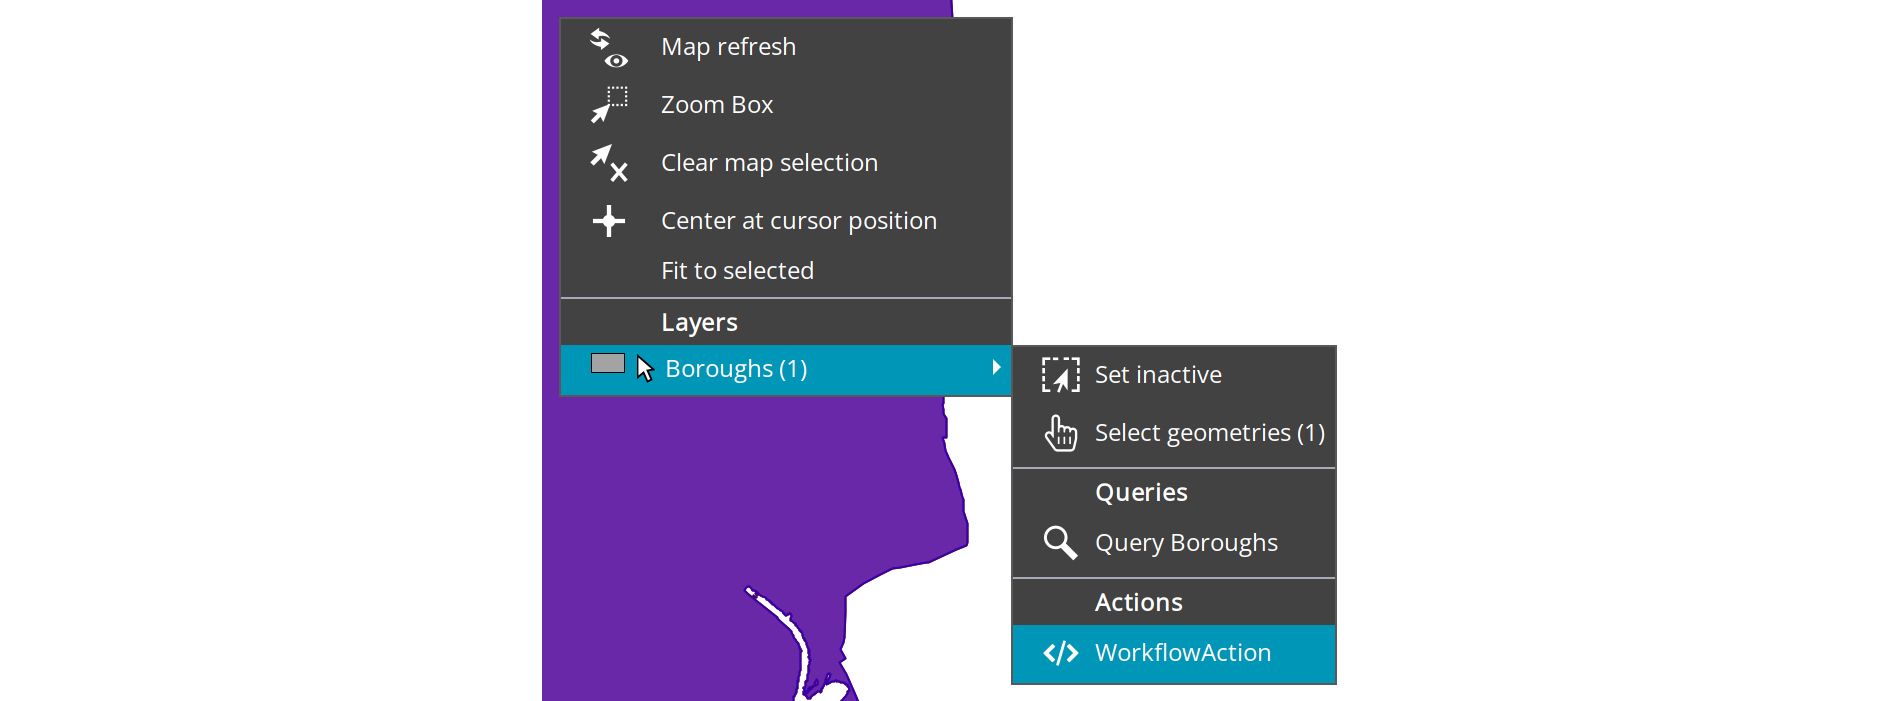
Enter a name for your new action set and choose one of the four locations where the workflow will be placed in the app: Menu, Legend, Feature, Context.
An Action Set can contain multiple actions. Actions are added using the plus symbol that appears when hovering over the four locations. To see your workflow in the application menu sidebar you need to create a new Workflow MenuAction.

With a MenuAction or within Legend, Feature or Context, you are able to integrate either a Workflow or Browser (Url) when clicking on the plus symbol.

Browser Workflow Actions
After creating and clicking on the workflow action, a panel will appear on the right side, where you can define the properties. The panel looks like the one below:
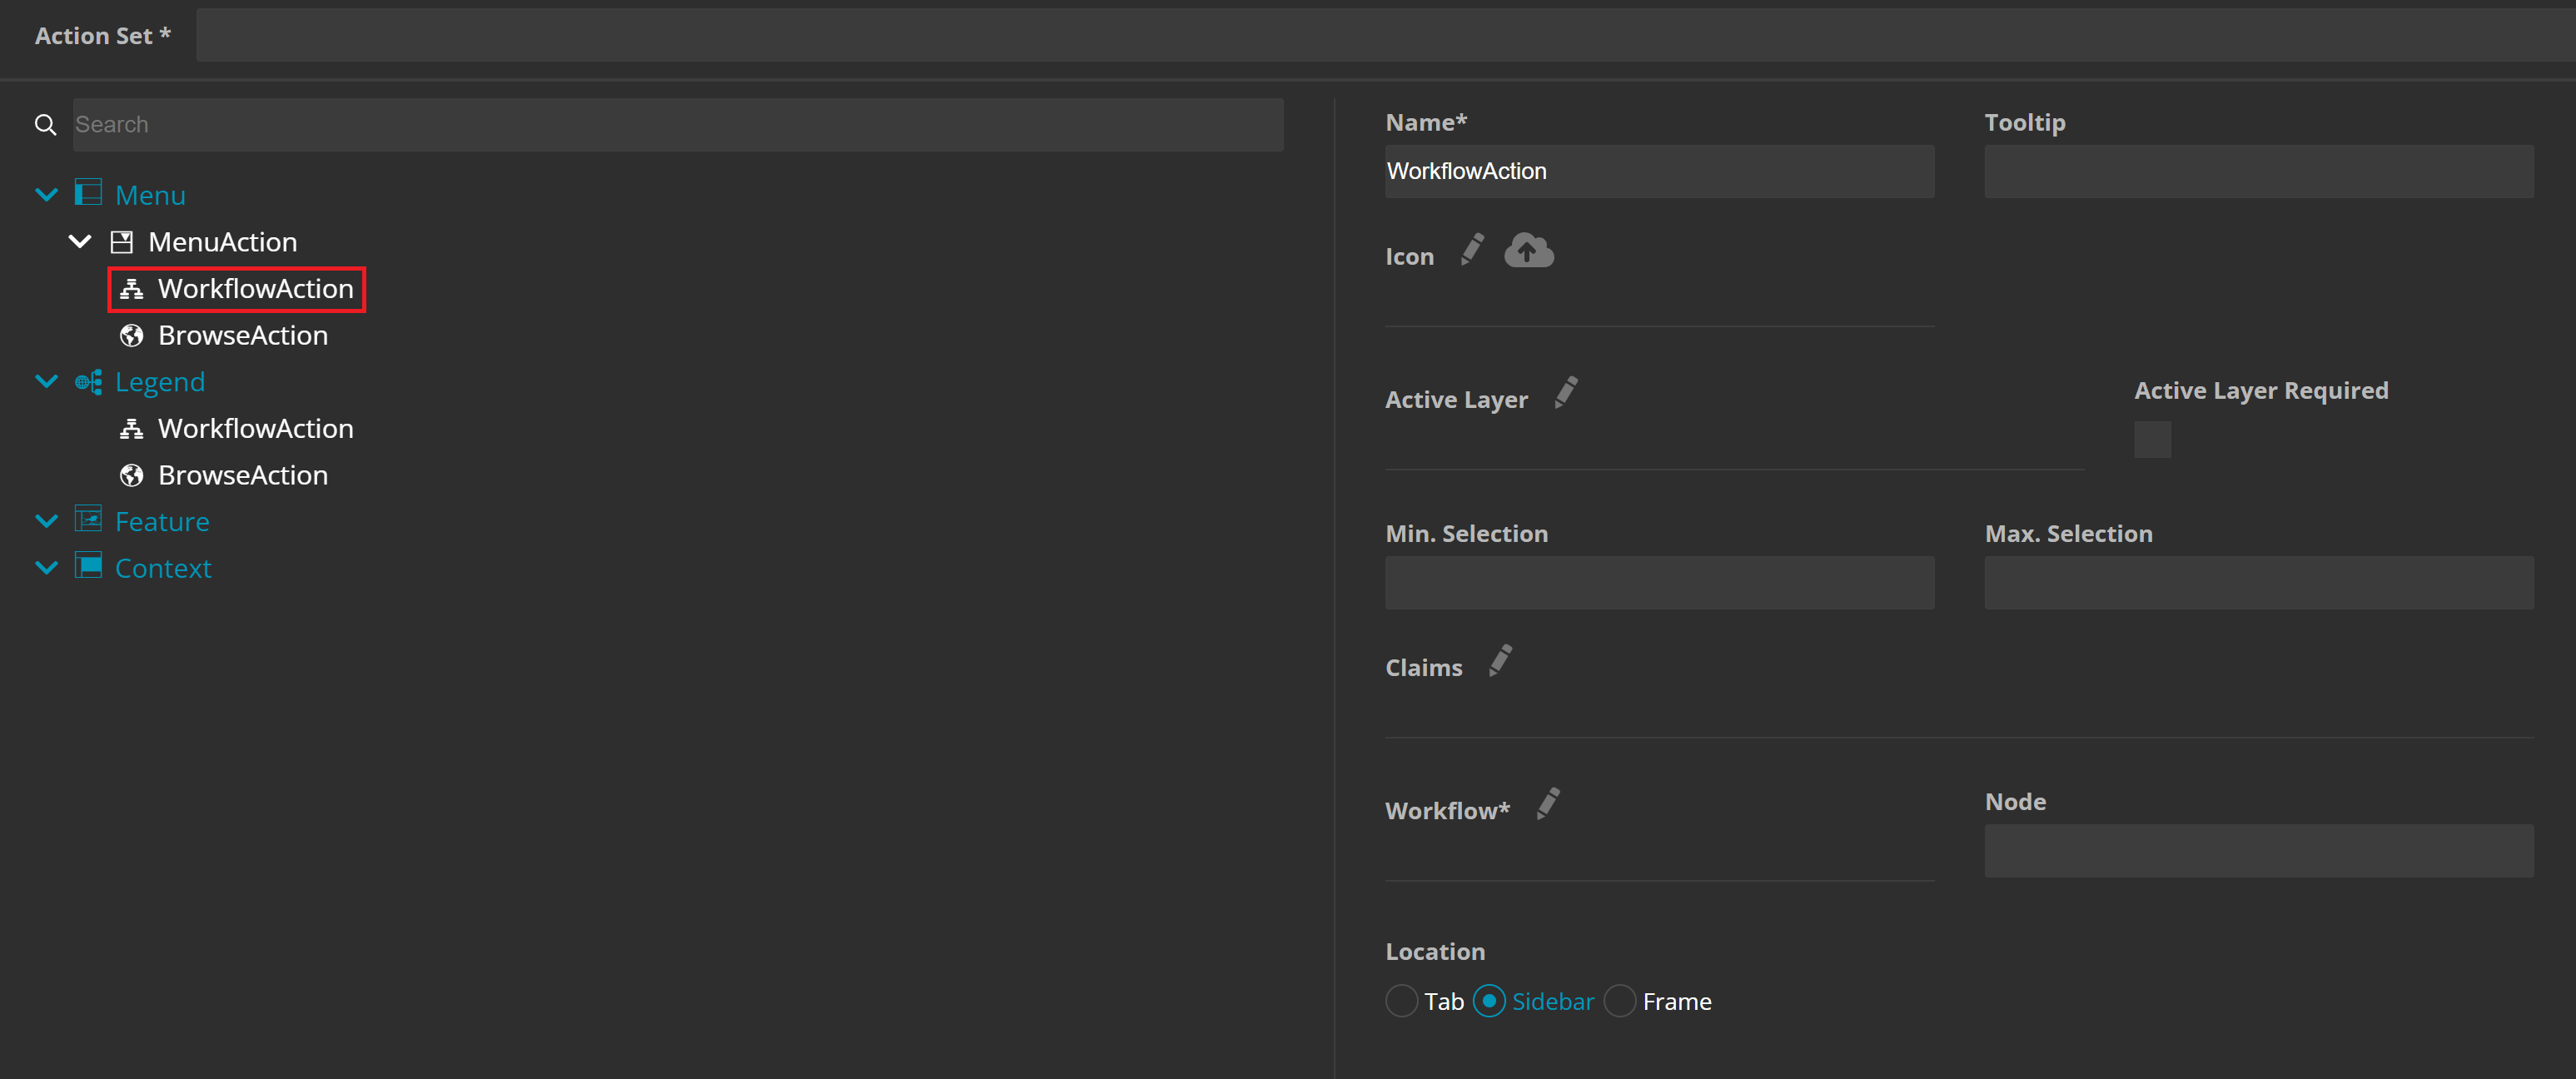
Required fields
Within the panel you can set several parameters. Indicating a workflow is required, which is found in the left bottom of the form by clicking the edit icon. This will prompt a window where you can choose from your existing workflows. After selecting one, you need to decide at which node the workflow will start. By clicking in the field, all options will be suggested in a dropdown. Finally, choose a location, either Tab, Sidebar or Frame where your workflow will be opened and click on save. You are good to go!
Optional settings
Tooltip: You can define some text, that will be shown when hovering over the icon.
Icon: You can customize the icon by uploading a local file or choose from the list of existing icons. It is recommended to use SVG format.
Active Layer: Define a layer, that needs to be set active in order to start the workflow.
Min/Max Selection: You can specify how many elements of your dataset have to be selected to start the workflow.
Claims: You can use a claim to restrict the workflow to specific app users.
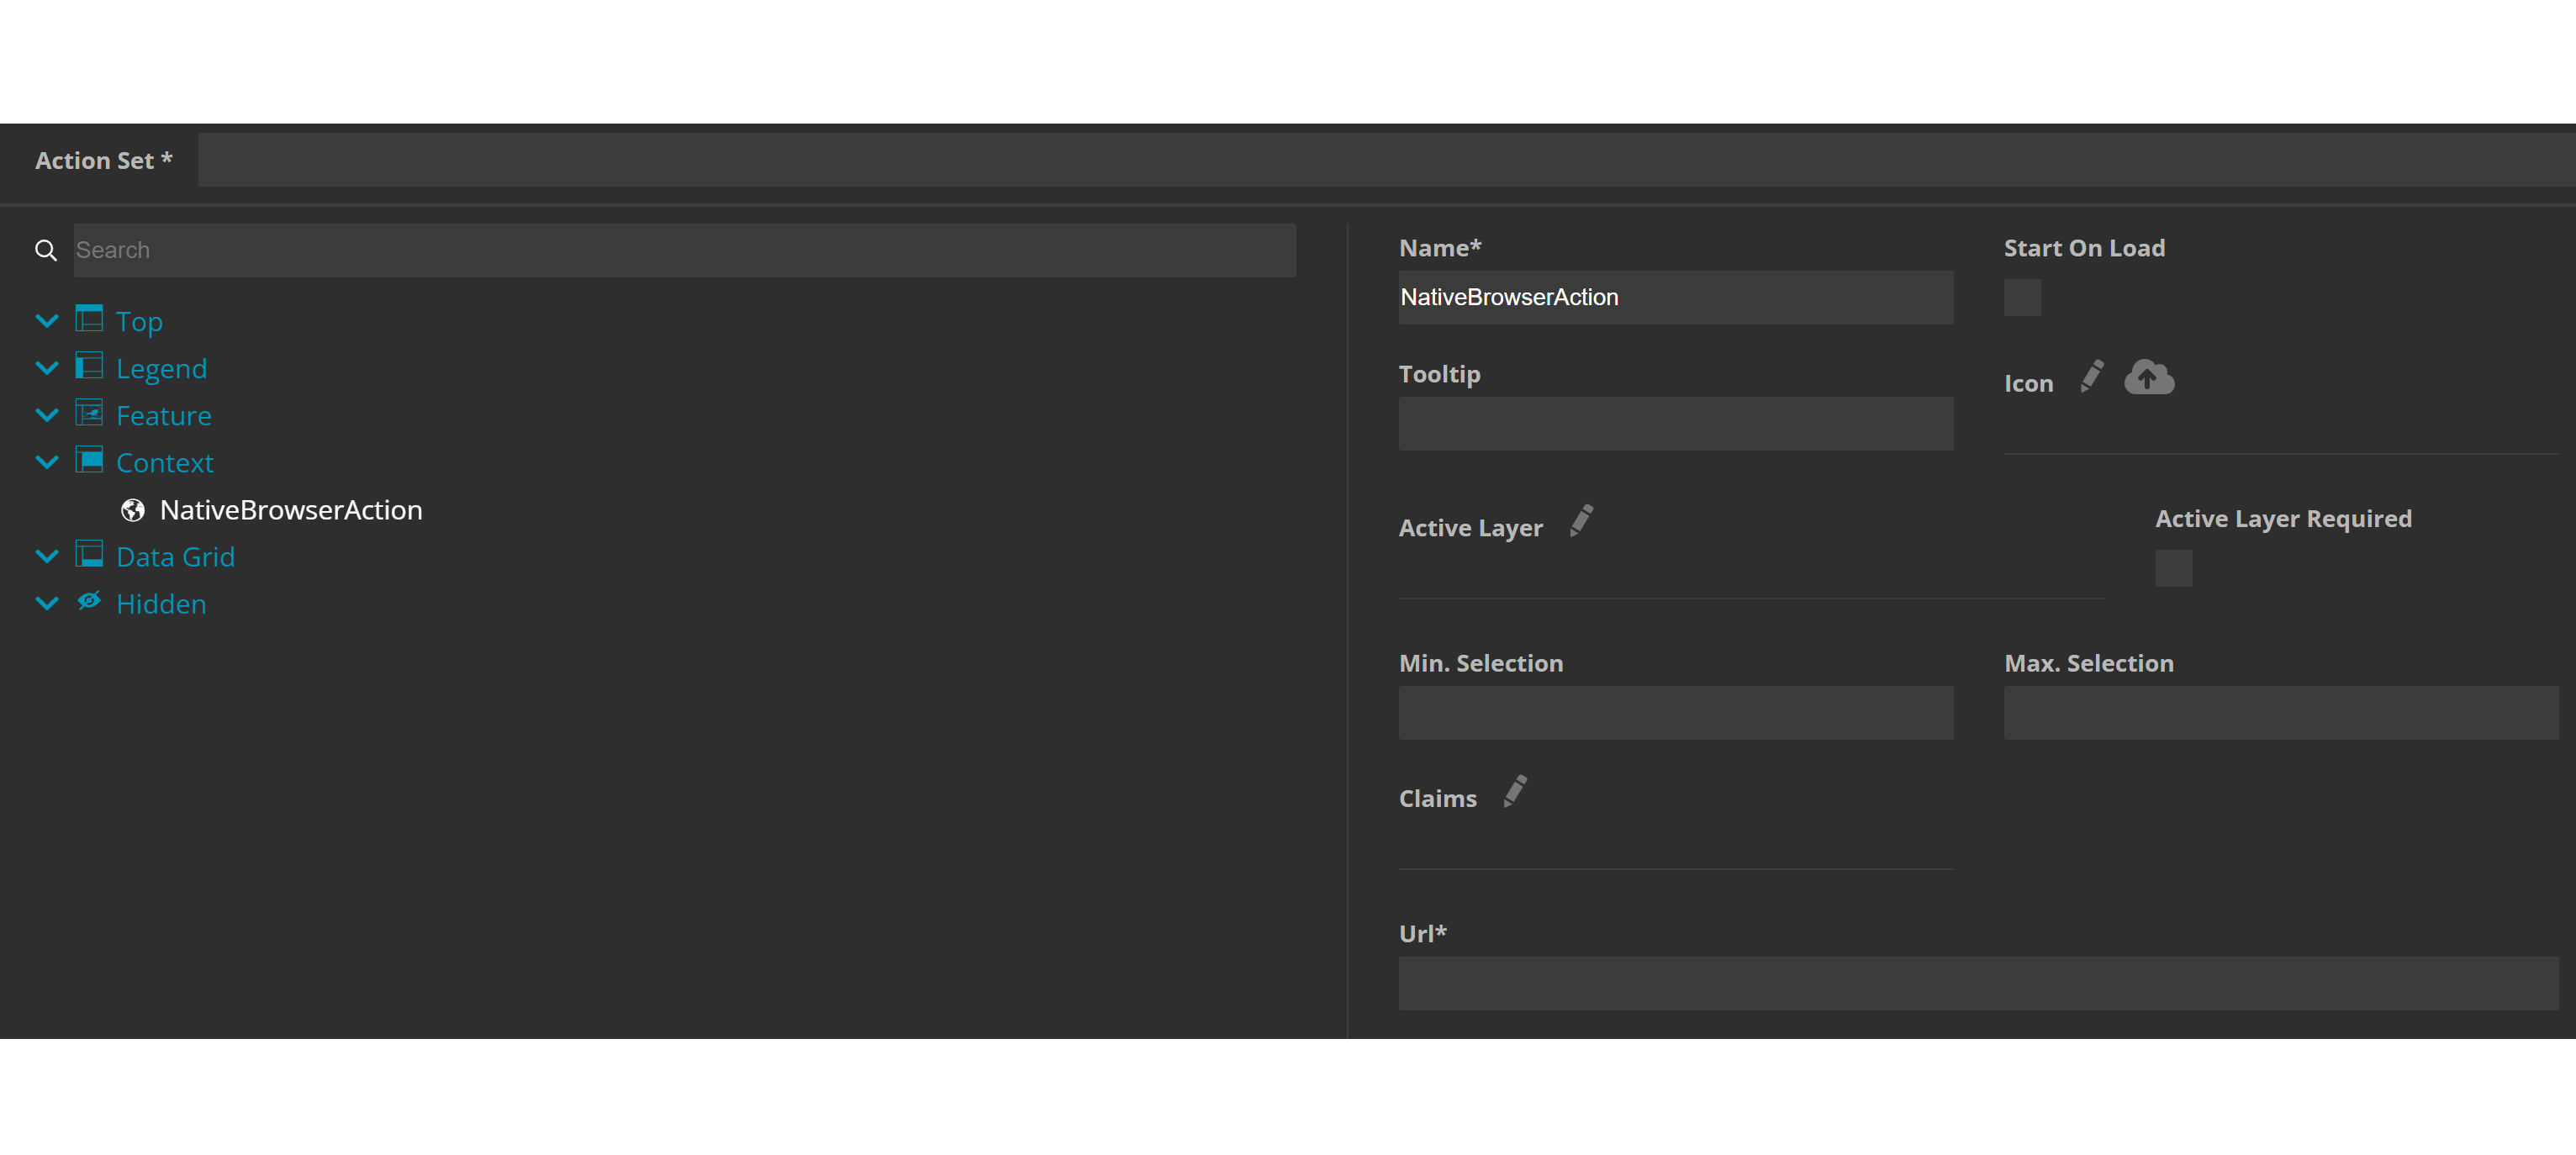
Browser (URL) action
This option allows you to integrate external content via a link into your application. By clicking on the BrowseAction, a panel on the right will open that looks similar to the workflow panel described above.
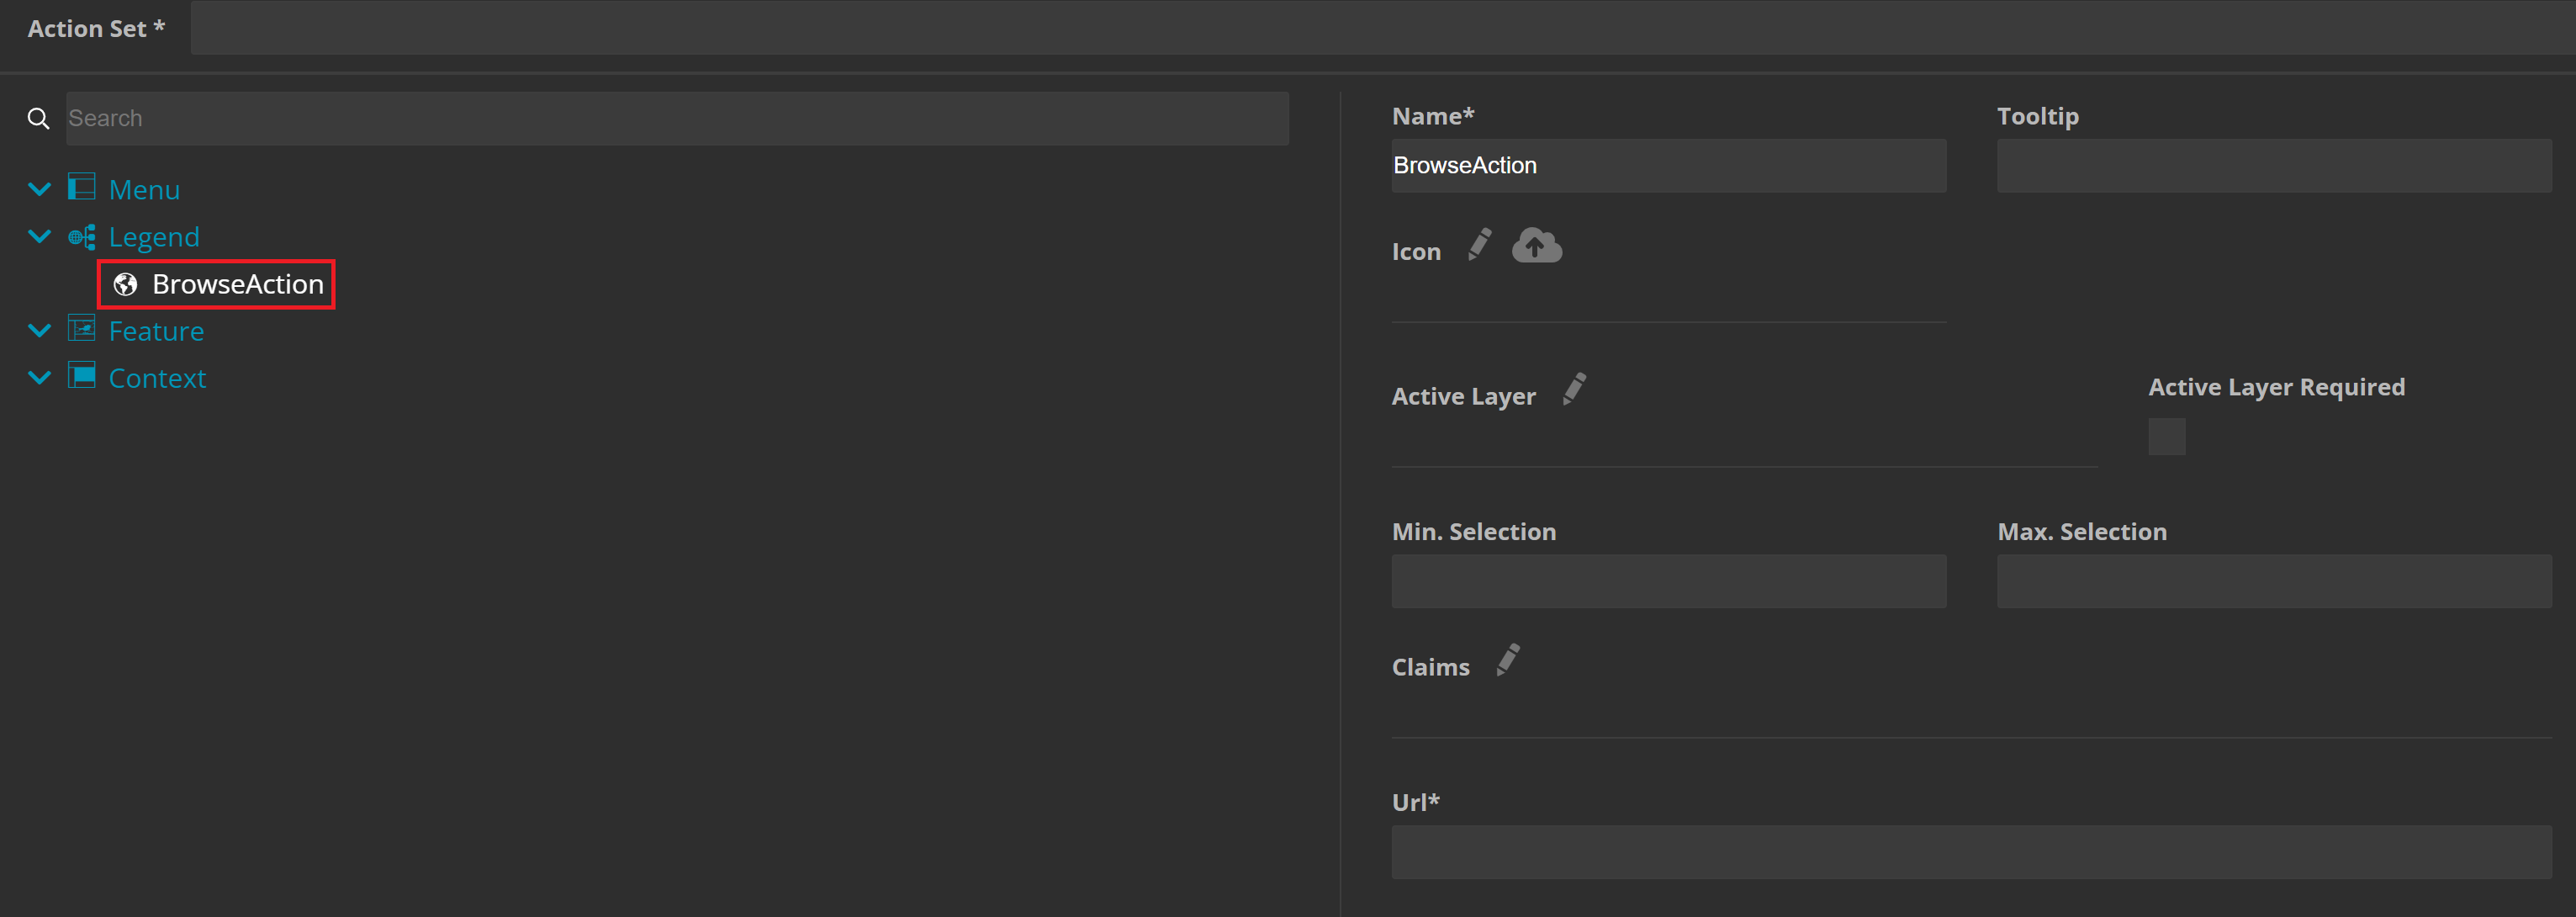
The only difference is specifying the Url in the bottom of the panel.
Starting a Browser action
Once you've assembled your action set, the next step is integrating it into the corresponding application. This can be accomplished within a map view, allowing you to choose and apply your preferred action set.
Now, you're all set to open your browser application and initiate the action. The icon displayed in the image below will launch your workflow or internet page. In the example, there are three distinct actions for you to choose from.

Desktop Action Sets
Within the Content menu bar, select Desktop, pick Action sets and click on New to create a new action set.
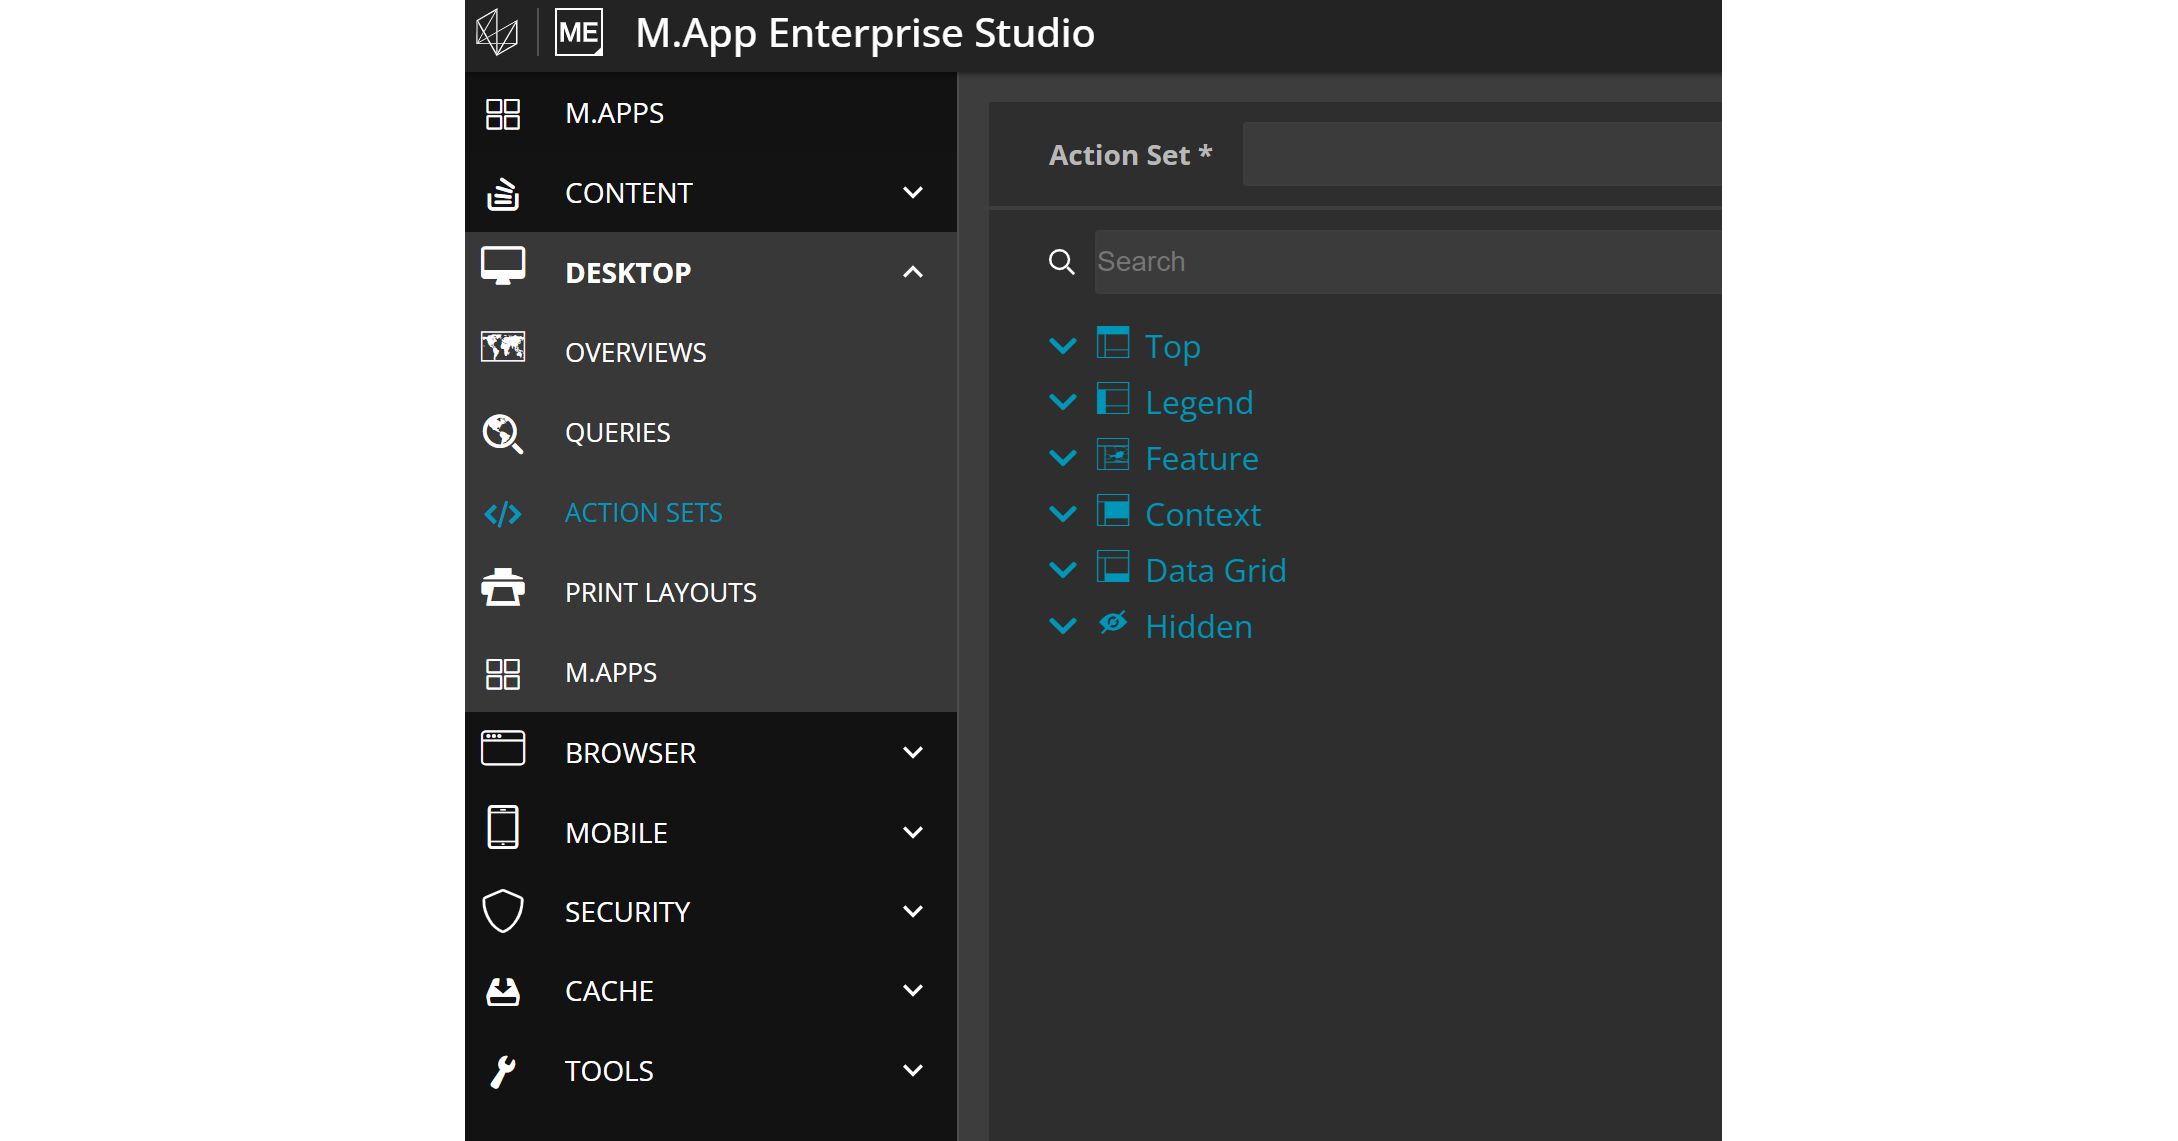
As you can see, there are more selectable locations to place your action set within a desktop app than for browser apps.
Indicate a name and decide for a location. A plus symbol will appear when you hover over the location options, which allows you to add your desired action.

Workflow Action in Desktop
By clicking on the created workflow action, a panel will open up on the right side, which allows for specific settings.
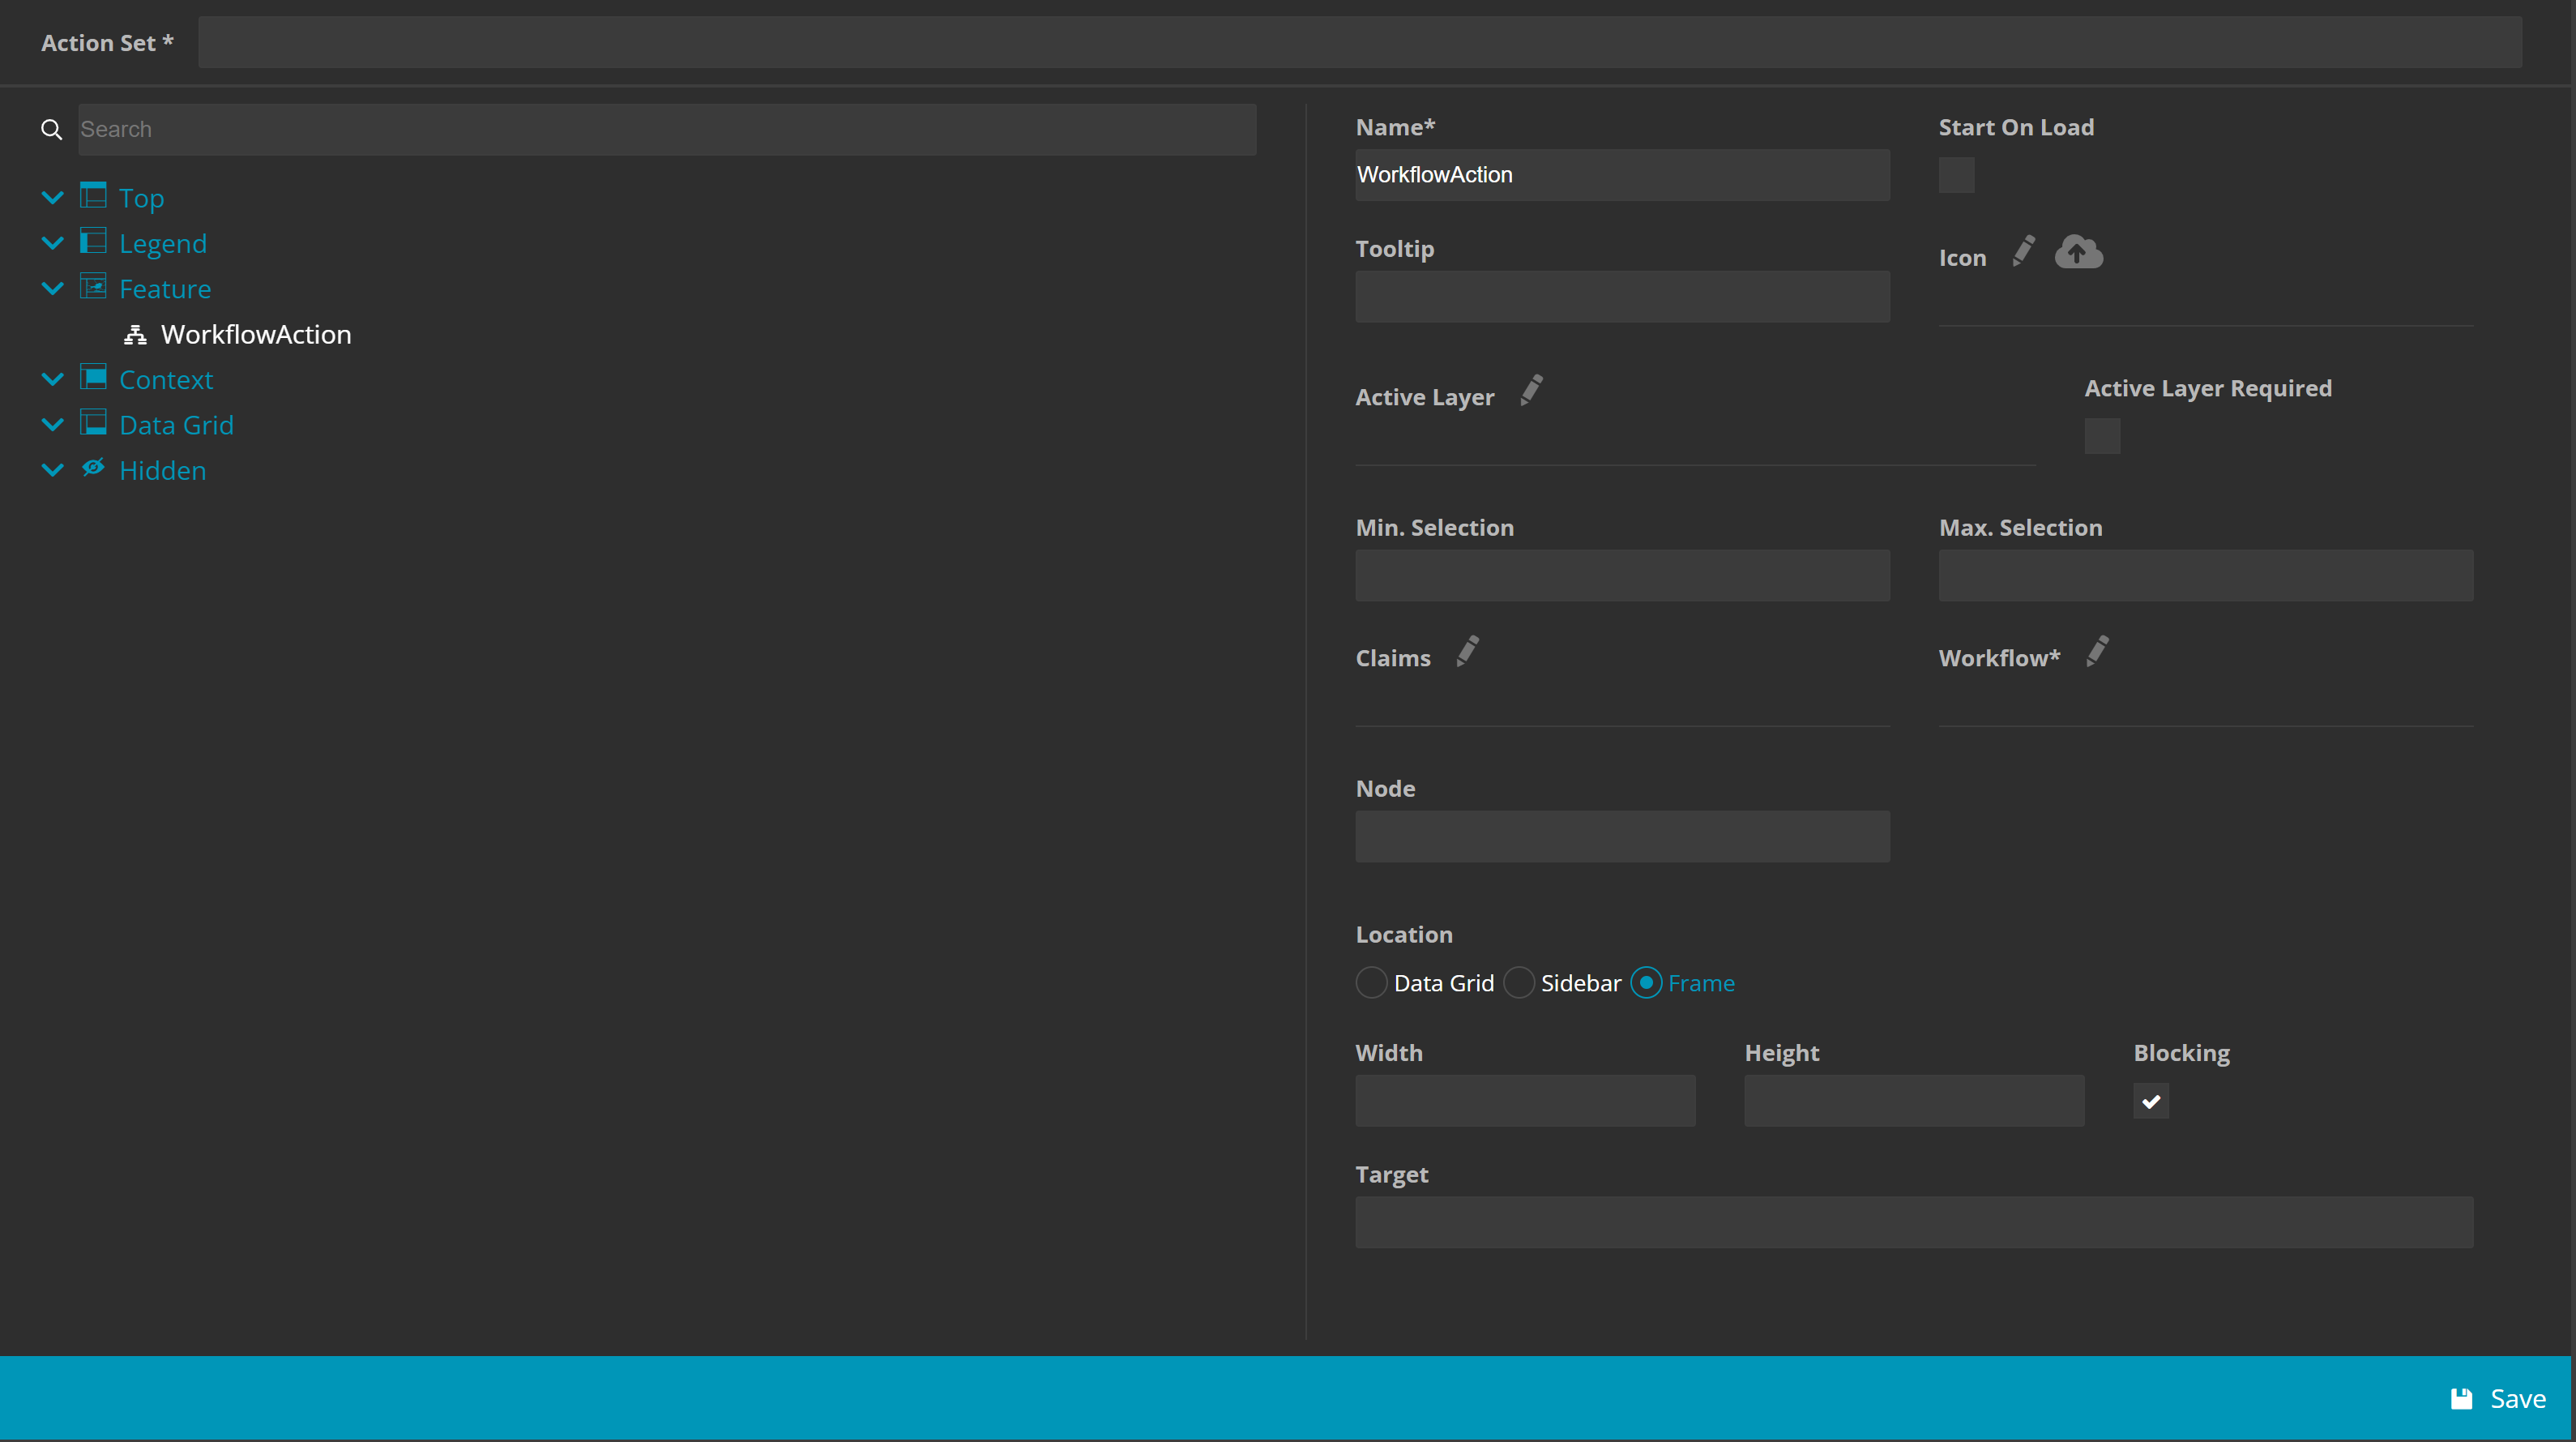
There are only small differences compared to the browser workflow action settings, which will be eleborated on.
Start on Load will start the workflow as soon as the desktop app is loaded.
For the location of the workflow, you can choose between data grid, sidebar and frame, depending on where in your desktop app you would like to open the workflow. Each option offers more detailed settings concerning the size.
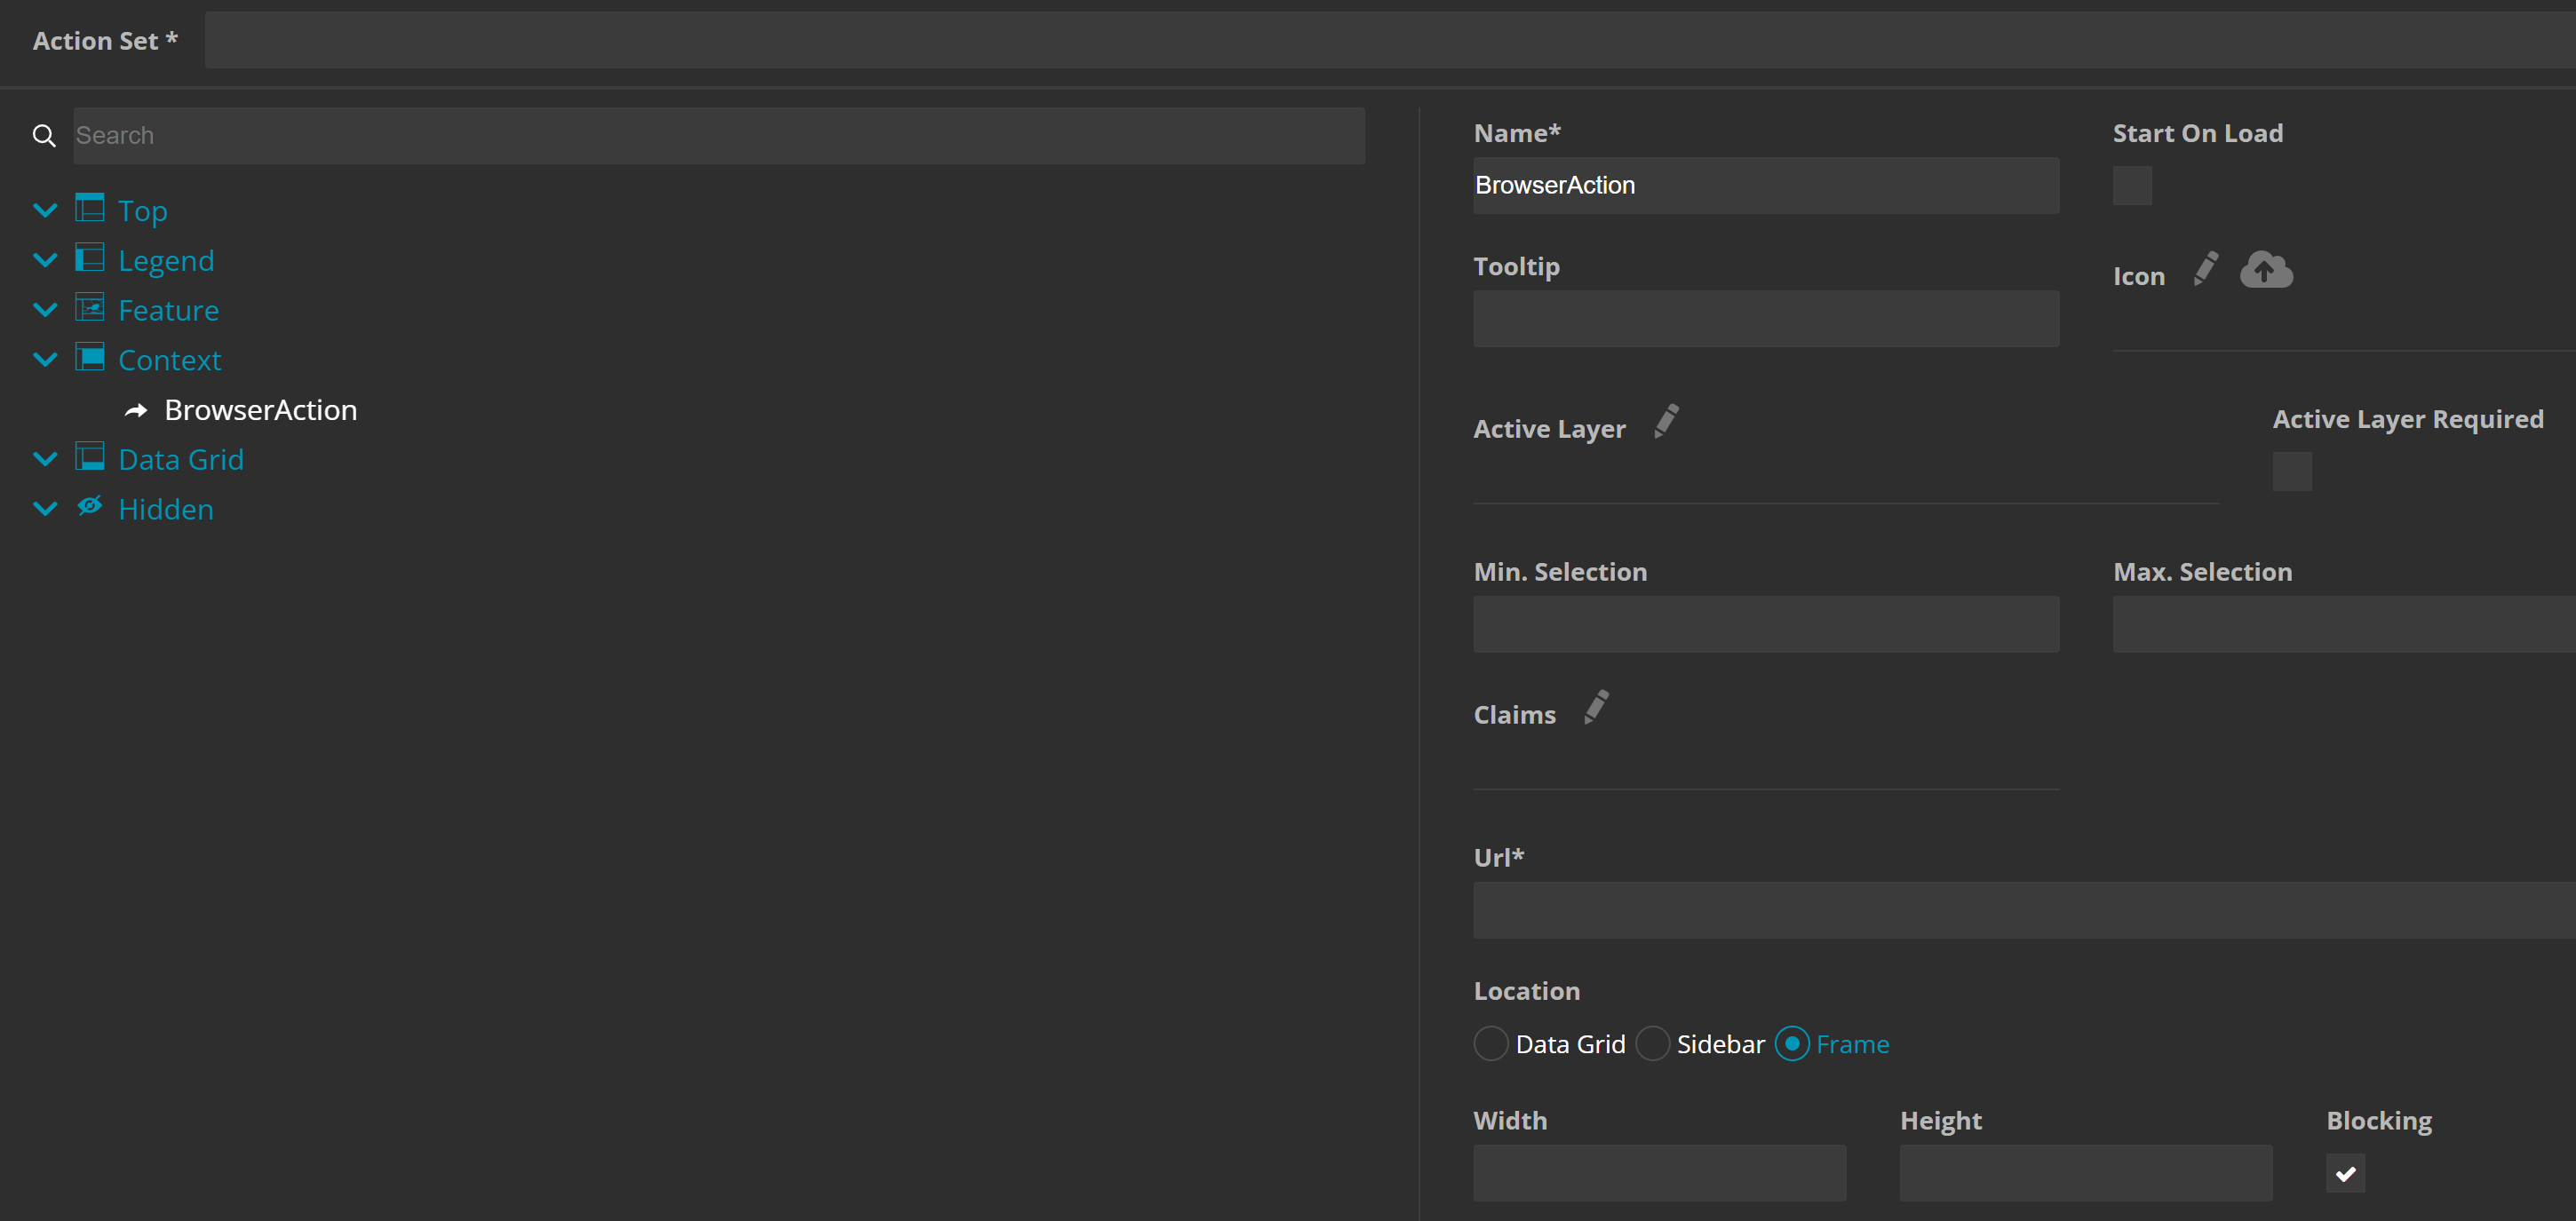
Browser URL/Target in Desktop
With these options you can open an internet page. While Browser (Url) will open the page in your default browser, Browser (Target) will use an internal browser. The latter option offers the possibility to choose its location and size.
Open File Action
This action allows you to open a file from your drive.
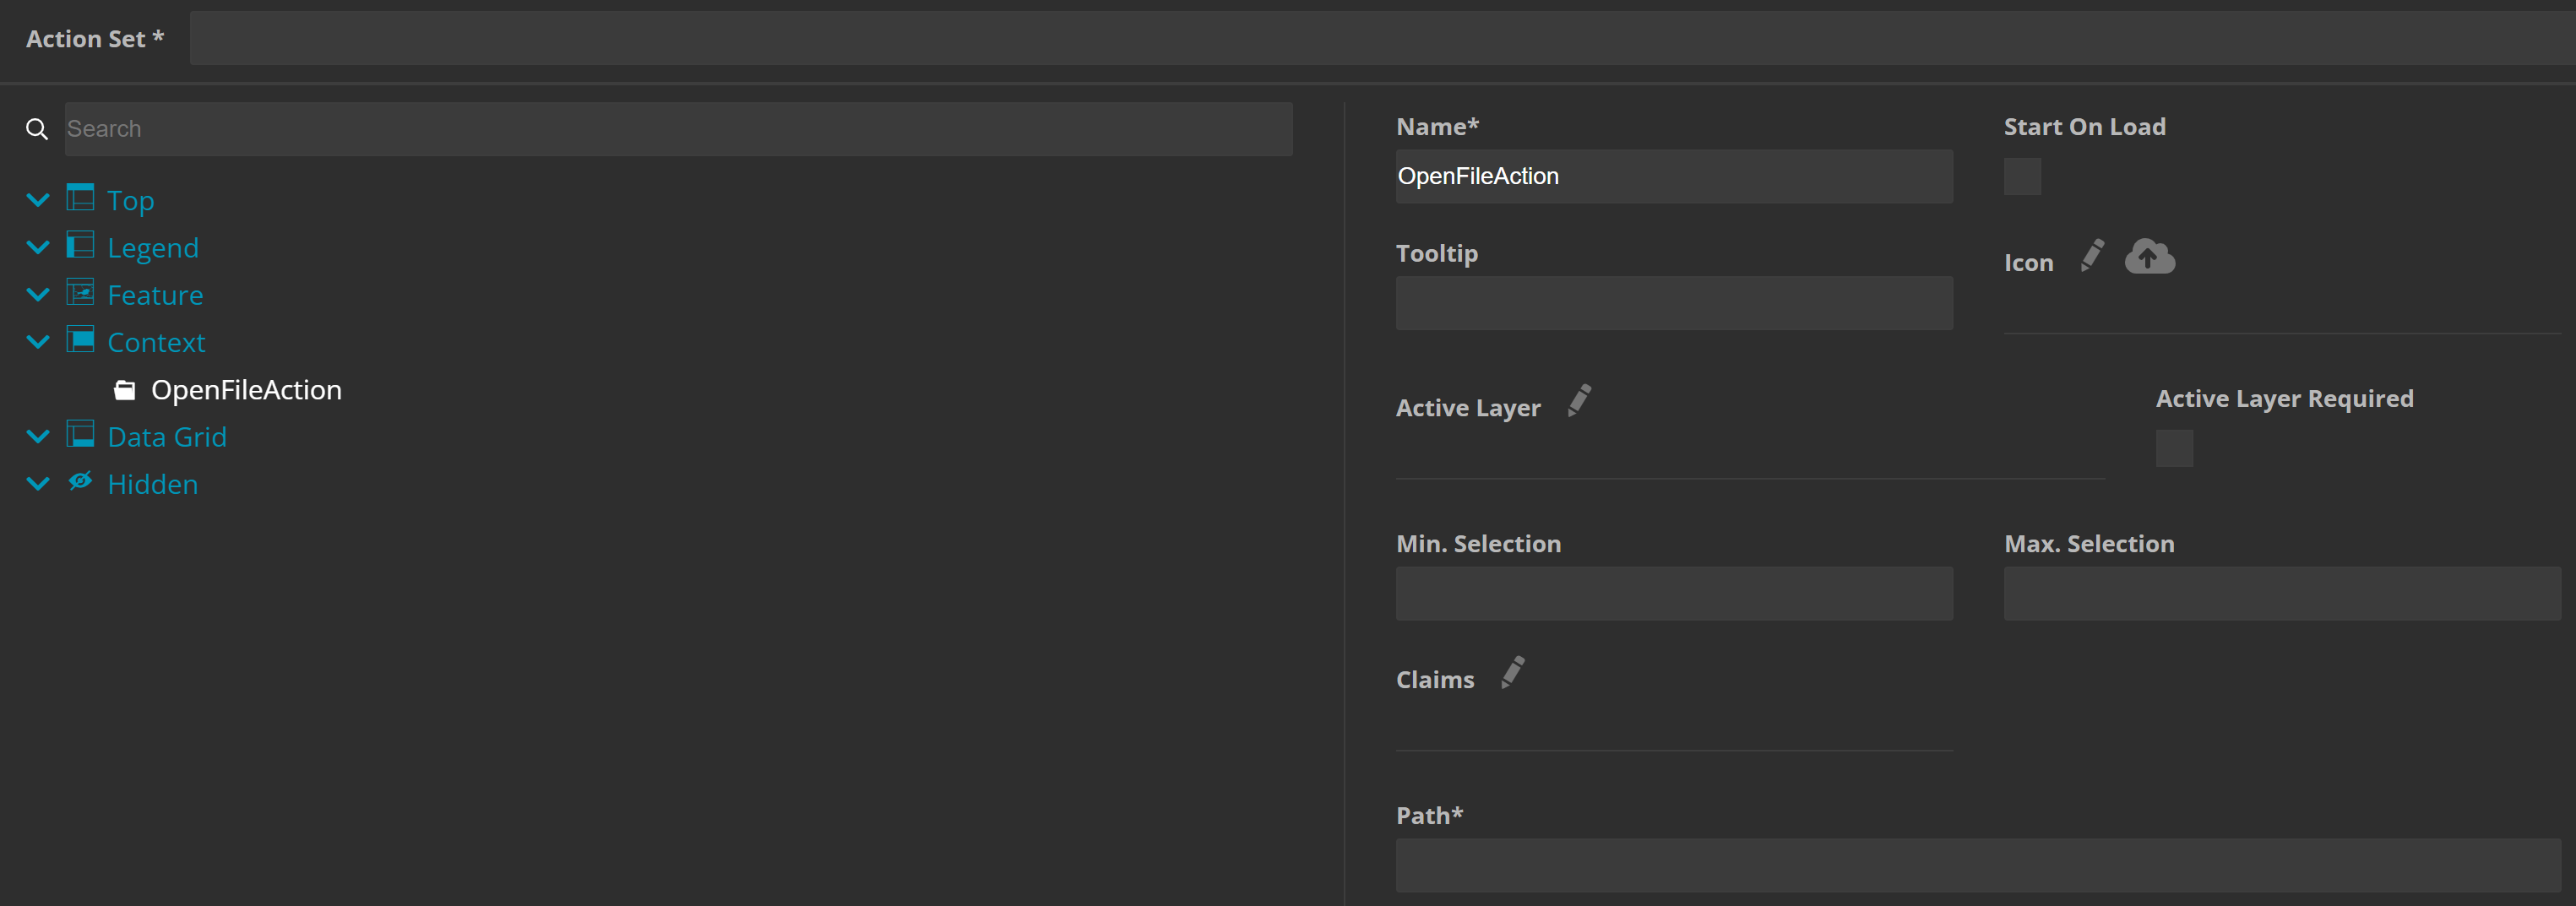
The setting options remain the same as for any action, except the indication of the Path, which defines the path to the file. For validity, it is essential that the path comes in UNC format.
Starting a desktop action
To integrate your action set within an a desktop app, you have to select the respective one within the Desktop M.App settings, where your app is built.
Open the desktop app and, depending on your settings, the action will be started in different ways. In the example above, a workflow action is started by right clicking on a geometry in the map.

A browser Url action may be opened without setting a layer active. By simple right click, you will get the option to open your link.