The Geometry Locate feature empowers you to zoom in on selected data, enhancing your data table's usability.
💡
To use this tool, you need to have a data table widget. In case you need to create one first, check out our content post for data tables.
!!!Link to data table post!!!!
Geometry locate setup
To get started with the zoom functionality, you need to navigate to the General section within the Data Table configuration.
Look for the toggle labeled Enable Geometry Locate in the General section. Activate this toggle to enable the zoom functionality.
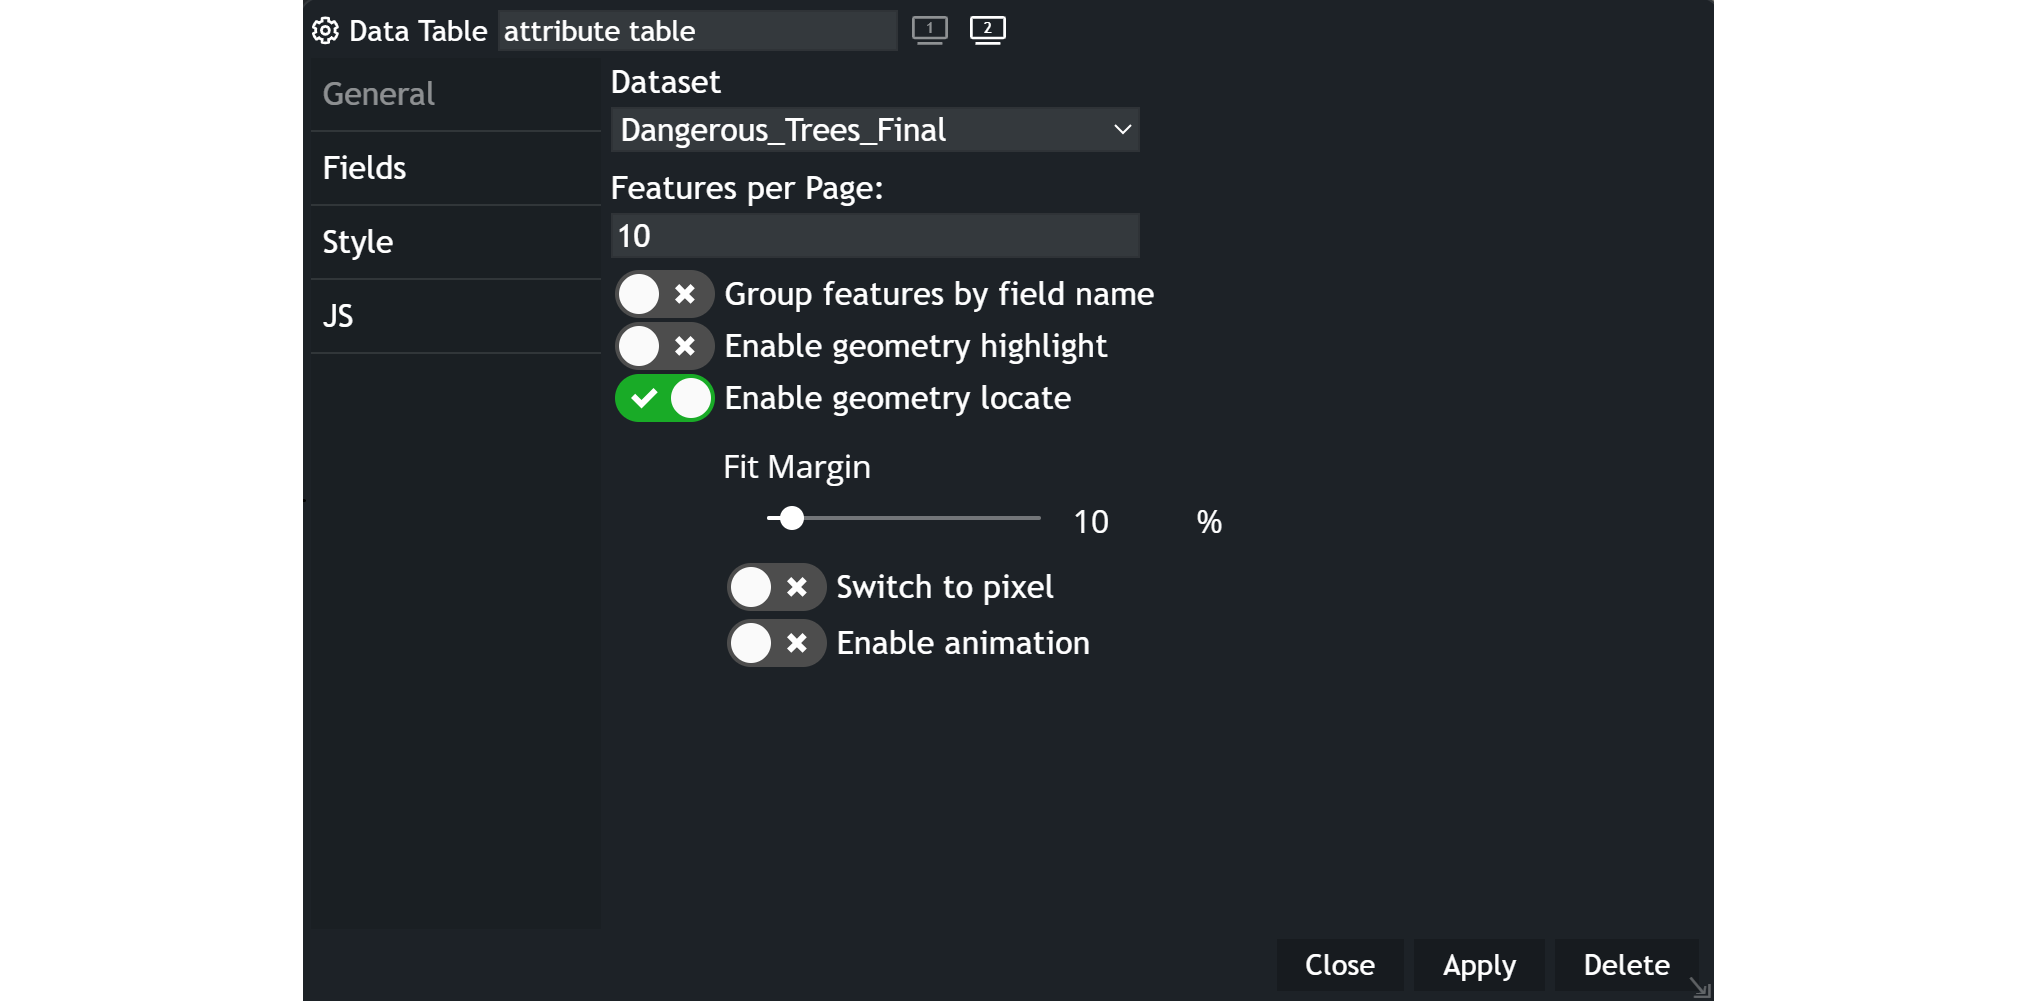
Zoom (Fit Margin) options
After enabling Geometry Locate, you can further customize your zoom settings:
- Choose the zoom level.
- Choose between zooming your data by a percentage or by pixel measurement.
- Decide whether you want an animated zoom effect or prefer a flat, immediate zoom.
Example
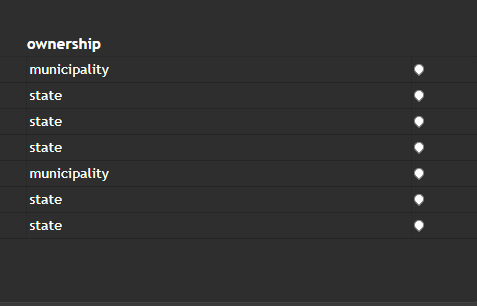
Once you've applied the settings, you should see an icon appear next to your selected fields within your chart.

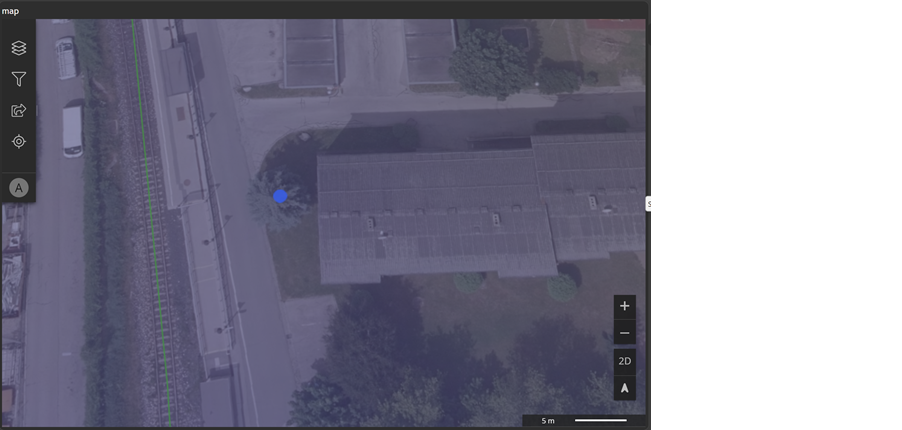
To zoom in on your data, you have to click on the icon associated with the selected field