In this tutorial you will learn how to get your elevation data, such as a DTM, in your M.App Enterprise Application. A stepwise approach will lead you through the necessities in Luciad Fusion and M.App Enterprise.
Preliminaries
Ideally, you will have one or a few files containing the Digital Terrain Model (DTM) stored as GeoTiffs in your folder. It is possible to merge several DTMs to one Service in Luciad Fusion, but it is adviced to merge the files beforehand, especially if you have a lot of very small tiles. The GeoTiff must be georeferenced, thus provided with an EPSG code.
Luciad Fusion
In order to enable the inclusion of OGC-3DTiles in any M.App Enterprise App, it is necessary to have Luciad Fusion installed (Luciad Fusion Installation) and running. The software allows to generate geoservices for publishing geospatial data in applications, such as M.App Enterprise.
Set data root
First, set a data root to show Luciad Fusion where your data is. LuciadFusion Studio then adds the location to the data roots list. The paths in this list should be relative to the server.
Settings -> Add data root
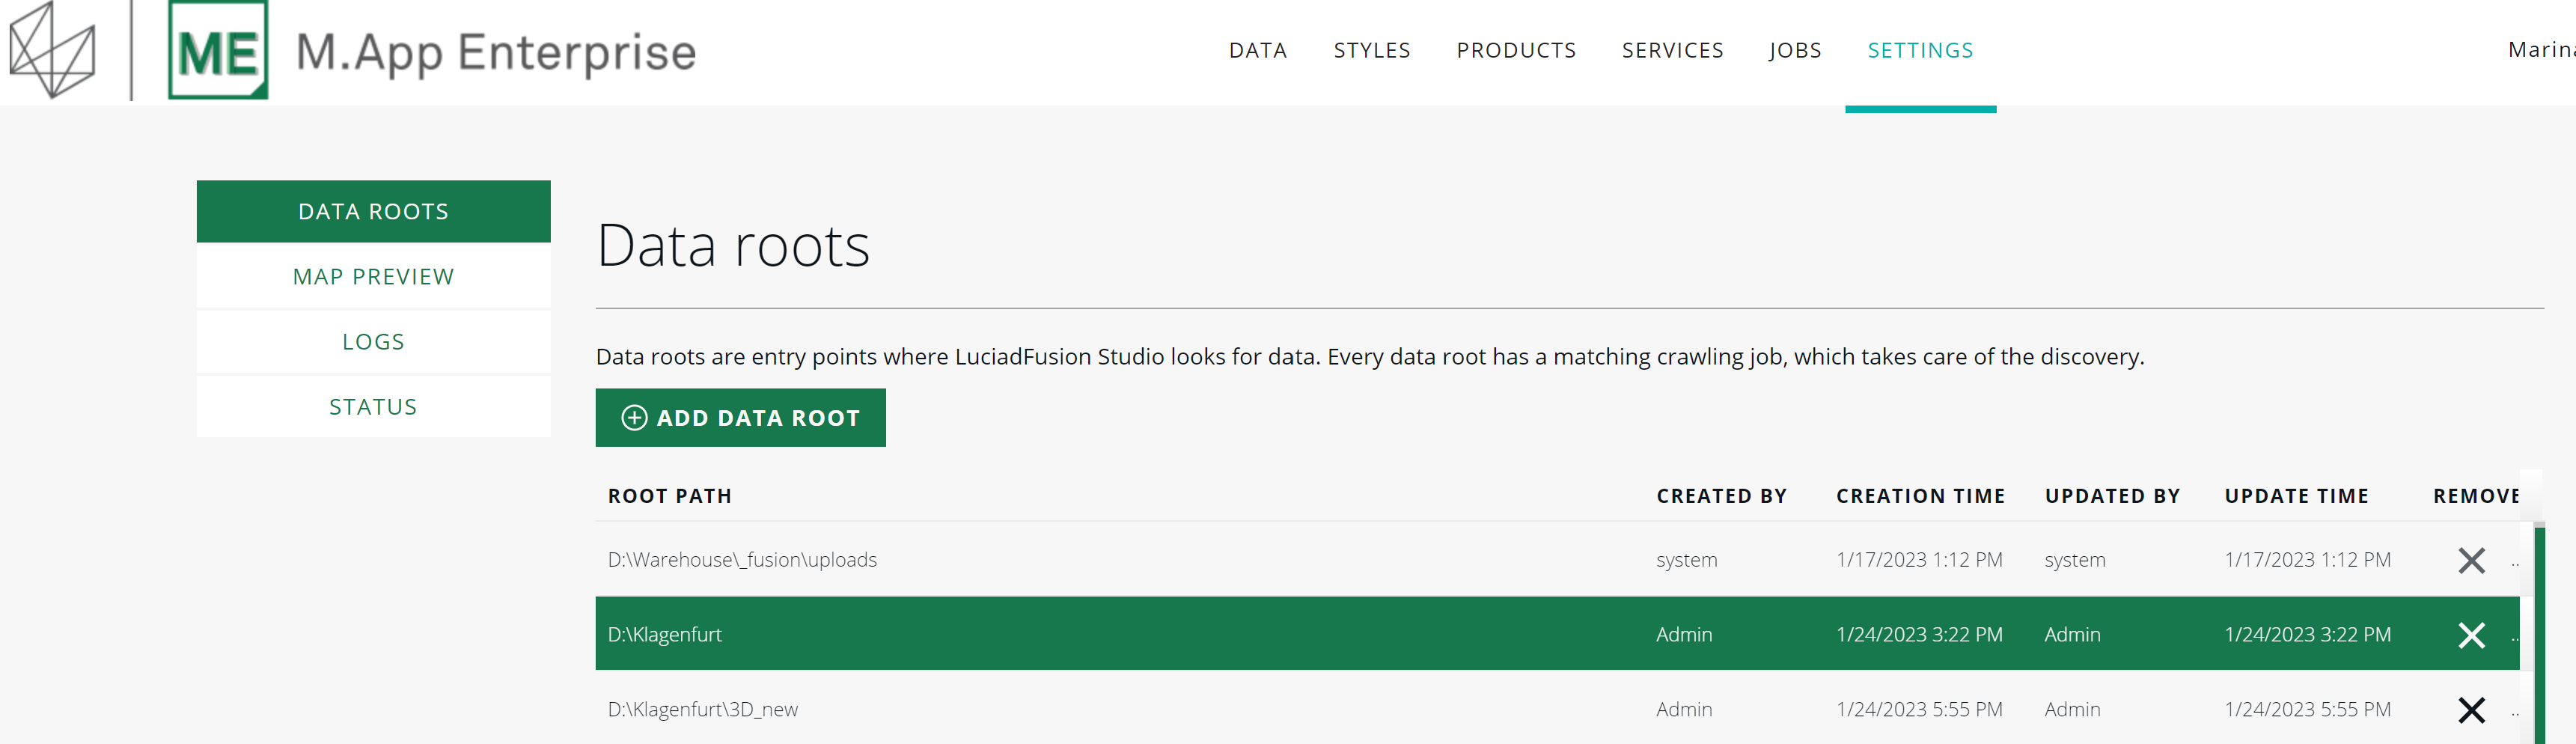
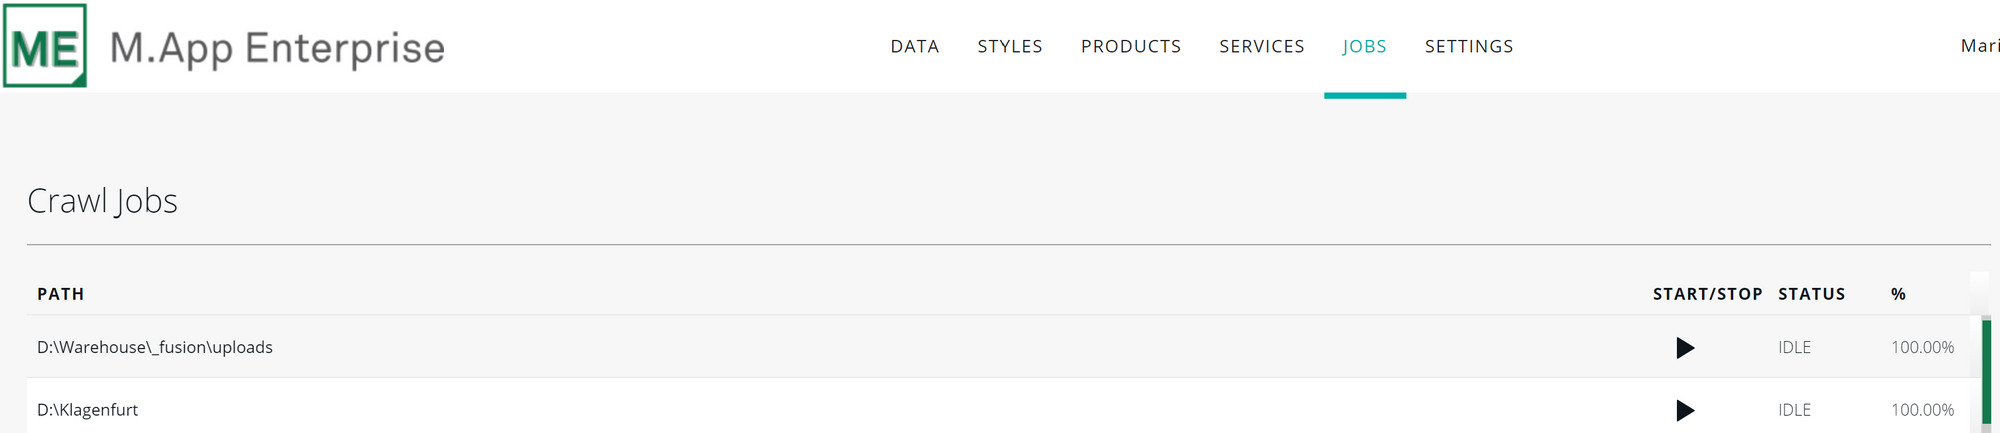
The desired data is crawled automatically from the specified location when the data root is added. This step can take a while dependent on the data volume. On the jobs page you can track the progress in the "%"-column.
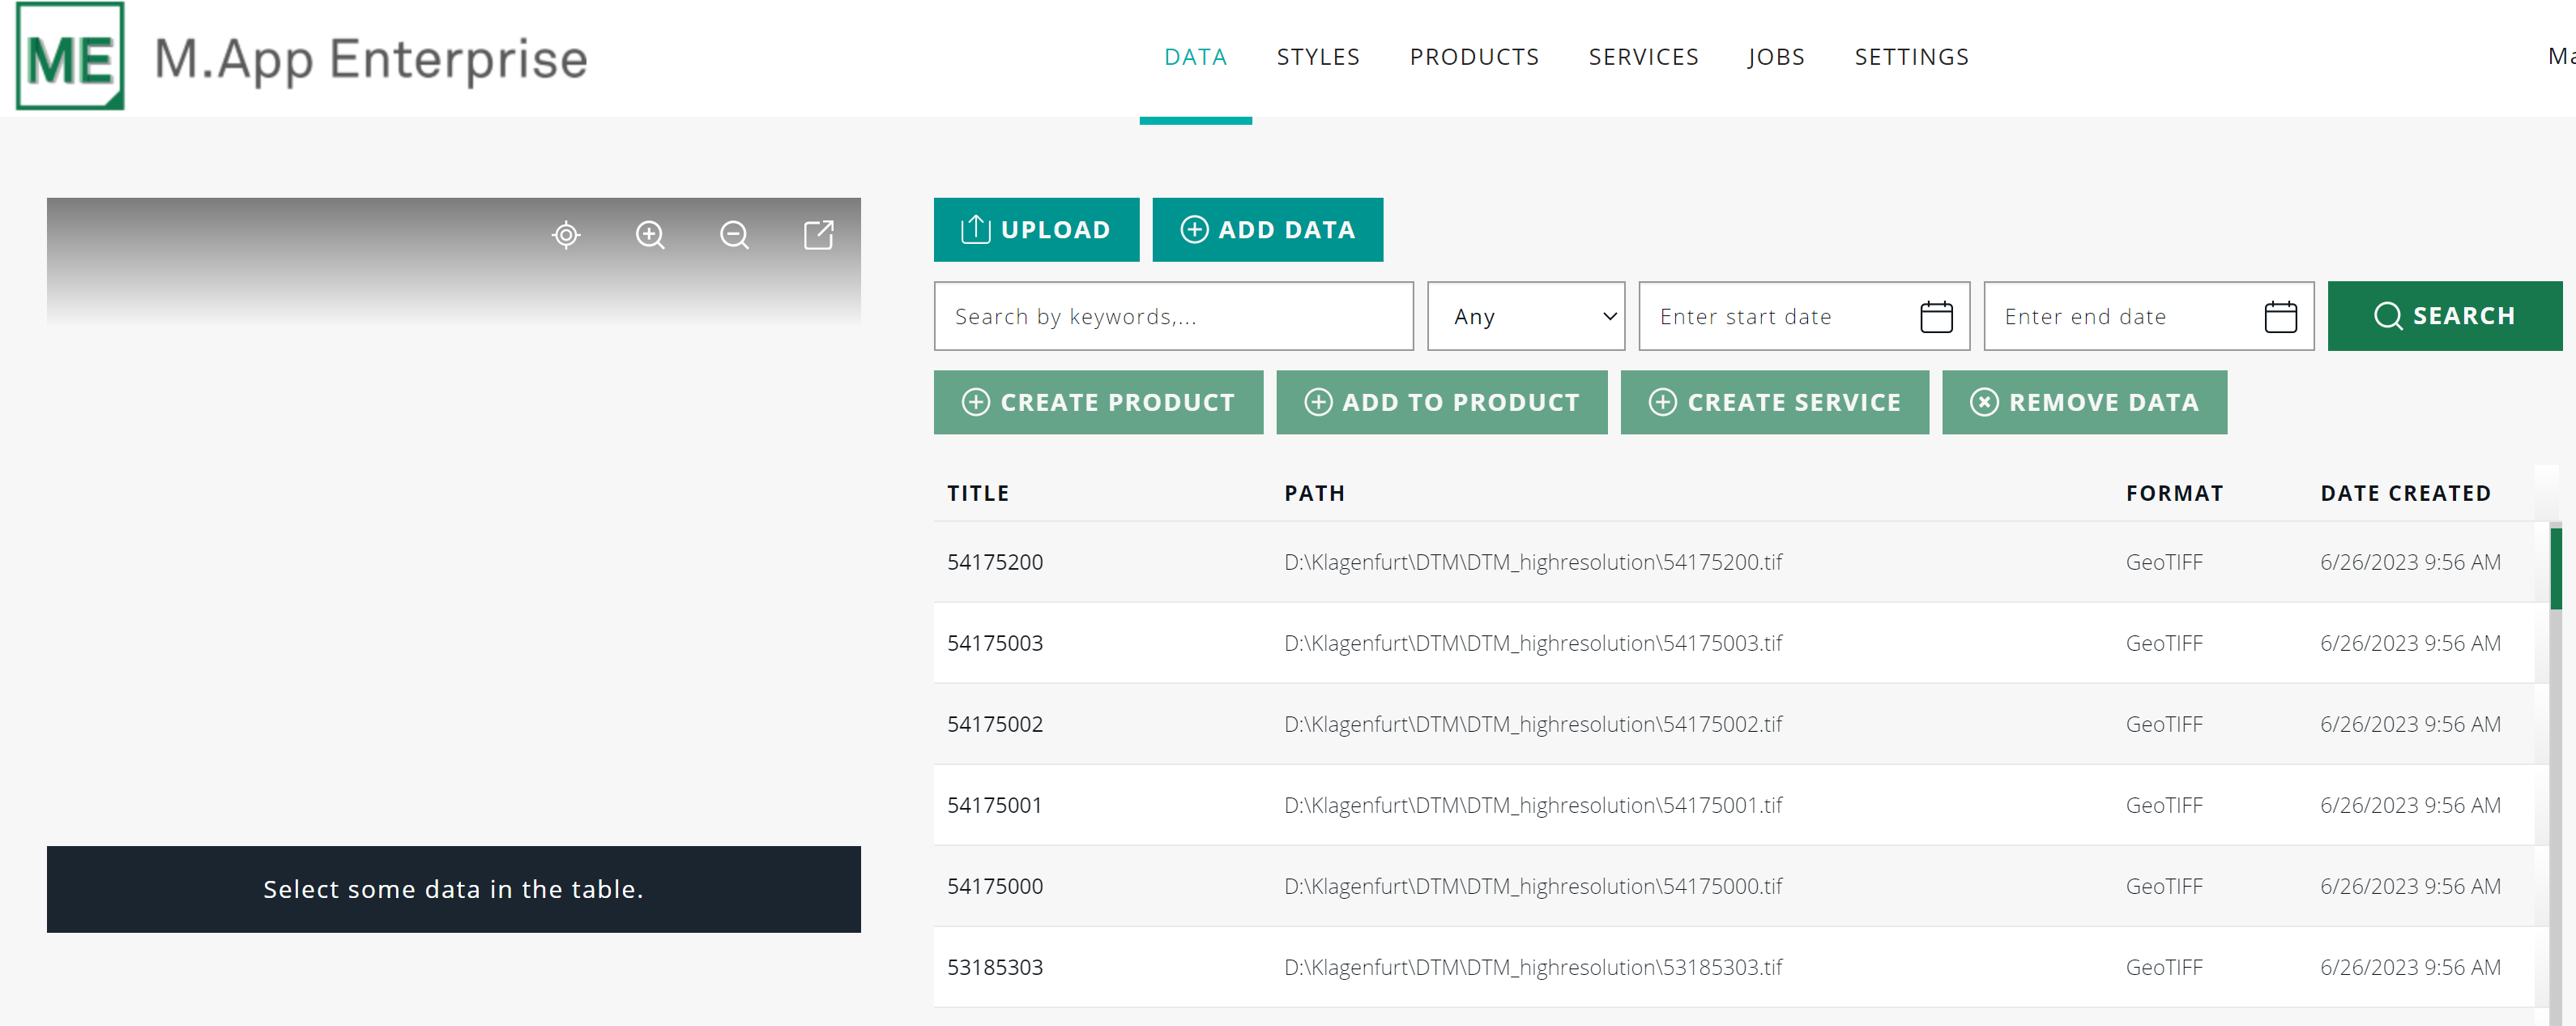
Now you can switch to the data page and find the added files.
Create a Service
You have your data crawled in Luciad Fusion and now want to create a service for your elevation data. In case you only have one DTM GeoTiff file, you can skip the subsequent paragraph.
Create a Product
Let's assume you have several GeoTiff files, such as in the image above, which are supposed to be connected in one Service. In this case, you will have to create a product first to allow for merging your data.
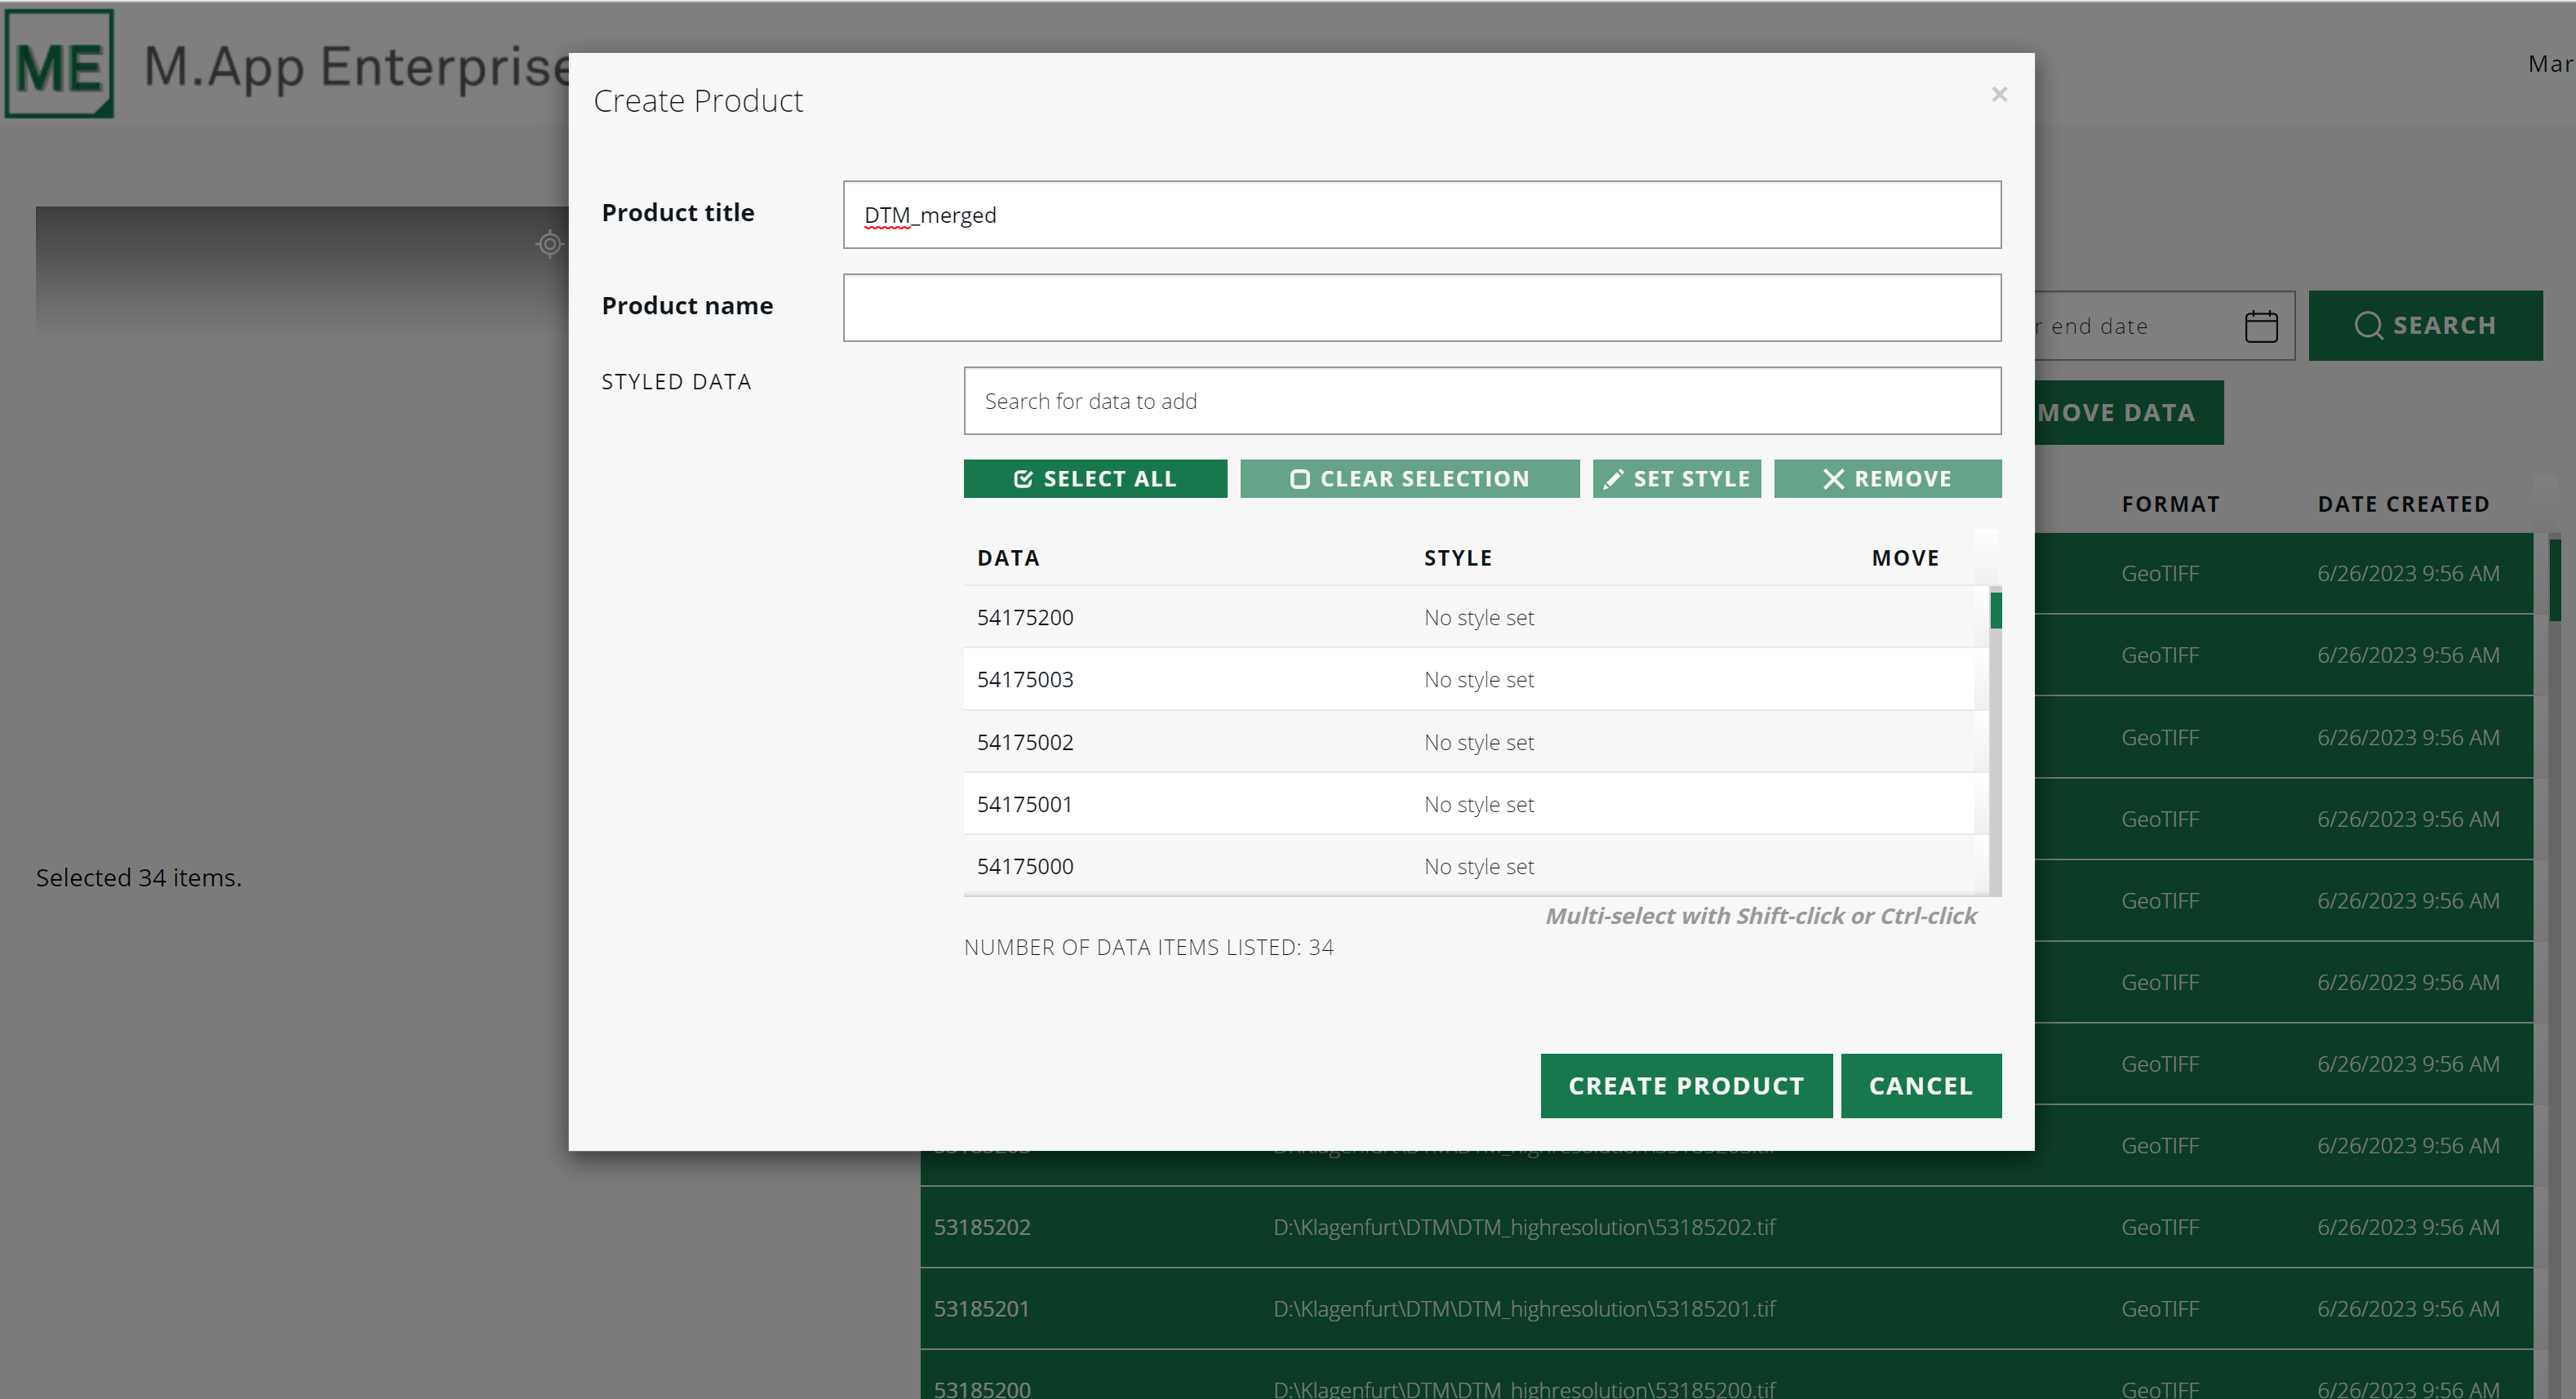
Data -> Create Product
Create a Service
Now that you have either one merged product or one GeoTiff file representing the DTM for your area of choice, you can select them either in the data page or the product page and create a service. When selecting the product you can see a pre-view in the left corner.
Data -> Create Service -> Service title -> Service type -> Create Service
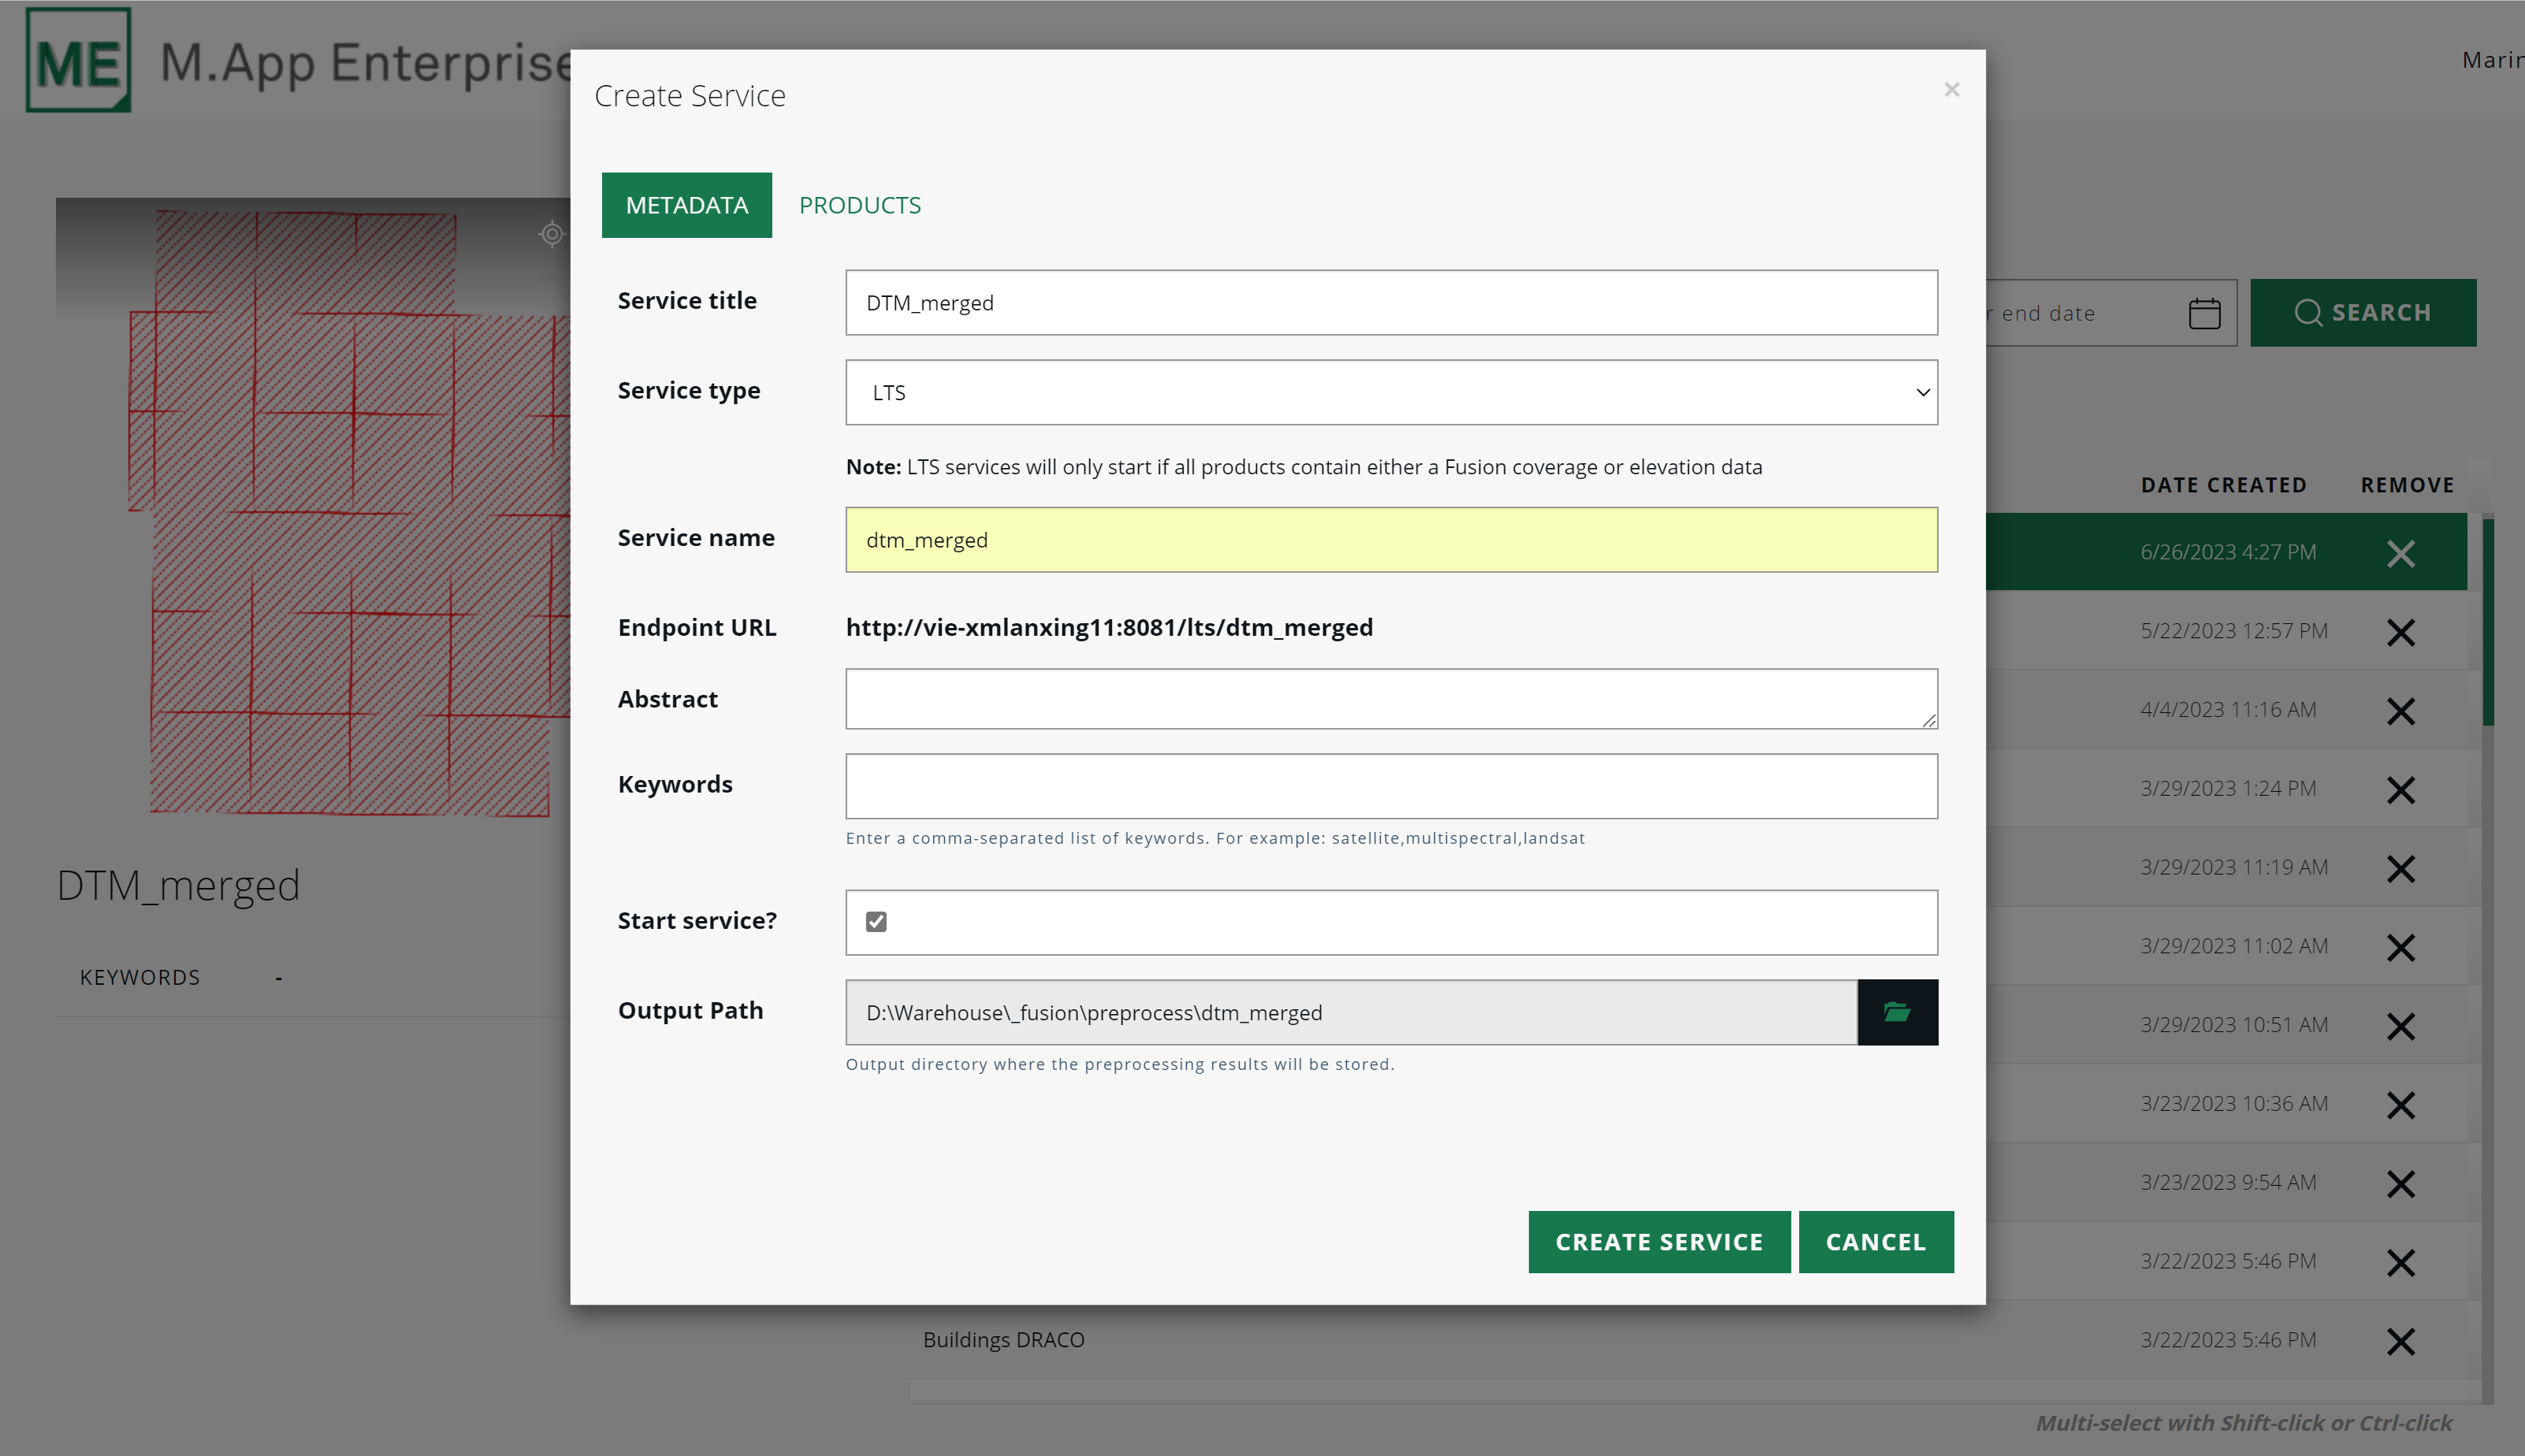
Make sure to use the right service type, which is Luciad Terrain Service (LTS) and click "Create Service".

On the jobs page you can track the progress of the processing. Again, dependent on the file size, it can take up to a few hours.
Studio settings
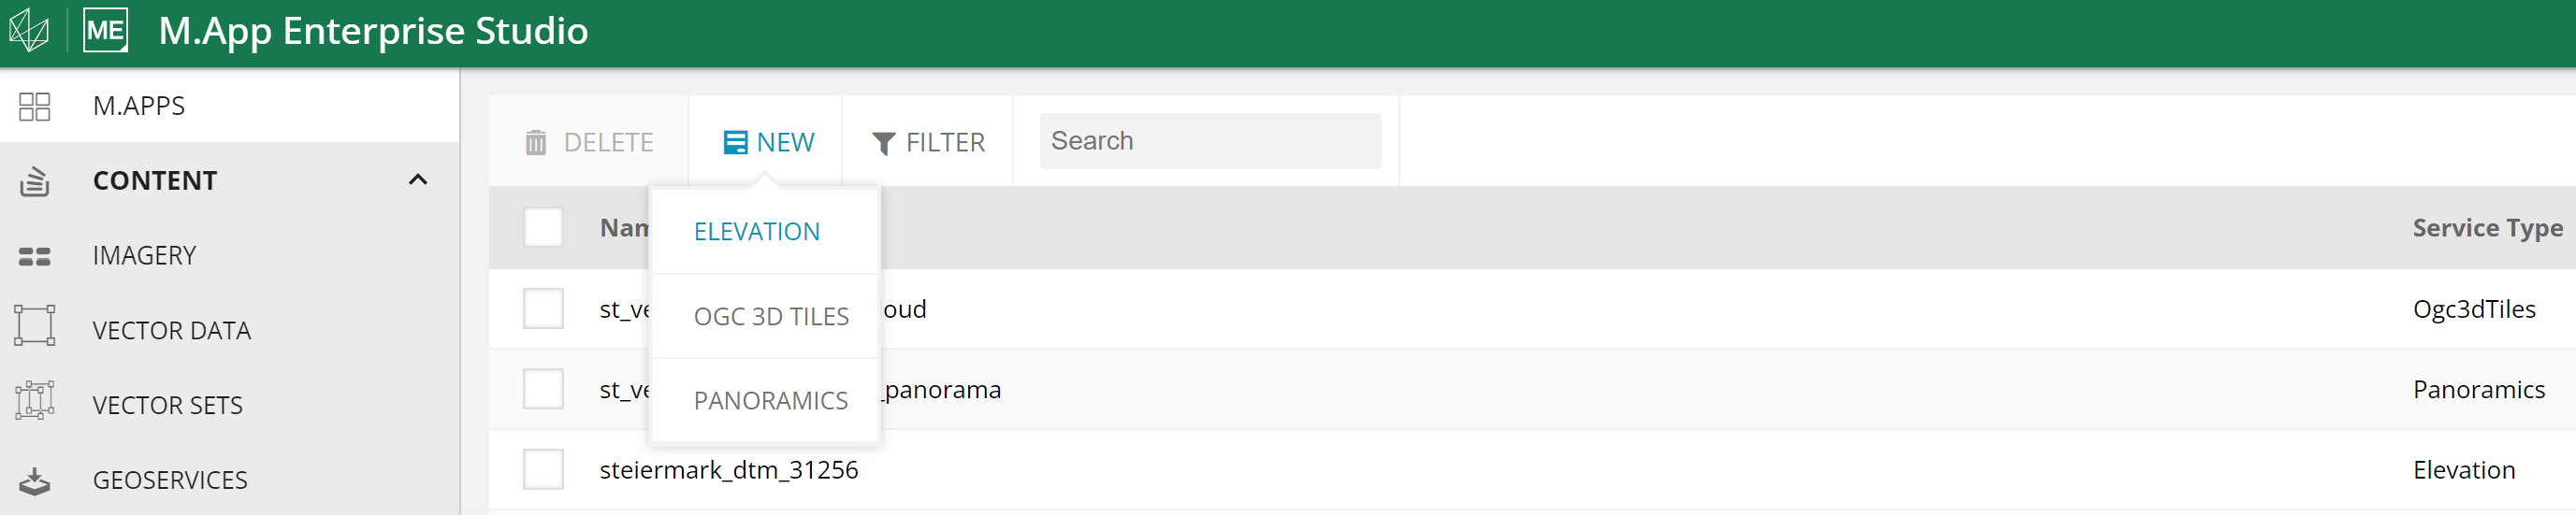
To get the desired DTM Service now into your Application, you will have to add it in M.App Enterprise Studio via "Content".
Content -> 3D Data -> New -> Elevation
Select the needed Service, for instance "steiermark_dtm_31256" and save it.
Now, you can add it to your legend and build your Application.