How to create a new symbolizer
POSTED: | UPDATED: | by Stefan Schüttenkopf
This tutorial describes the start of using the Style Editor
Pick a layer
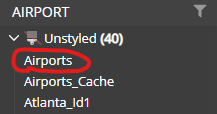
In this example we will style the vector layer Airports which shows all landing fields in New York / New Jersey.
- If the chosen vector layer has been styled previously it is listed in the style navigator.
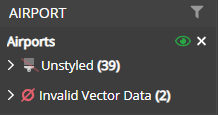
- If not, then the chosen vector layer must be chosen from the unstyled list inside the style navigator.
Pick a Rule
- If you picked a vector layer from the unstyled list a rule is generated automatically.
- You can either proceed to use that one or create your own rule.
- The first rule will always be called
Rule 1. - All following rules will continue this scheme.
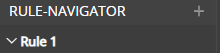
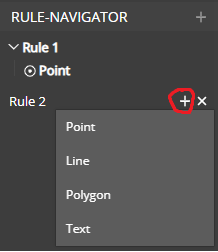
- To create your own rule, click on the + icon next to
RULE-NAVIGATOR

Add a symbolizer to the chosen rule
- If you chose the automatically generated rule there will already be an automatically generated symbolizer.
- This symbolizer is picked depending on the geometry type of the chosen vector layer.
- In our case for
Airportsthis is thePointgeometry type. - Therefore, a point symbolizer is generated automatically for us.

If you chose to create your own rule you must create a symbolizer by yourself.
- To do so click on the + icon next to the rule name.
- A dropdown will open containing all the available symbolizers that can be added to the rule.
- Choose one to create a symbolizer.
- In our case we will choose the point symbolizer as it fits the geometry type of our vector layer.
Editing the rule
First, we will edit all the properties of our rule to match our needs:
- Editing the name should be self-explanatory. We will change the name to
Rule 1 - To set a filter toggle the checkbox next to the filter label.
- A text area will open where the filter can be defined.
- If the filter you defined is correct a green border will show its valid.
- If not, a red border will show you that something is incorrect.
- In our case we will define a filter which only shows the airports which are inside the city of New York excluding all the other airports which are in the state of New York.
- To do this we will use the database field
city_namewhich holds information about the city where an airport is located in. - The resulting filter is shown in the picture below.
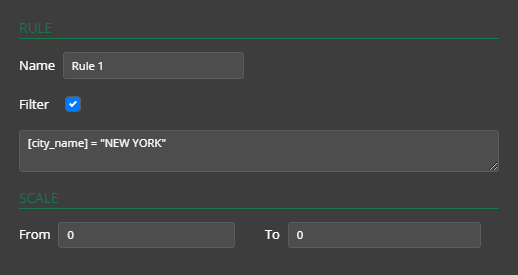
- Lastly the scales in which the data of a vector layers is shown can be defined.
- In our case we leave it as default which means the data is visible at every scale.
- Optionally you can set a minimum and maximum scale here.
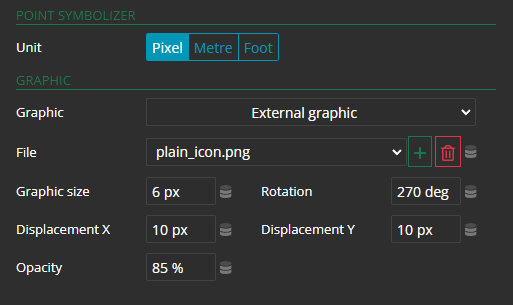
Edit the symbolizer
- Firstly, if your target symbolizer is not already selected, select it from the rule navigator.
- The symbolizer editor will become visible with a vast variety of options to edit.
- In the graphic dropdown pick
External graphic - Now you can use the green plus icon to upload a new file or pick an already existing file from the dropdown
- Lastly set the
Rotationto 270 degree and observe the changes in the map preview to the right