My Geoservices in M.App Enterprise
My Geoservices allows you to create services based on your vector layers in M.App Enterprise.
Content → MyGeoservices → New
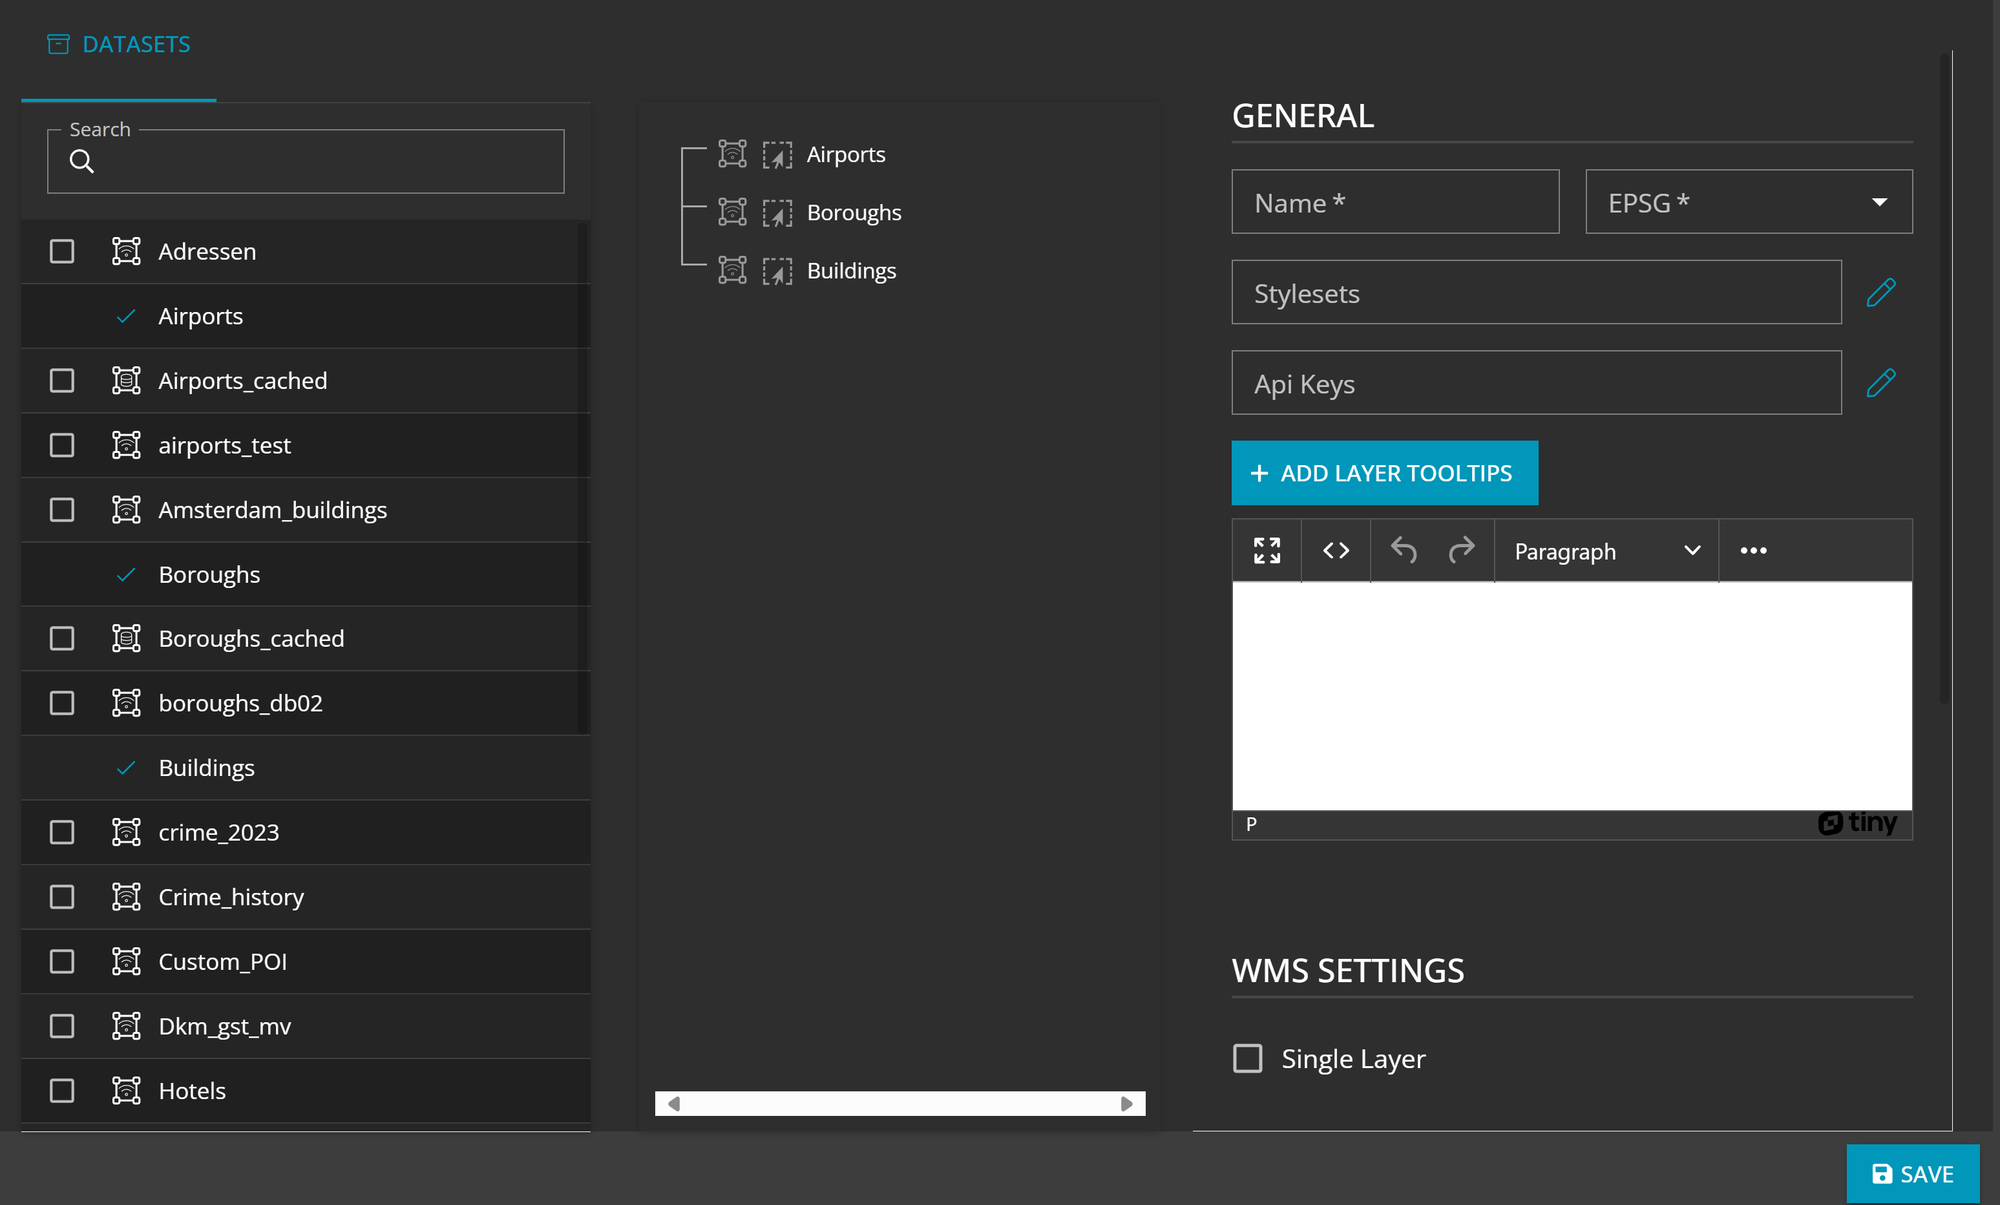
To create a new MyGeoservices go to Content in M.App Enterprise Studio, click on MyGeoservices and set up a new service. A list with all available vector datasets will be displayed, from which you can drag and drop one ore more layers into your geoservice. Take care of the hierarchy of the datasets, which is top down. Name it, indicate an EPSG code and additionally add one or more stylesets for your layers.
An API key may be used to secure your geoservice. They can control the access to your hosted WMS, WMTS or WFS services.
Security → API Keys. You can name them to your liking and are then available for securing your GeoServices.{ENTITY.ColumnName}
For more detailed information on tooltips have a look at our tooltips tutorial.
 Markus Holler
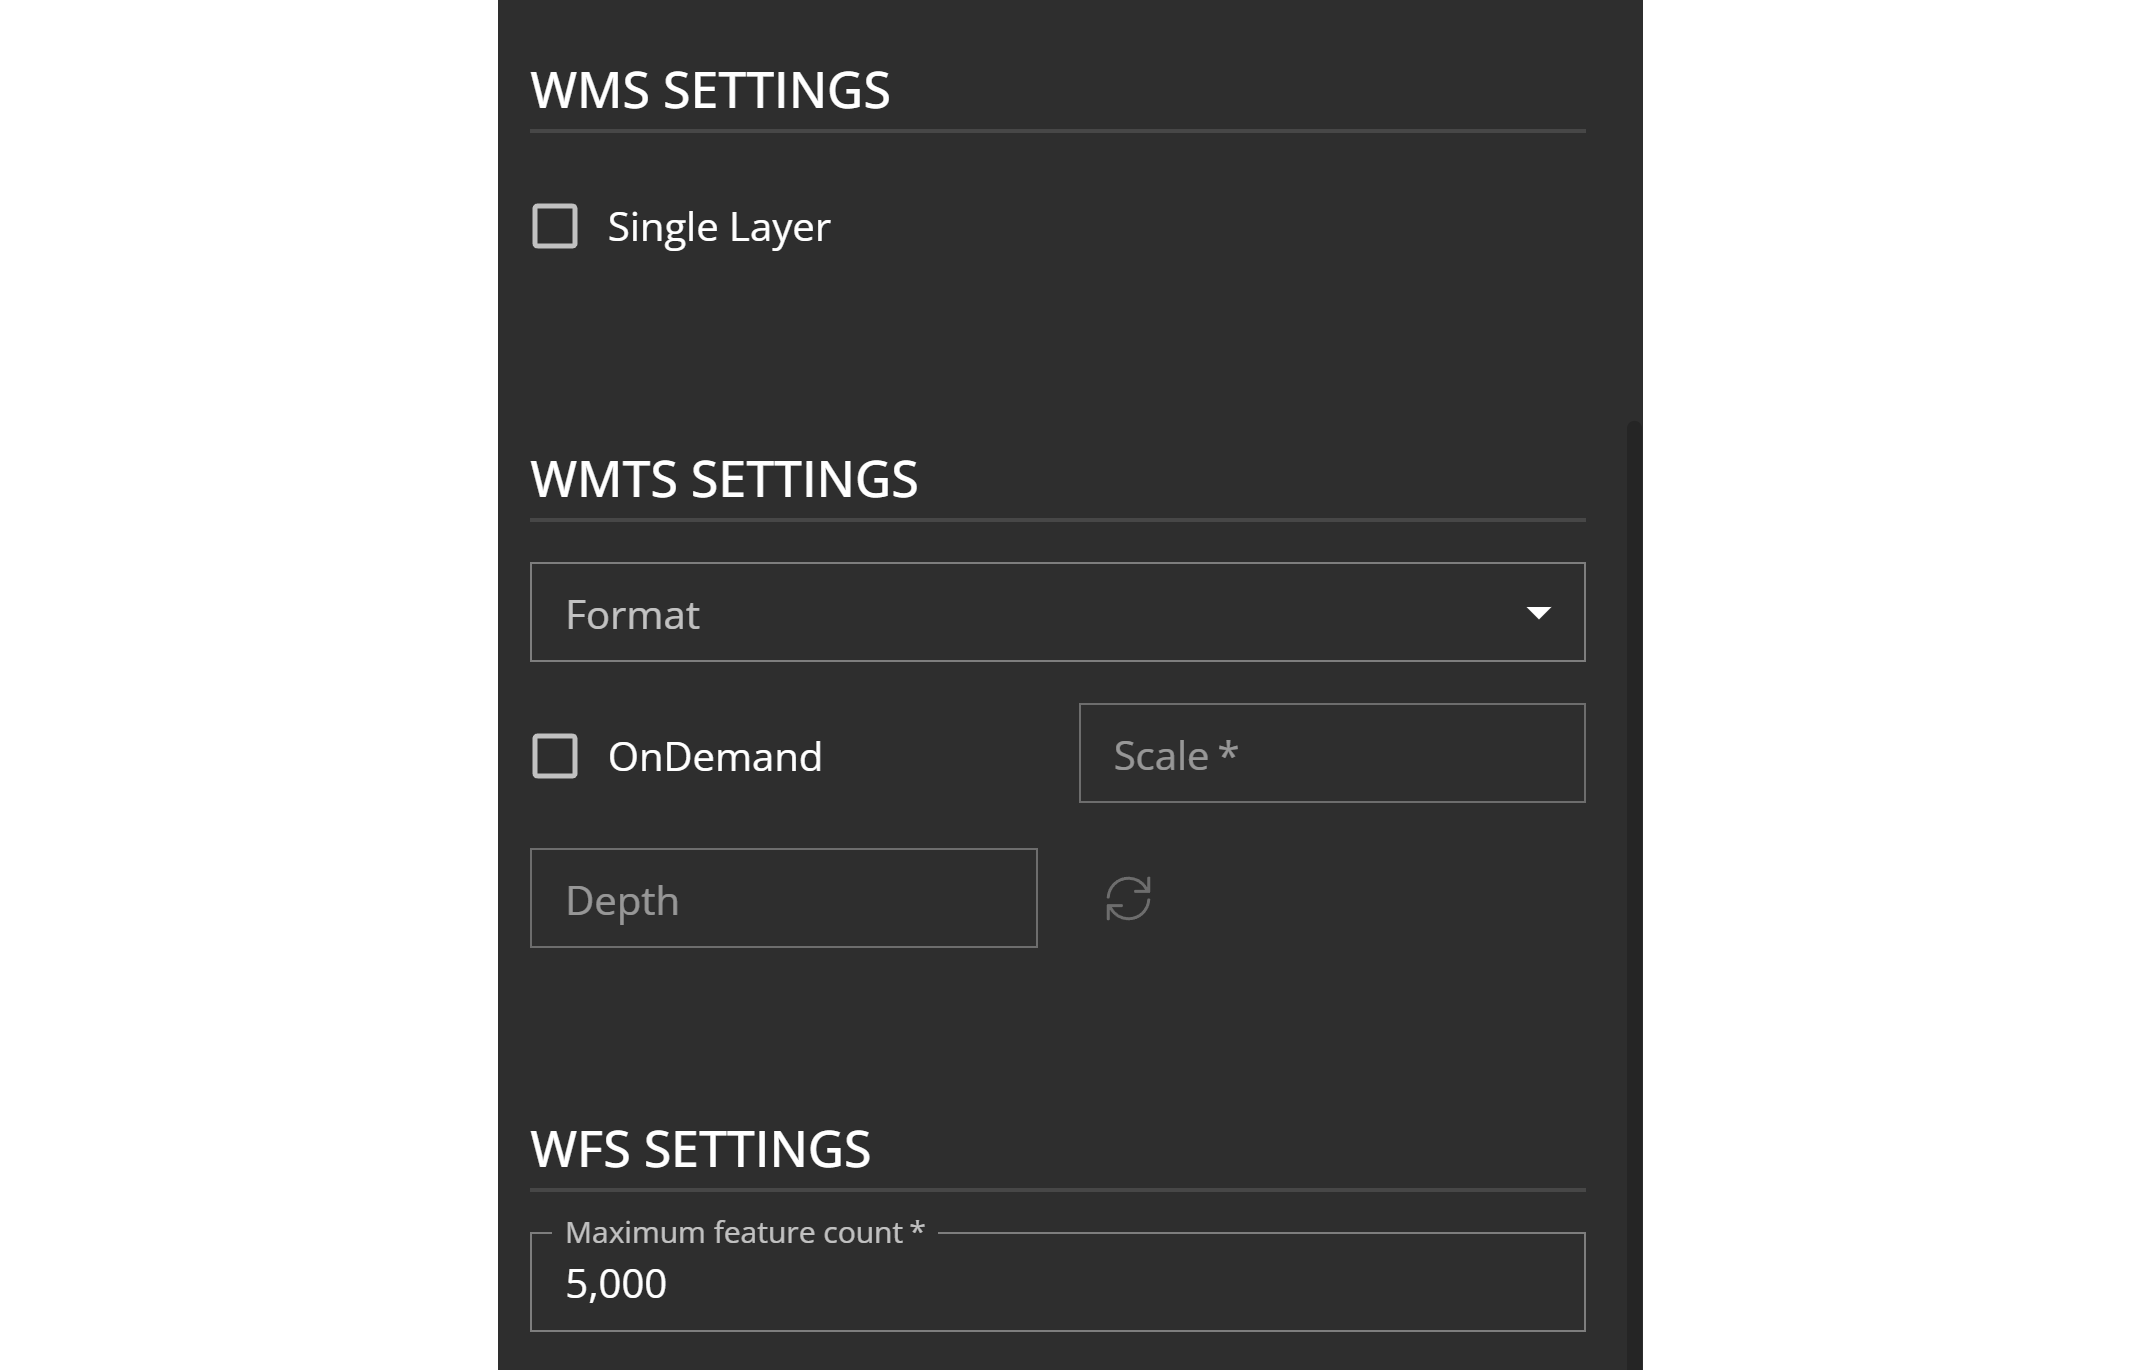
WMS Settings
Single Layer: Creates a single map layer oposed to a multiple layerd WMS
WMTS Settings
Format: can either be image/png or image/jpegOn Demand: Indicates whether your data will be rendered on demand or pre-rendered.Scale & Depth: Scale determines the scale on which the request is based. By clicking on refresh, the depth will be shown that results from the scale which is basically the zoom levels.
WFS
Maximum Feature Count: It indicates the maximum number of features that can be returned in a single request.
When you click on Save you will be directed to you list of MyGeoservices including the one you have just created.

These four icons are placed in each row. Depending on whether you have created a WMTS service too, the first one will be missing.
Publish WMTS: You have to publish your WMTS in order to use it. Click on theWMTSIcon and the processing will be started. To follow the processing progress go to:Content → Cache → Orders

Show Endpoint URLs: You will receive the link for each service type.Edit: You can edit your created service.DeleteYou can delete the service.